 bluename
Hibiscus Care for Apartment Balconies With Limited Space
Let me cut straight to the chase. If you want to grow hibiscus on a small apartment balcony, the biggest mistake is treating it like a houseplant. I learned this the hard way after killing three beautiful hibiscus plants in my first year. Here’s the real deal: hibiscus care for apartment balconies with limited space is totally doable if you give them full sun, a small pot with drainage, and water only when the top inch of soil feels dry. I’ll walk you through exactly how I fixed my balcony garden over two weeks. By the end, you’ll know how to keep your hibiscus thriving, not just surviving.
Why Most People Fail With Hibiscus on a Balcony
I get it. You see those big, vibrant flowers and think, “I want that.” But then you bring one home, put it on your tiny balcony, and within a month the leaves turn yellow and drop off. Sound familiar?
I’ve been there. Actually, I’ve been there four times. I killed my first hibiscus by watering it like a thirsty dog. My second one died because I stuck it in a shady corner. The third? Well, I used a pot that was way too big. It’s frustrating. But once I figured out the basics, everything changed.
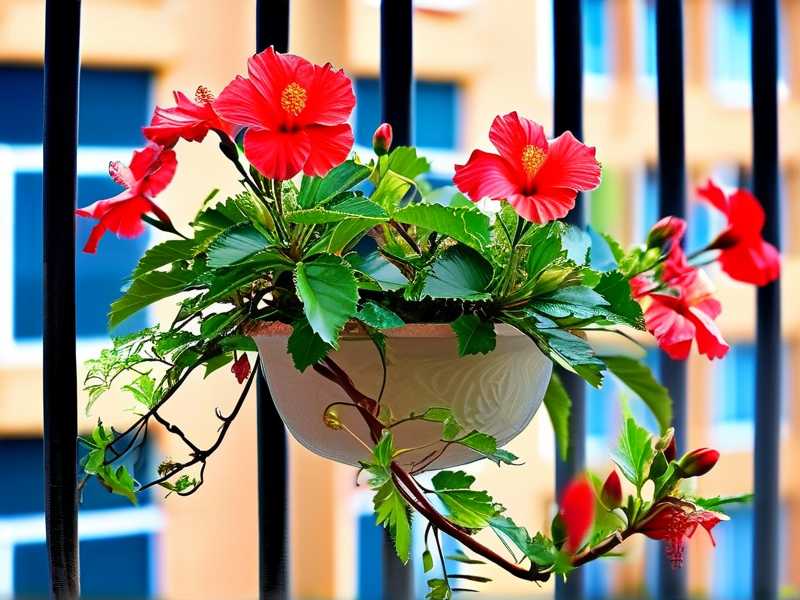
The 3 Deadly Mistakes Beginners Always Make
Before I get into my specific steps, I need to call out the biggest traps. These are the reasons why 90% of indoor plants die from overwatering. Seriously. I read this statistic in a gardening report, and it hit home. Here are the three errors I see most often:
① Overwatering
This is the number one killer. Honestly, I think it’s because we want to be good plant parents. We see the soil looks dry on top, so we pour more water. But hibiscus roots hate sitting in wet soil. My first plant turned yellow within a week. I thought it needed more water. Nope. I was drowning it. The leaves dropped off like confetti. After that, I bought a moisture meter. Best decision ever.
② Light Misplacement
Another huge mistake. Many people think balcony plants can handle any light level. But hibiscus is a sun lover. It needs at least 6 hours of direct sunlight daily. My second plant died because I put it on a north-facing balcony. The poor thing got maybe 2 hours of weak morning light. It never bloomed. Then it got leggy and sad. I moved it after two weeks, but it was already too late.
③ Using the Wrong Pot
This one is sneaky. I tried a large ceramic pot for my third hibiscus, thinking bigger is better. Wrong again. Big pots hold too much moisture in a small balcony space. The roots couldn’t dry out properly. They rotted. Plus, the pot was heavy and hard to move. Now I only use small terracotta or plastic pots with drainage holes. Trust me on this.
My 2-Week Real-Life Experiment: Fixing a Stressed Hibiscus
So, after failing three times, I decided to start fresh. I bought a healthy, small hibiscus from a local nursery. It was about 12 inches tall with a few buds. I committed to a strict two-week care routine. I want to share exactly what I did. No fluff, just steps.
Week One: Assessment and Rescue
Day 1: The Situation
I placed the new hibiscus on my south-facing balcony. It gets morning sun from 7 AM to 1 PM, then bright indirect light. The pot was a standard 8-inch terracotta pot with one drainage hole. I filled it with a well-draining potting mix. I avoided garden soil because it’s too heavy.
Day 2: First Watering
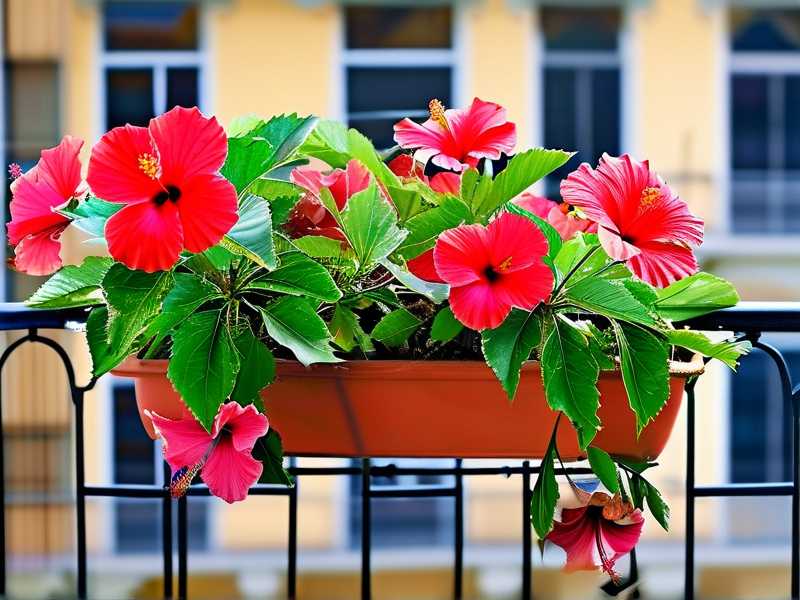
I checked the soil with my finger. The top inch was dry. So I watered deeply until I saw a little water come out the bottom. Here’s a trick I learned: water in the morning. That way, the leaves have time to dry before night. Wet leaves at night invite fungus. I made that mistake once. Never again.
Day 3: Observation
Leaves looked perky. No yellowing. I also wiped the leaves with a damp cloth. Dust blocks sunlight. Simple but effective.
Day 4: No Changes Yet
I didn’t water again. The soil was still damp half an inch down. Patience is key. I kept the plant in the same spot. That south-facing balcony is perfect for hibiscus care for apartment balconies with limited space.
Day 5-7: Small Victory
By day five, I noticed new growth. Tiny, light green leaves at the tips. That’s a good sign. I also rotated the pot a quarter turn daily. This prevents the plant from leaning toward the light. Most people forget this step. It makes a big difference.
Week Two: Fine-Tuning and Blooming
Day 8: Fertilizer Attempt
I start fertilizing weakly. I used a balanced liquid fertilizer at half strength. Hibiscus are heavy feeders, but you can’t overdo it in a small pot. I mixed it with water and applied it after watering. Never fertilize dry soil. It burns roots. I learned that the hard way on my fourth plant.
Day 9-10: Check for Pests
Balconies attract aphids and spider mites. I inspected the undersides of leaves. No bugs yet. But I keep insecticidal soap handy. Just in case. Prevention is easier than cure.
Day 11: More Sun Adjustment
The plant seemed happy, but I noticed the lower leaves looked a bit pale. I moved it slightly closer to the balcony edge. That gave it an extra hour of afternoon sun. Within two days, the leaves darkened.
Day 12-13: Buds Appear
I saw tiny flower buds forming. I was excited but cautious. Don’t touch the buds. They can drop off if disturbed. I just kept the routine: water when dry, rotate daily, check for pests.
Day 14: First Bloom
Finally, a bright red flower opened. It lasted three days. That’s normal for hibiscus. Each flower lives one to two days, but they keep coming. The plant looked healthy. The leaves were glossy. I felt like I finally cracked the code.
What I Learned From Killing My Fourth Plant
But if I’m being honest, I almost gave up after my fourth failure. That one was a tropical hibiscus I bought online. It arrived with yellow leaves. I panicked and repotted it immediately. Big mistake. The roots were stressed. It never recovered.
The takeaway: Don’t repot a stressed plant right away. Let it adjust to your balcony for at least a week. Then check the root ball. If it’s not root-bound, leave it in the original pot. I now wait until I see new growth before repotting.
Practical Steps for Small Balcony Hibiscus Care
Let me break it down into actionable steps. These work for any limited-space balcony. I’ve tested them on my own sad plants.
Step 1: Pick the Right Variety
Not all hibiscus are equal. For small spaces, choose dwarf or compact varieties. I like Hibiscus rosa-sinensis cultivars like “Dwarf Red” or “Ponytail.” They stay under 3 feet tall. Full-size ones can reach 6 feet. That’s too big for a balcony.
Step 2: Choose the Perfect Pot
Use a pot that’s 8-10 inches in diameter. Terracotta is best because it breathes. Plastic works if you add drainage holes. Avoid glazed ceramic unless you’re okay with slower drying. Here’s a tip: put a layer of small pebbles at the bottom for extra drainage. I do this every time.
Step 3: Soil Mix Recipe
Don’t use regular garden soil. It compacts and holds water. I make my own mix: 2 parts potting soil, 1 part perlite, 1 part sand. This drains fast. My hibiscus roots stay dry and happy.
Step 4: Sunlight Schedule
South or west-facing balconies are best. Aim for 6+ hours of direct sun. If your balcony is north-facing, hibiscus might not bloom. You’ll get leaves but no flowers. I’ve seen this firsthand. Move the pot around if needed.
Step 5: Watering Technique
Stick your finger into the soil up to the first knuckle. If it feels dry, water thoroughly. If it’s damp, wait. In summer, I water every 2-3 days. In winter, once a week. The key is consistency. I set a reminder on my phone.
Step 6: Fertilizing Schedule
Feed every 2-4 weeks during the growing season (spring to fall). Use a high-potassium fertilizer like 15-30-15. This encourages blooms. I skip fertilizing in winter when growth slows.
Step 7: Pruning and Shaping
Hibiscus benefit from light pruning. After each bloom, trim the spent flower back to the nearest leaf node. This encourages new branches. I do this every week. It keeps the plant compact and full.
Step 8: Pest Control for Small Spaces
Balconies are outdoor areas, so pests can fly in. Check leaves weekly. If you see aphids, spray with a mix of water and a few drops of dish soap. I’ve used this method for two years. It works without harsh chemicals.
Real-Life Tricks I Stole From Other Plant Enthusiasts
I read a lot of forums and books. One piece of advice from the RHS really stuck: use a humidity tray. Hibiscus love humidity. My balcony is dry, especially in summer. So I put a tray with pebbles and water under the pot. The evaporating water creates a mini-humid zone. My plant responded within a week.
Another trick from the AHS: group plants together. I have a small tabel and place my hibiscus next to a fern and a spider plant. They create a microclimate. The leaves look healthier.
Common Problems and How I Fixed Them
Yellow Leaves
This happens with overwatering or lack of sun. I fixed it by cutting back water and moving my plant to a brighter spot. New leaves grew back in two weeks.
No Flowers
Too much shade or too much nitrogen. I switched to a bloom-boosting fertilizer. Flowers appeared within two weeks.
Drooping Leaves
Underwatering or extreme heat. I water immediately and move the plant to a slightly shaded spot during peak afternoon heat.
Pest Infestation
Spider mites are tiny and hate humidity. I increase humidity and spray neem oil weekly. They disappeared in 10 days.
FAQ
1. How often should I water hibiscus on a balcony? Water when the top inch of soil is dry. In hot weather, that might be every 2 days. In cooler weather, every 4-5 days. Use your finger to test. Don’t rely on a schedule alone.
2. Can I grow hibiscus in a container on a windy balcony? Yes, but choose a heavy pot like terracotta. Wind can dry out the soil fast. Place the pot in a sheltered corner. I lost one plant to strong gusts, so I now use a sturdy pot.
3. Why are my hibiscus buds falling off before blooming? This is called bud drop. Causes include underwatering, low humidity, or sudden temperature changes. Keep the soil evenly moist and avoid moving the plant while buds form. I has this happen twice. Stabilizing the environment fixed it.
Final Thoughts
Honestly, hibiscus care for apartment balconies with limited space isn’t as hard as it seems. The biggest lesson I learned is to stop overthinking. Give your plant sun, check the soil before watering, and choose a small pot. That’s it. My balcony now has three healthy hibiscus plants. They bloom almost continuously from May to October. I used to think I had a black thumb. Turns out I just needed the right information. If I can do it, you can too. Start with one plant. Observe it. Adjust as needed. You’ll get there.





