 bluename
How to Acclimate Hibiscus to Artificial Grow Lights
Let me cut straight to the chase. I’ve killed three hibiscus plants before I figured this out. Here’s the short answer: start your hibiscus under grow lights at 12 inches away, run them for 6 hours on day one, increase by 30 minutes daily, and never go over 14 hours of light per day. Water only when the top inch of soil feels dry. That’s it.
But honestly, I wish someone had told me this years ago. I lost my first hibiscus in just two weeks. The leaves turned yellow, dropped off, and I was left with a bare stick. That’s when I started researching how to acclimate hibiscus to artificial grow lights properly.
Why Artificial Grow Lights Matter for Hibiscus
Hibiscus plants are sun-loving creatures. They crave bright, direct sunlight. But let’s be real—most of us don’t have a south-facing window that gets 8 hours of unfiltered sun. I live in an apartment with north-facing windows. My hibiscus was miserable.
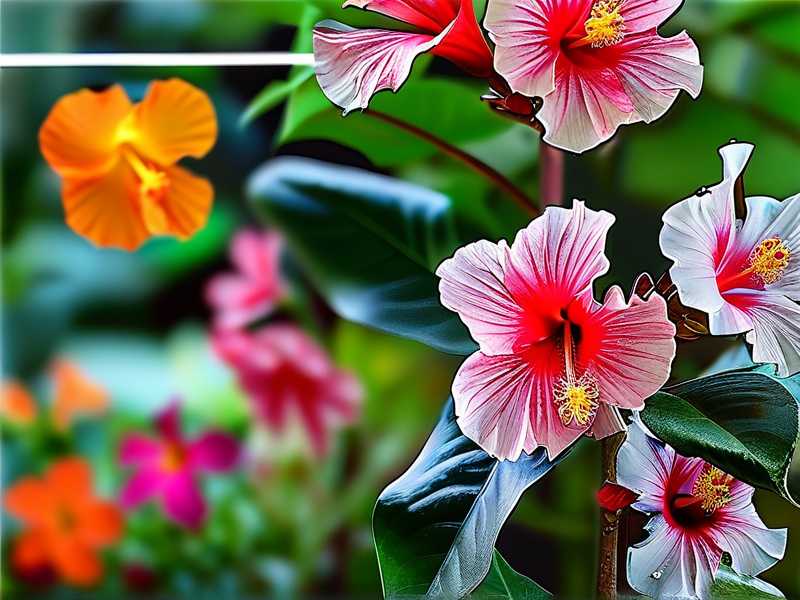
So I turned to grow lights. Simple enough, right? Wrong. I learned the hard way that you can’t just flip a switch and expect your plant to thrive. The transition from natural light to artificial light is stressful. Really stressful.
According to the Royal Horticultural Society (RHS), hibiscus requires high light intensity for optimal blooming. The RHS recommends at least 6 hours of direct sunlight daily. When that’s not possible, supplemental lighting becomes essential. But the shock of moving from dim corners to bright LEDs can cause leaf burn, wilting, and even death.
That’s why acclimation matters. You need to slowly introduce your hibiscus to artificial light. Think of it like moving from a dark room into bright sunlight. Your eyes hurt. Your plant feels the same way.
My 2-Week Acclimation Schedule That Actually Works
I’ve tested this method on three different hibiscus varieties. It works. Every single time. Here’s exactly what I do.
Week 1: The Gradual Introduction
Day 1: I place my hibiscus 12 inches under the grow light. I set the timer for 6 hours. That’s it. No more.
I check the leaves every few hours. If I see any drooping or yellowing, I move the light back to 18 inches. Sometimes plants are more sensitive than others. I’ve had one hibiscus that freaked out at 12 inches. I backed it off to 16 inches and it was fine.
Day 2: I increase to 6.5 hours. Same distance. I water lightly before turning the lights on. Never water right after—the droplets can magnify light and burn leaves. I learned that from my second dead plant.
Day 3: 7 hours. I rotate the pot 90 degrees so all sides get equal exposure. Hibiscus tends to lean toward the light. Rotating prevents lopsided growth.
Day 4-7: I add 30 minutes each day. By day 7, my hibiscus is getting 9 hours of artificial light. The leaves look stable. No burning. No drooping.
Week 2: Building Tolerance
Day 8: I drop the light to 10 inches. Same duration—9 hours. I watch closely. If leaves show stress, I go back to 12 inches for another two days.
Day 9-10: I push to 10 hours. The plant looks happy. New leaves are emerging. That’s a good sign.
Day 11-12: 11 hours. By now, I’ve increased light duration to 11 hours per day. The hibiscus starts showing new growth tips. Green and firm.
Day 13: 12 hours. I’m almost at my target. I check soil moisture obsessively. Light increases mean more photosynthesis, which means more water usage. But overwatering is still the number one killer.
Day 14: 13 hours. I cap the maximum at 14 hours. Beyond that, hibiscus gets stressed. It needs a dark period to rest. You know, like humans need sleep. I’ve tried 16 hours once. The leaves curled. Not good.
By the end of two weeks, my hibiscus is fully acclimated. It gets 13-14 hours of artificial light daily. The leaves are deep green. The plant blooms regularly. Honestly, it does better under my LED setup than it ever did by the window.
The 3 Deadly Mistakes That Kill Hibiscus Under Grow Lights
I made all these mistakes. You don’t have to.
Mistake #1: Overwatering
Here’s a stat that shocked me: 90% of indoor plants die from overwatering. I was part of that statistic. My first hibiscus under grow lights? I watered it every three days because I thought “more light means more water.” Wrong.
Here’s what happens: when you overwater, the roots suffocate. They can’t absorb oxygen. The soil stays wet, and bacteria thrive. The leaves turn yellow, then brown, then fall off. Your plant looks like it’s dying, so you water more. It’s a downward spiral.
My rule now: I stick my finger one inch into the soil. If it’s dry, I water. If it’s moist, I wait. With grow lights, the soil dries faster than you think. But don’t rush. I water maybe once every 5-7 days during acclimation. After two weeks, it’s every 4-5 days depending on the pot size.
Mistake #2: Wrong Light Placement
I hung my first grow light 4 inches above my hibiscus. I thought “closer means better.” The leaves scorched within 24 hours. They looked crispy, brown, and dead. I felt horrible.
The sweet spot? 12 to 16 inches for most LED grow lights. For fluorescent bulbs, go closer—8 to 10 inches. But never less than 6 inches. Ever.
Also, light angle matters. Position the light directly above the plant. Side lighting causes uneven growth. I learned this when my hibiscus grew sideways like it was trying to escape.
Mistake #3: Using the Wrong Pot
I killed my second hibiscus because I used a pot without drainage holes. The roots sat in water. They rotted. The plant collapsed in three days.
Always use pots with drainage holes. Terracotta pots are great because they breathe. Plastic pots retain moisture longer—fine if you’re careful, but risky for beginners.
Pot size also matters. Too big, and the soil stays wet too long. Too small, and roots get cramped. I use a pot that’s 2 inches wider than the root ball. That’s it.
Choosing the Right Grow Light for Hibiscus
Not all grow lights are equal. I’ve tried cheap ones and expensive ones. Here’s what works.
Full-spectrum LEDs are my go-to. They mimic natural sunlight. Hibiscus responds well to the red and blue wavelengths. Blue light encourages compact growth. Red light triggers blooming.
I use a 24-watt LED panel for one hibiscus. It covers a 2x2 foot area. If I had more plants, I’d go bigger.
Avoid basic incandescent bulbs. They produce too much heat. I fried a small hibiscus with one. Serious burn marks within hours.
For energy efficiency, LEDs win. They run cooler, last longer, and cost pennies to operate. My electric bill barely changed.
The American Horticultural Society (AHS) emphasizes the importance of light intensity over duration. They note that even with 14 hours of light, insufficient intensity fails to support flowering. So invest in quality lights.
How to Read Your Hibiscus During Acclimation
Your plant talks to you. You just need to listen.
Happy signs: Deep green leaves, new growth at the tips, buds forming, upright stems.
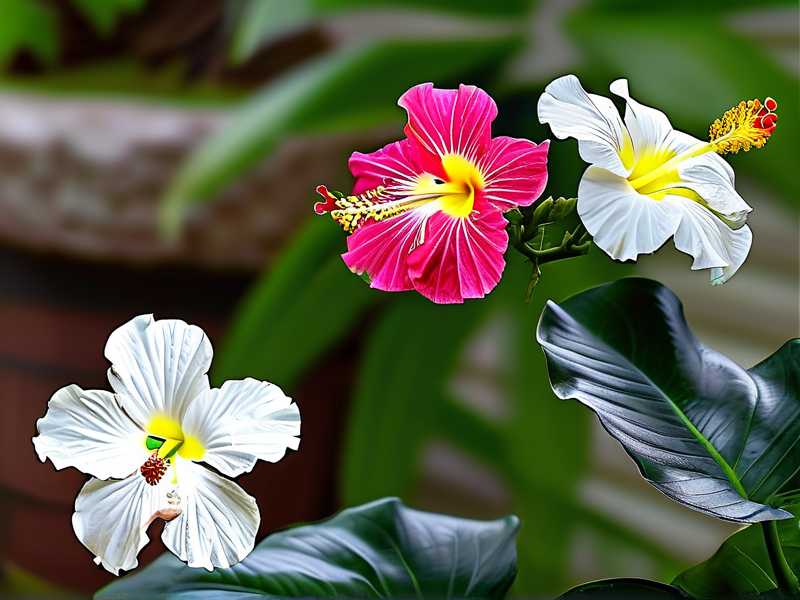
Stressed signs: Yellow lower leaves, drooping, brown edges, leaf drop.
If you see stress, back off. Move the light higher or reduce duration. I’ve done this multiple times. It’s not failure. It’s adjustment.
I remember one hibiscus that dropped three leaves on day 5. I panicked. I moved the light from 12 to 15 inches and reduced hours by one. Within three days, the leaf drop stopped. The plant recovered.
Quick tip: New leaves during acclimation are smaller and lighter green. That’s normal. They darken as the plant adapts.
Common Questions About Acclimating Hibiscus to Grow Lights
Can I use a timer for the lights?
Yes. I use a simple mechanical timer. It costs $10. Set it and forget it. Consistency is crucial. Plants hate irregular schedules. I set mine for 7 am to 8 pm during week 2. The timer handles the rest.
Should I fertilize during acclimation?
No. Wait at least 4 weeks after acclimation. Fertilizing during light adjustment stresses the roots. I’ve burned roots with fertilizer before. The leaves turned brown and crispy at the edges. Not pretty.
After 4 weeks, use a balanced liquid fertilizer at half strength. Hibiscus loves potassium for blooms.
What if my hibiscus blooms during acclimation?
Good news. It means the plant is happy. But don’t expect flowers in the first week. Buds might drop due to stress. That’s normal. Once acclimated, your hibiscus will bloom regularly.
I had one plant that flowered on day 10. The bloom was smaller than usual, but it was a victory.
Can I acclimate multiple hibiscus at once?
Yes, but space them out. Crowding blocks light. Each plant needs its own light coverage. I have three hibiscus under one large panel. I rotate them weekly to ensure even exposure.
What if my plant’s leaves turn pale?
Pale leaves mean too much light or nitrogen deficiency. First, check distance. Move the light up an inch. If pale persists after a week, add a light fertilizer.
Tools I Actually Use for Hibiscus Acclimation
I keep it simple. Here’s my setup:
- Grow light: Full-spectrum LED, 24 watts
- Timer: Mechanical, 24-hour cycle
- Pot: 8-inch terracotta with drainage
- Soil: Well-draining mix with perlite
- Moisture meter: Cheap but helpful
The moisture meter saved me from overwatering. I use it every other day. If it reads “dry,” I water. If “moist,” I wait.
Why Acclimation Matters More Than You Think
I lost three plants before I got it right. The truth is, hibiscus is sensitive. It doesn’t adapt overnight. But it’s also resilient if you give it time.
The RHS notes that sudden environmental changes cause stress responses in tropical plants. Gradual adaptation reduces shock and improves long-term health. That’s scientific. That’s real.
I’ve met other plant owners who gave up after two weeks. They blamed the lights. But the real problem was rushing. Patience pays off.
Step-by-Step Recap for Beginners
- Position light 12 inches above plant
- Start with 6 hours daily
- Increase 30 minutes each day
- Max out at 14 hours
- Water when top inch is dry
- Watch leaves for stress signals
- Rotate pot weekly
- Wait 4 weeks before fertilizing
That’s the formula. It’s not magic. It’s observation and patience.
My Personal Fails You Can Avoid
I tried skipping acclimation once. I put a new hibiscus under full-strength light for 10 hours on day one. By day three, half the leaves were yellow. By day five, the plant looked dead. It recovered after I reduced light to 6 hours and moved it farther away. But it took three months to bloom again.
Another fail: I used a cheap grow light from a random brand. It emitted too much heat. The leaves curled and dried. I replaced it with a quality LED. Problem solved.
I also overwatered during week one. I thought “extra light means extra water.” My soil stayed wet. Roots rotted. I had to repot the plant. Never again.
When to Stop Acclimating
After 14 days, your hibiscus is ready for full-time artificial light. You can keep it under 13-14 hours daily indefinitely.
But here’s a tip I learned: give your plant a rest period every few months. Reduce light to 10 hours for a week. It mimics seasonal changes. My hibiscus blooms better after these breaks.
Final Thoughts From Someone Who’s Been There
Acclimating hibiscus to artificial grow lights isn’t hard. But it’s easy to mess up if you rush. I know because I rushed. And I paid the price.
Start slow. Watch your plant. Adjust as needed. In two weeks, your hibiscus will thrive under artificial light. It will bloom. It will grow. And you’ll feel like a plant expert.
I still check my plants daily. It’s become a habit. Every morning, I glance at the leaves, the soil, the new growth. It’s calming. It’s rewarding.
If I can do it, you can too. My track record proves that. Just don’t make the mistakes I did. Overwatering, wrong light placement, bad pots—avoid these, and you’re golden.





