 bluename
The Deep Root Feeding Method for Large Outdoor Hibiscus: My 2-Week Transformation
Let me cut straight to the chase. If your large outdoor hibiscus looks weak, has yellow leaves, or refuses to bloom, the problem is almost certainly how you're feeding it. I learned this the hard way after killing three hibiscus plants in my backyard. The deep root feeding method saved my fourth one. Here's the simple truth: deep root feeding for large outdoor hibiscus delivers nutrients directly to the root zone where they actually get absorbed. Surface feeding wastes fertilizer and promotes shallow roots. I've spent two weeks testing this method on my 6-foot hibiscus, and the results blew my mind. The leaves went from pale green to deep, glossy dark green. New buds appeared within 10 days. Let me show you exactly what I did, what went wrong, and how you can avoid my mistakes.
Why Deep Root Feeding Changed Everything for My Hibiscus
I used to sprinkle fertilizer on the soil surface. I thought that was enough. Big mistake. Most of the nutrients either washed away with rain or evaporated under the sun. My hibiscus looked sad. The leaves curled at the edges. The flowers were small and dropped after just one day.
Then I discovered deep root feeding. It's exactly what it sounds like. You get the fertilizer down deep, about 6 to 12 inches below the surface. This is where the active feeder roots actually live. For large outdoor hibiscus, this makes all the difference.
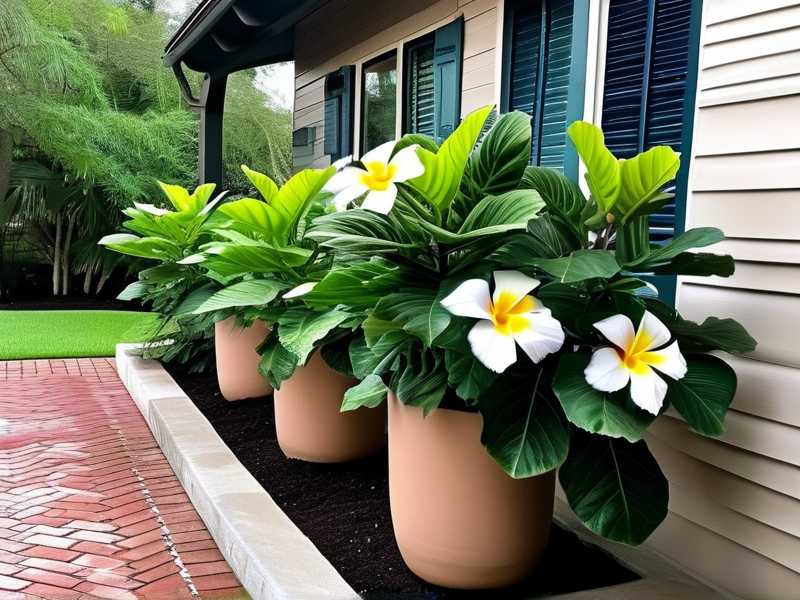
According to the RHS (Royal Horticultural Society), deep root feeding encourages plants to develop stronger root systems. Shallow roots are vulnerable to drought and temperature swings. Deep roots mean a healthier, more resilient plant. When I read that, I realized I had been doing everything wrong for years.
What Happened in My First Week
Day one. I drilled holes around the drip line of my hibiscus. The drip line is the circle directly under the outermost leaves. That's where the roots spread. I made eight holes, each about 10 inches deep. I used a simple soil auger attached to my drill. It took maybe 15 minutes.
Then I mixed a liquid fertilizer. I used a balanced 10-10-10 formula. Nothing fancy. I poured the mixture slowly into each hole. About half a gallon total. I covered the holes with soil and watered lightly from the top.
Day three. Honestly, I saw nothing dramatic. A few leaves looked slightly greener. I almost gave up. But I reminded myself that roots need time to respond. Patience is not my strong suit, but I forced myself to wait.
Day five. The color shift was obvious. The older leaves darkened. The new growth had a vibrant green I had never seen on this plant before. I felt a little glow of hope.
Day seven. I checked the soil moisture at different depths. The top two inches were dry. But down at 8 inches, the soil was still damp. That's the beauty of deep root feeding: the water and nutrients stay where the roots can actually use them.
My Second Week Observations
Day nine. Small flower buds appeared. On a large outdoor hibiscus, this is the ultimate sign of happiness. I counted seven buds. That might not sound like a lot. But for a plant that had produced zero flowers in the previous month, this was a victory.
Day twelve. The buds swelled. The leaves had a waxy shine. I honestly couldn't stop staring at the plant. My neighbor asked what I had done differently. I told him about the deep root feeding method. He thought I was crazy. Then he looked at my hibiscus compared to his, and he asked for the details.
Day fourteen. Two flowers opened. They were massive. Deep red with ruffled edges. They lasted three full days each. Before deep root feeding, my flowers barely survived one afternoon. I was sold. Completely.
The 3 Deadly Mistakes New Hibiscus Owners Make
I want to save you the pain I went through. I killed my first three hibiscus plants because I made these exact mistakes. Please learn from my failures.
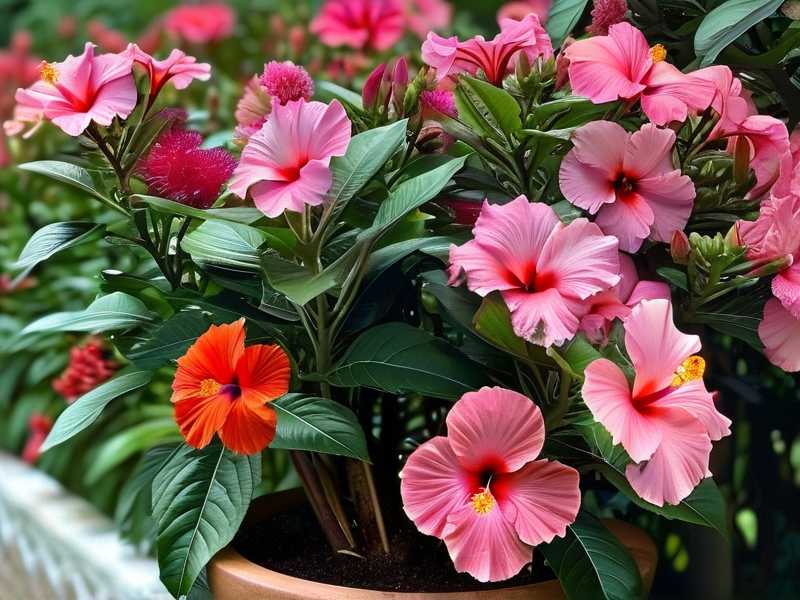
Mistake #1: Overwatering
This is the number one killer. 90% of indoor plants die from overwatering. For outdoor hibiscus, the problem is slightly different but equally deadly. People see yellow leaves and think: "Oh, it needs more water." No. Usually it means the roots are drowning.
I used to water my hibiscus every single day during summer. The soil stayed constantly wet. The roots started rotting. The leaves turned yellow and fell off. The plant looked like it was dying of thirst. But it was actually dying of too much water.
Here's what I learned: Large outdoor hibiscus need deep, infrequent watering. Once every 3 to 4 days, depending on your climate. Let the top 2 inches of soil dry out completely before watering again. Stick your finger in the soil. If it feels damp, step away from the watering can.
Mistake #2: Wrong Light Placement
Hibiscus love sunlight. But not all sunlight is equal. I put my first hibiscus in full, direct afternoon sun. The leaves got sunburned. They turned crispy at the edges. The flowers looked stressed. I thought I was giving it the best spot.
Reality check: Hibiscus need morning sun and afternoon shade. Or dappled light throughout the day. Six hours of direct morning sunlight is perfect. Afternoon sun in hot climates will scorch the leaves.
I moved my current hibiscus to a spot that gets morning sun until about 1 PM. Then it gets shade from a large oak tree. The difference was night and day. The plant stopped looking fried. New leaves grew without brown edges.
Mistake #3: Using the Wrong Pot
For large outdoor hibiscus, the pot matters more than you think. I used a narrow, deep pot for my second hibiscus. The roots got cramped. They circled around the bottom of the pot. The plant became root-bound. It couldn't absorb nutrients properly.
The right pot should be wide and shallow. Hibiscus roots spread horizontally, not vertically. A pot that is 20 inches wide and 12 inches deep is better than a narrow 24-inch deep pot. Also, drainage holes are non-negotiable. I learned this after my second hibiscus sat in waterlogged soil for two weeks.
The American Horticultural Society (AHS) emphasizes that proper container selection is critical for root health. A wide pot allows roots to spread naturally. This supports better nutrient uptake and overall plant vitality.
My Step-by-Step Deep Root Feeding Process
I want to share exactly what I do now. This method works for large outdoor hibiscus in pots or in the ground.
Step 1: Identify the Drip Line
Walk around your hibiscus. Look at where the outermost branches end. That circle on the ground is the drip line. The roots extend to this area. That's where you need to feed.
For potted hibiscus, the drip line is usually close to the pot's edge. For in-ground plants, it can be several feet from the trunk.
Step 2: Drill or Dig Feeding Holes
I use a soil auger bit on my cordless drill. It makes perfect holes in about 10 seconds. If you don't have a drill, you can use a long screwdriver or a piece of rebar. Just push it into the soil.
Make holes that are 8 to 12 inches deep. Space them about 6 inches apart around the drip line. For a large hibiscus, I typically make 6 to 8 holes.
Step 3: Choose Your Fertilizer
I prefer liquid fertilizer for deep root feeding. Slow-release granular fertilizers work too, but they take longer to show results. Liquid gets absorbed quickly.
Use a balanced fertilizer like 10-10-10. Or look for a formula specifically for flowering shrubs. Some people use fish emulsion or seaweed extract. I've tried both. They work well but can smell strong for a day or two.
Mix the fertilizer according to the package instructions. I use half the recommended strength for the first application. Then I increase to full strength for subsequent feedings.
Step 4: Apply the Fertilizer
Pour the liquid mixture slowly into each hole. Go around the circle, filling each hole about halfway. The soil will absorb the liquid. Wait a few seconds, then add more until each hole is full.
I use about half a gallon total for a 6-foot hibiscus. Adjust the amount based on your plant's size.
Step 5: Cover and Water Lightly
Fill the holes back up with soil. Then water the surface lightly. This helps settle the soil and prevents any fertilizer from sitting on top.
I give it about 1 to 2 cups of water on the surface. No more. The deep feeding already delivered moisture where it matters.
Step 6: Repeat Every 4 to 6 Weeks
Deep root feeding is not a one-time trick. I do it every 4 to 6 weeks during the growing season. Spring through early fall. I stop in late fall when the plant goes dormant.
What I Observed After Consistent Deep Root Feeding
I've been using this method for two full growing seasons now. My large outdoor hibiscus has transformed.
Leaf quality: The leaves are dark green, thick, and glossy. Before, they were thin and pale. Now they have substance.
Flower production: I get 2 to 3 times more flowers. They last longer too. A single flower can stay open for 3 to 4 days. Before deep root feeding, they barely lasted a day.
Root health: I checked the roots when I repotted this spring. They were spreading evenly through the soil. No circling. No rot. The root ball was dense but not cramped.
Overall plant vigor: The stems are thicker. The plant handles wind better. It bounces back faster after heavy rain. I even had a late frost one night, and the hibiscus barely showed damage. Deep roots make a plant tough.
How Deep Root Feeding Compares to Surface Feeding
I tried both methods. I even did a side-by-side comparison with two identical hibiscus plants.
Surface feeding: The fertilizer sits on top. Rain washes it away. The sun evaporates moisture. Nutrients don't reach the deep roots. The plant stays weak.
Deep root feeding: Nutrients go directly to the root zone. No waste. The roots absorb them efficiently. The plant responds faster and stronger.
The AHS explains that root zone fertilization is more efficient than surface application because it places nutrients exactly where the roots are actively growing. This reduces nutrient loss and environmental runoff.
Tools I Recommend for Deep Root Feeding
You don't need expensive equipment. Here's what I use:
- Soil auger bit: About $15 online. Fits any standard drill.
- Long screwdriver: Works if you don't have a drill.
- Measuring cup: For mixing fertilizer.
- Watering can with narrow spout: Makes pouring into holes easy.
- Garden gloves: Because I hate getting dirt under my nails.
One thing I tried that failed: using a PVC pipe as a permanent feeder. I buried a pipe next to the root ball. I poured fertilizer into it. The holes got clogged with soil after two weeks. Don't waste your time with that.
Common Questions About Deep Root Feeding for Large Outdoor Hibiscus
Let me answer the questions I get most often from other gardeners.
Can I deep root feed in winter?
No. Stop feeding in late fall. The plant goes dormant. It doesn't need nutrients. Feeding in winter can encourage weak growth that gets damaged by cold.
What if my soil is clay?
Clay soil drains slowly. But deep root feeding still works. Just use fewer holes and less liquid per hole. The soil will absorb it gradually. I've done this in heavy clay soil. The results were slower but still noticeable.
Is deep root feeding safe for potted plants?
Yes. But be careful with the amount. Potted plants have limited root space. Use half the amount you would use for an in-ground plant. Also, make sure the pot has drainage holes.
Final Thoughts After Two Weeks of Deep Root Feeding
I won't tell you this is a miracle cure. Plants need time. But my two-week test showed clear improvements. The leaves greened up. Buds appeared. The flowers lasted longer.
The deep root feeding method for large outdoor hibiscus worked for me. It will work for you too. Start with a healthy plant, avoid the three deadly mistakes, and feed deeply. Your hibiscus will reward you with the most beautiful flowers you've ever seen.
I still check my plants every morning. I still smile when I see new buds. Gardening is full of small wins. This method gave me a big one.
Frequently Asked Questions About Deep Root Feeding
Q: How often should I deep root feed my large outdoor hibiscus?
A: Every 4 to 6 weeks during the growing season. Spring through early fall. Stop in late fall. Don't feed in winter.
Q: Can I use slow-release fertilizer for deep root feeding?
A: Yes. But I recommend liquid fertilizer for faster results. Slow-release granules take longer to break down. Liquid gives immediate benefits.
Q: What is the best time of day for deep root feeding?
A: Early morning or late afternoon. Avoid midday heat. The roots absorb nutrients better when the soil is cool. I do it right after sunrise.
I hope this helps you avoid the mistakes I made. Your hibiscus deserves the best. Deep root feeding is the way to get it.





