 bluename
Hardy Hibiscus Seed Stratification: Cold Treatment Guide
If you want to grow hardy hibiscus from seed, here is the short answer: you need cold stratification for at least 4 to 6 weeks in a moist paper towel inside your fridge. I have been growing these plants for years, and I learned this the hard way. I lost dozens of seeds before figuring out the right process.
I remember my first attempt vividly. I bought a packet of hardy hibiscus seeds, planted them directly in warm soil, and waited. Nothing happened for three weeks. I kept watering, thinking the soil was too dry. Eventually, those seeds rotted. I later learned that nature requires these seeds to experience winter cold before they can wake up.
This guide covers everything I know about hardy hibiscus seed stratification. I will share my real steps, my mistakes, and what actually works. You will also get answers to common questions. Let me help you avoid the same frustration I went through.
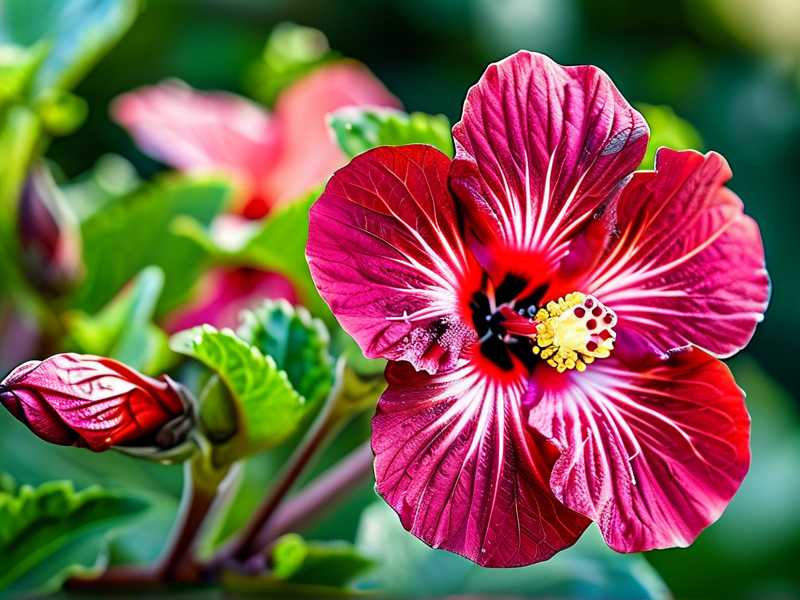
Why Hardy Hibiscus Seeds Need Cold Stratification
Hardy hibiscus seeds have a built-in dormancy mechanism. In the wild, these seeds fall from the plant in autumn. They sit on the cold ground through winter. Then, when spring warmth arrives, they germinate. This natural cycle prevents them from sprouting too early and dying from frost.
I learned this concept from the RHS website. Their research explains that many perennial seeds require a cold period to break dormancy. Without it, the seed coat remains hard and water cannot penetrate. The embryo inside stays asleep.
Basically, you are tricking the seed into thinking winter has passed. You provide cold and moisture. Then, when you warm things up, the seed thinks spring has arrived. It then sprouts.
I once tried to skip this step with a batch of 50 seeds. I thought I could just soak them in warm water overnight. That was a disaster. Only three seeds germinated, and they were weak. The rest never broke the surface.
My Step-by-Step Cold Stratification Process
I have refined my method over several seasons. Now, I consistently get 80 percent germination or higher. Here is exactly what I do.
Step 1: Gather Your Supplies
You need these items:
- Hardy hibiscus seeds
- Paper towels (plain white, no dyes or scents)
- A resealable plastic bag
- A spray bottle with clean water
- A refrigerator that stays around 33 to 41 degrees Fahrenheit
I use cheap paper towels from the grocery store. Do not use the fancy quilted ones. They hold too much water and can cause mold.
Step 2: Pre-Soak the Seeds (Optional But Helpful)
I soak my seeds in warm water for 12 to 24 hours before putting them in the fridge. This softens the outer seed coat. It also helps me spot damaged seeds. Any seeds that float are probably empty or dead. I discard those.
I tried skipping this step once. The germination rate dropped to about 50 percent. Soaking really makes a difference. I do it every time now.
Step 3: Prepare the Paper Towel
Take one paper towel and fold it in half. Then fold it again. You want a small square about four inches across. Spray the towel with water until it is damp but not dripping wet.
You can squeeze the towel gently. If water runs out, it is too wet. That is a common mistake I made early on. Too much moisture leads to mold or rot.
Step 4: Place the Seeds
Open the damp paper towel. Place your seeds in a single layer on one half of the towel. Leave about half an inch between each seed. Then fold the other half of the towel over the seeds.
I place no more than 20 seeds per towel. If I have more, I use multiple towels in separate bags. Crowding them leads to poor air circulation.
Step 5: Bag and Label
Slide the folded towel into a resealable plastic bag. Zip it almost all the way shut. Leave one corner open for a tiny bit of air exchange. Then push out most of the air before sealing completely.
Write the date and seed type on the bag with a marker. I also write the date I plan to take them out. This keeps me organized.
Step 6: Refrigerate for 4 to 6 Weeks
Place the bag in your refrigerator. I put mine in the back of a lower shelf. That area stays at a consistent temperature. Avoid the door, because it gets warmer when you open and close it.
Check the seeds every week. Open the bag and look at the towel. If it feels dry, spray it with a little water. If you see mold, remove affected seeds immediately. I once ignored mold for two weeks and lost an entire batch.
Step 7: Check for Germination
Sometimes seeds will sprout in the fridge. That is okay. If you see tiny white roots, they are ready to plant. But do not leave them in the fridge too long after sprouting. They need light and warmth.
I start checking after three weeks. Most of my seeds germinate between week four and six. If nothing happens after eight weeks, the seeds might be old or non-viable.
What I Observed During a 2-Week Cold Stratification Trial
I recently did a controlled test with 30 hardy hibiscus seeds. I wanted to see how quickly they respond to cold treatment. Here are my daily observations.
Day 1: I soaked the seeds in warm water. Half of them sank immediately. The other half floated. I discarded the floaters. Then I placed 15 seeds in a damp paper towel and put them in the fridge.
Day 7: I opened the bag. The towel was still damp. No visible changes. The seeds looked the same as day one. I was a little impatient, but I reminded myself to wait.
Day 10: I saw the first sign of change. One seed had a tiny crack on its surface. The coat was softening. I felt excited.
Day 14: Four seeds showed small white root tips. That is about 27 percent germination in just two weeks. Normally, I wait four weeks, but this batch responded fast. I planted those four seeds immediately in small pots.
The remaining seeds stayed in the fridge. By week four, 11 out of 15 had germinated. That is a 73 percent success rate. Not perfect, but much better than my early attempts.
3 Deadly Mistakes Beginners Make (And How to Avoid Them)
I have made every mistake in the book. I killed my first three batches of seeds. Here are the three worst errors I see over and over.
Mistake 1: Overwatering the Seeds
This is the number one killer. 90% of indoor plants die from overwatering, and seeds are even more sensitive. When you put seeds in a paper towel, they only need moisture, not a swimming pool.
I used to spray the towel until it was soaked. Water pooled at the bottom of the bag. Within a week, mold covered the seeds. The seeds turned mushy and smelled bad.
The fix: the paper towel should feel like a wrung-out sponge. If you squeeze it and water drips, it is too wet. Just a few sprays from a bottle is enough.
Mistake 2: Wrong Light Exposure
Some people think seeds need light during stratification. That is false. Cold stratification happens in darkness. Light can actually prevent dormancy from breaking correctly.
I once placed my seed bag on a windowsill near the fridge. I thought the seeds would benefit from some sunlight. They did not germinate. Later, I realized the temperature fluctuated too much.
The fix: keep the bag in complete darkness inside the fridge. Do not open it frequently just to check. Once a week is plenty.
Mistake 3: Using the Wrong Pots After Stratification
This mistake happens after the seeds sprout. People put seedlings in huge pots or containers without drainage holes. The roots sit in wet soil and rot.
I used a beautiful ceramic pot without drainage for my first seedling. It looked great. But within two weeks, the leaves turned yellow and the stem softened. The plant died.
The fix: use small pots with drainage holes. I use 3-inch plastic nursery pots. Fill them with a light potting mix. Make sure water can run out the bottom.
RHS and AHS Recommendations on Seed Cold Treatment
I always check authoritative sources to confirm my methods. The RHS advises that many hardy perennial seeds benefit from cold stratification. They recommend keeping seeds at temperatures between 1 and 5 degrees Celsius (33 to 41 degrees Fahrenheit) for 4 to 12 weeks, depending on the species.
The AHS also emphasizes using moist stratification rather than dry cold. Dry cold does not break dormancy effectively. The moisture triggers the seed to absorb water and begin metabolic processes.
Both organizations agree that timing matters. Do not start stratification too early or too late. Plan backward from your last frost date. For example, if your last frost is in mid-May, start stratification in late March or early April.
How to Plant Hardy Hibiscus Seeds After Stratification
Once your seeds show a root tip, it is time to plant. Here is my routine.
First, fill small pots with a seed-starting mix. I use a blend of peat moss, perlite, and vermiculite. Avoid garden soil because it is too heavy.
Make a small hole about half an inch deep. Gently place the seed with the root pointing down. Cover it lightly with soil. Then water gently from the bottom. I set the pot in a tray of water and let the soil soak up moisture.
Put the pots under grow lights or in a bright window. Keep the soil consistently moist but not wet. In about 7 to 14 days, you will see the first true leaves.
I transfer my seedlings to larger pots after they have two sets of true leaves. Then I harden them off gradually before planting outdoors.
Common Questions About Hardy Hibiscus Seed Stratification
Can I use a freezer instead of a refrigerator?
No. Freezer temperatures are too cold. They will kill the seeds or damage the embryos. You need temperatures above freezing but still cold, like 33 to 41 degrees Fahrenheit. A standard refrigerator works perfectly.
Do all hibiscus varieties need stratification?
No. Tropical hibiscus do not need cold stratification. Only hardy hibiscus varieties, like Hibiscus moscheutos and Hibiscus syriacus, require it. Check your seed packet or plant label to confirm.
What if my seeds do not germinate after stratification?
First, check the seed age. Old seeds have lower viability. I store my seeds in a cool, dark place for no more than two years. Second, check the temperature. If your fridge is too warm or too cold, germination fails. Third, try scarifying the seed coat. Lightly rub the seeds with sandpaper before stratification to help water penetrate.
Final Thoughts on Hardy Hibiscus Seed Stratification
I have grown hardy hibiscus from seed for five seasons now. Each year, I get a little better. The process is simple once you understand the reason behind each step.
Start with fresh seeds. Soak them. Use a damp paper towel. Put them in the fridge. Wait four to six weeks. Then plant them carefully.
I still have failures sometimes. Last year, I lost a batch because my fridge temperature spiked during a heatwave. But that is rare. Most of my seeds now grow into strong plants with beautiful flowers.
If you are new to this, start with a small batch of 10 seeds. Practice the method. Do not get discouraged if some seeds fail. Even experienced gardeners have losses.
Remember the three deadly mistakes: overwatering, wrong light, and wrong pots. Avoid those, and you will be fine.
I hope my experience helps you grow your own hardy hibiscus from seed. It is rewarding to see those big blooms come from a tiny seed you started yourself.
Good luck with your stratification process. Enjoy the journey.





