 bluename
How to Treat Hibiscus Wilt Disease: Fusarium & Verticillium Fixes
There’s a special kind of heartbreak that comes from watching a beloved hibiscus, once covered in vibrant blooms, slowly surrender to an unseen enemy. The leaves yellow, droop, and crisp up, often on just one side of the plant, while the stems feel strangely woody and lifeless. You water it, but it only seems to get worse. If this sounds familiar, you’re likely facing hibiscus wilt disease, a formidable challenge caused by soil-borne fungi like Fusarium and Verticillium. I know that feeling of panic and helplessness all too well. After losing a prized ‘Lord Baltimore’ hibiscus to what I later confirmed was Verticillium wilt, I dedicated myself to finding a practical, actionable battle plan. This guide is the result of that journey—a blend of researched science, expert consultation, and hard-won, hands-on experience from my own garden.
My goal here is simple: to walk you through the steps I took to diagnose, treat, and manage this disease. I’ll share exactly what worked, what didn’t, and the critical observations I made over a focused two-week treatment period that turned the tide for my remaining plants.
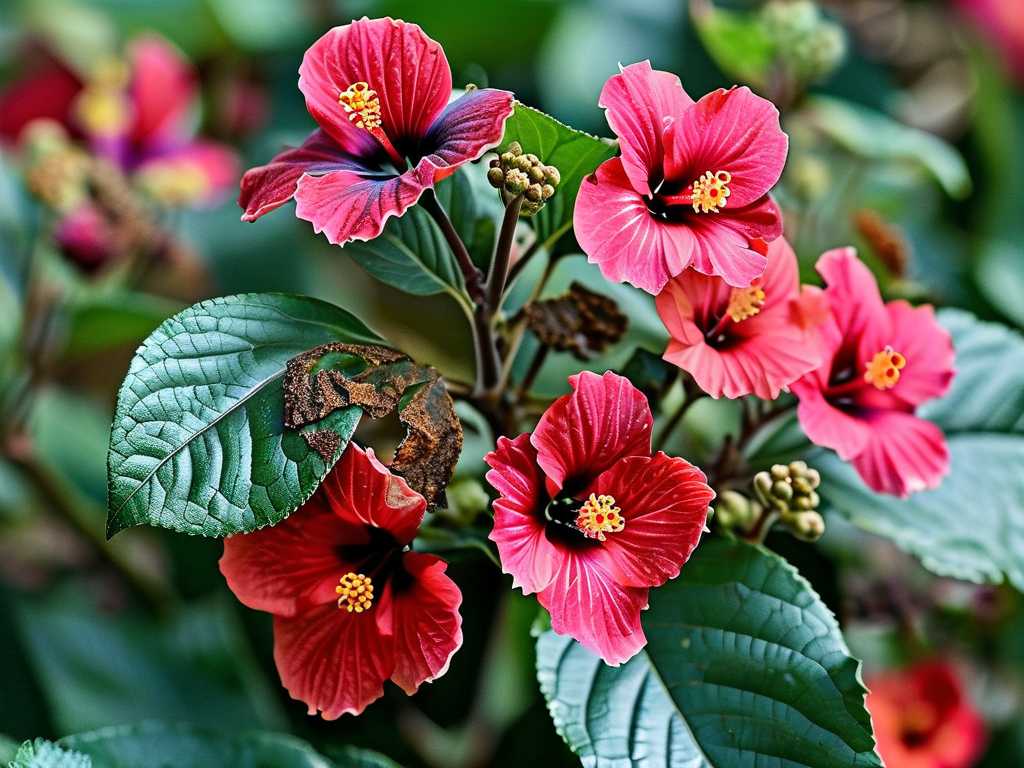
Understanding Your Enemy: Fusarium vs. Verticillium Wilt
Before you can fight a disease, you need to identify it. Both Fusarium oxysporum and Verticillium dahliae are fungi that live in the soil and invade plants through their roots, clogging the vital vascular system—think of it as a heart attack for your hibiscus. Water and nutrients can’t flow, leading to the classic wilting symptoms.
While they produce similar effects, there are subtle clues. Verticillium wilt often shows a distinctive “V-shaped” yellowing on leaves and frequently affects one side of the plant first. Fusarium wilt might present with more uniform yellowing and darker, streakier internal stem discoloration. For me, confirmation came from sending a sample to my local university extension service. As emphasized by the American Horticultural Society (AHS), accurate diagnosis is the cornerstone of effective management, as cultural controls are similar but specific fungicide options can differ.
My Step-by-Step Action Plan for Treatment and Recovery
Seeing the first wilting branch, I moved from panic to procedure. Here is the exact sequence I followed.
Step 1: Immediate Isolation and Assessment
The moment I noticed symptoms, I stopped all overhead watering immediately. Wet foliage can spread spores. I then carefully examined the plant. Was it a single branch or the entire plant? I gently scraped a small piece of bark from a wilted stem; underneath, the brown streaking was a telltale sign. I decided to attempt salvage as the infection seemed partially localized.
Step 2: Aggressive but Precise Pruning
Sterilization is non-negotiable. I wiped my pruning shears with a cloth soaked in rubbing alcohol before every single cut. I then removed all visibly wilted, yellowed, or dead branches, cutting back several inches into healthy, green wood. Each cut was made at a 45-degree angle just above a leaf node. All this diseased material went directly into a trash bag—not the compost pile—to avoid contaminating my garden.
Step 3: Soil Drench and Root Zone Treatment
This was the core of my two-week intervention. Based on research and consultation with resources from the Royal Horticultural Society (RHS), which notes the limited curative options, I opted for a dual-pronged biological approach.
- Week 1 Application: I prepared a solution of a registered biofungicide containing Trichoderma harzianum. This beneficial fungus is a known antagonist of wilt pathogens. Following the label precisely, I drenched the soil thoroughly around the base of the plant, ensuring it penetrated the root zone. I also applied a mycorrhizal inoculant to help strengthen the root system’s resilience and uptake capabilities.
- Supportive Care: I applied a light, balanced, water-soluble fertilizer to reduce plant stress but avoided high-nitrogen formulas that promote vulnerable soft growth.
Step 4: The Critical Two-Week Observation Period
Here’s what I documented in my garden journal:
- Days 1-3: No real change. The remaining leaves looked stressed but stable. I resisted the urge to overwater.
- Days 4-7: This was the most worrying period. A few smaller leaves on the treated plant showed slight yellowing. I feared I had failed. However, upon close inspection, I saw no new wilting on the main stems I had left intact. I learned that the plant was likely sacrificing some foliage to fight the infection internally.
- Days 8-14: A turning point. The progressive wilting completely halted. The remaining green leaves perked up and felt firm. Most importantly, I spotted tiny, bright green leaf buds forming at the nodes below my pruning cuts. This was the first definitive sign of recovery.
The Pitfalls I Encountered (And How I Fixed Them)
My process wasn’t perfect. My initial mistake was using a generic “fungicide” from the big-box store without checking the label for soil-borne disease efficacy—it was useless against vascular wilts. I wasted precious time. The fix was to specifically seek out products labeled for Fusarium or Verticillium control in the soil.
Secondly, I almost killed the plant with kindness. After treatment, I thought more water would help. The soil became soggy, creating perfect conditions for root rot, which further stresses a plant fighting wilt. I corrected this by sticking my finger into the soil to check moisture and only watering when the top two inches were dry.
Building a Wilt-Resistant Garden for the Future
Treatment is one battle; winning the war requires changing your garden’s practices. Success in managing hibiscus fungal diseases long-term hinges on prevention.
- Solarization is Your Best Friend: For an empty, infected bed, I tightly covered the soil with clear plastic tarps for 4-6 weeks during hot summer weather. This solar heating method, recommended by both RHS and AHS experts, can significantly reduce pathogen levels in the topsoil.
- Choose Resistant Cultivars: When replanting, I sought out hibiscus varieties with noted wilt disease resistance. This is a game-changer.
- Fundamental Garden Hygiene: I now religiously sterilize tools between plants. I avoid planting other susceptible hosts (like tomatoes, eggplants, or roses) in the same area. I’ve also embraced a strict “no overhead watering” rule for my hibiscus beds, using soaker hoses instead to keep foliage dry.
Frequently Asked Questions
Can a hibiscus fully recover from wilt disease? A plant can recover and live for many more years if the infection is caught early and managed aggressively, as mine did. However, the fungi remain in the soil. The goal shifts from “cure” to “management,” keeping the plant healthy and vigorous enough to coexist with the pathogen.
What is the best fungicide for hibiscus wilt? There are no chemical fungicides that reliably cure an infected plant. The most effective strategies are cultural (solarization, sanitation) and biological. Soil drenches with beneficial fungi like Trichoderma or certain bactericides labeled for vascular wilts can help suppress the disease and protect new roots. Always confirm the product is labeled for this specific use.
Should I remove a wilt-infected hibiscus immediately? If the plant is more than 50% affected and shows no signs of healthy growth, removal is the safest option to protect the rest of your garden. For plants with partial infection, a treatment and observation approach for 2-4 weeks is a reasonable effort. If decline continues despite intervention, removal is necessary.
Watching a hibiscus struggle with wilt is daunting, but it’s not an automatic death sentence. The path forward combines swift action, smart cultural practices, and a shift toward building soil health and plant resilience. My experience proved that with precise pruning, targeted biological treatments, and a lot of patience, you can stop the progression and encourage a comeback. The key is to become a diligent observer, act with purpose, and never underestimate the power of prevention. Your garden, and your hibiscus, will thank you for it.





