 bluename
Hibiscus Aphid Control: Ladybug Release for Organic Gardens
There’s nothing quite as disheartening as watching your prized hibiscus, with its vibrant, dinner-plate-sized blooms, become a stunted, sticky mess. That was my reality just a few weeks ago. I noticed the new growth curling, a telltale sheen on the leaves, and upon closer inspection, entire stems were crawling with tiny green pests—aphids. As someone committed to organic gardening, I refused to reach for chemical sprays. I needed a solution that was effective, natural, and sustainable. That’s when I decided to fully commit to a ladybug release for organic gardens. This is my detailed, firsthand account of the entire process, from preparation to the results observed over a full two-week period, including the unexpected challenges I faced and how I overcame them.
Understanding the Enemy: The Hibiscus Aphid Problem
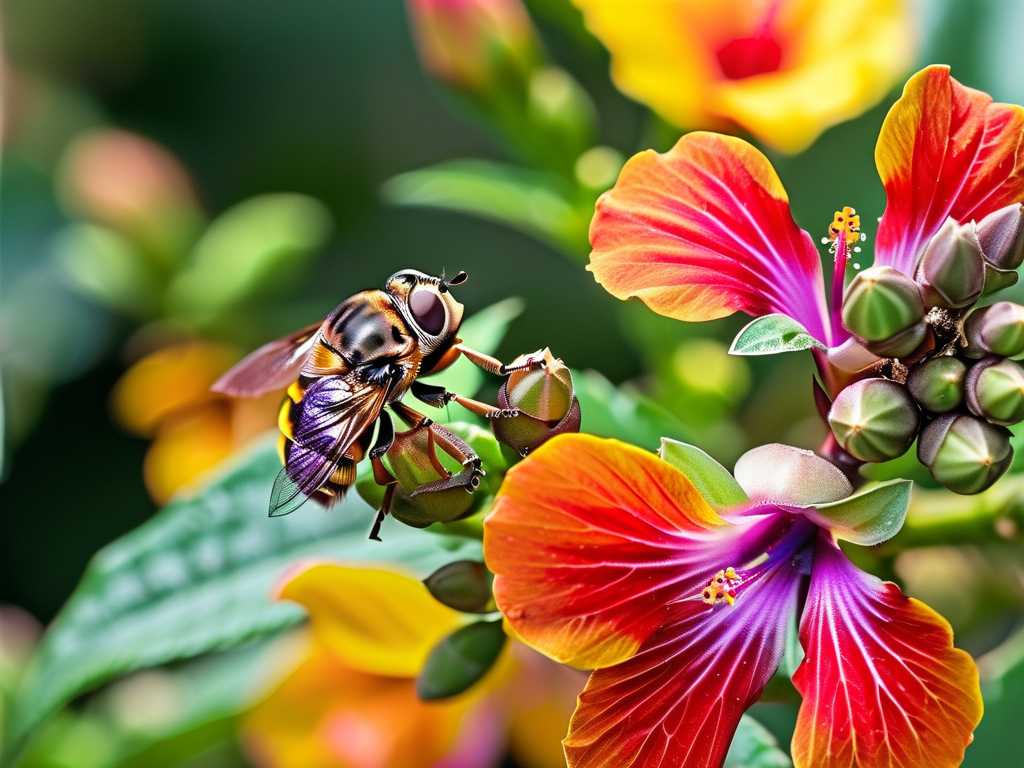
Before deploying any solution, understanding the problem is crucial. The aphids plaguing my hibiscus were likely the hibiscus aphid (Aphis gossypii), a common sap-sucker that thrives on tender new growth. They weaken the plant by draining its nutrients and excrete a sticky substance called honeydew, which leads to sooty mold. This not only hampers photosynthesis but also attracts other pests. The Royal Horticultural Society (RHS) notes that while mild infestations can be tolerated, significant outbreaks can severely distort growth and reduce flowering. My goal wasn’t just to knock back the population but to establish a natural balance where predators could keep them in check long-term.
Why I Chose Ladybugs for Natural Pest Control
For organic hibiscus aphid control, options like insecticidal soaps or neem oil are common. However, they require repeated applications and can affect non-target insects. I wanted a self-sustaining method. Ladybugs, specifically the convergent lady beetle (Hippodamia convergens), are voracious predators. According to the Association of Horticultural Scientists and Advisors (AHSA), a single ladybug larva can consume up to 400 aphids during its development. Releasing them introduces immediate predators and, if conditions are right, encourages them to stay and breed. This method directly aligns with organic principles by enhancing the garden’s ecosystem rather than disrupting it.
My Step-by-Step Guide to Releasing Ladybugs Effectively
Success with ladybugs isn’t as simple as just opening a bag and letting them fly away. Proper technique dramatically increases their retention and effectiveness.
Preparing the Garden and Plants First, I gave my infested hibiscus a strong spray of water from the hose. This dislodged a significant number of aphids and washed off honeydew, making the plant more attractive to the ladybugs as a hunting ground. I ensured the plants were well-watered the evening before release; ladybugs seek out moisture. I also inspected nearby plants for ant colonies, as ants farm aphids for honeydew and will aggressively defend them. I placed sticky barriers around the base of my hibiscus to prevent ants from climbing up.
The Release Process: Timing and Technique I ordered my ladybugs from a reputable supplier and scheduled delivery for a mid-week day to ensure I’d be home. They arrived in a breathable mesh bag. The key is to release them at dusk or on a cool, overcast morning. Ladybugs are less likely to fly away immediately in low light. I gently sprinkled the ladybugs at the base of the hibiscus and on the infested stems. I didn’t just dump them; I distributed small clusters around the garden, focusing on the most affected areas. To encourage them to stay, I provided a hydration station—a shallow dish with wet pebbles or sponges—and planted companion flowers like dill, fennel, and yarrow to offer alternative pollen sources.
The Two-Week Observation: What Actually Happened
This is where the real learning began. I kept a daily journal to track the progress.
Days 1-3: Initial Feeding Frenzy The first 48 hours were impressive. I observed both adult ladybugs and their spiny, alligator-shaped larvae actively moving across the curled leaves and stems. The aphid population on the most visible parts of the plant decreased noticeably. However, I also saw many adult ladybugs flying to nearby trees and fences. This initial dispersal is normal, but it’s why proper release technique is so vital—the ones that remained had immediate access to food and water.
Days 4-7: The Larval Stage Takes Over This was the most critical phase. The adult ladybugs that stayed had begun laying tiny, yellow eggs in clusters near aphid colonies. Within days, these hatched into larvae. These larvae are the true workhorses of aphid management with ladybugs. They are less mobile than adults but consume aphids at an astonishing rate. I focused my observations on these larvae, watching them clean entire young shoots. The new growth on my hibiscus began to uncurl and look healthier.
Days 8-14: Establishing Balance and a Setback By the end of the first week, the severe infestation was under control. I spotted far fewer adult aphids. However, I encountered my first major “坑” (challenge). A sudden spell of hot, dry weather occurred. I noticed ladybug larvae drying up and some adults leaving. My hydration stations had evaporated quickly. I immediately remedied this by setting up several small, shallow water sources in the shade and doing a light, evening misting of the foliage (avoiding flowers to prevent mold). This simple intervention made a huge difference. I also discovered a small, hidden colony of aphids on the undersides of a few lower leaves that the ladybugs had missed. I manually removed these leaves to prevent a resurgence.
Lessons Learned and Troubleshooting Common Issues
My experience taught me that a ladybug release is a proactive management strategy, not a magic bullet. Here are the key problems I faced and how I solved them:
- Ladybugs Flying Away: Initial dispersal is inevitable. To maximize retention, release at the right time (dusk), provide immediate water sources, and ensure there is ample prey. Don’t release them all in one spot.
- Ants Interfering: I missed a small ant trail. They were disrupting ladybug larvae. I reapplied the sticky barrier and used a citrus-based, organic ant deterrent around the base of the plant.
- Incomplete Coverage: Ladybugs might miss hidden aphid colonies. My solution was to supplement their work with weekly inspections and manually squash any small, lingering clusters I found. This gave the ladybugs a chance to find them without the population exploding again.
- Weather Dependence: Extreme heat or heavy rain can impact effectiveness. Providing shelter (dense foliage, insect hotels) and consistent water is essential during variable weather.
Integrating Ladybugs into a Holistic Organic Garden Plan
A one-time release is a great jumpstart, but for lasting organic pest control for flowering plants, you need to create a welcoming habitat. I’ve since added more perennial plants that attract beneficial insects, like cosmos, marigolds, and alyssum. I practice tolerance for a low level of pests, as they provide the food source that keeps predators like ladybugs in my garden. I avoid broad-spectrum organic pesticides, even mild ones like soap spray, unless absolutely necessary, as they can harm the very allies I’m trying to foster.
Frequently Asked Questions
How many ladybugs do I need for my hibiscus? For a moderate infestation on one or two large shrubs, 1,500 ladybugs are a good start. For a light infestation or a single plant, 500 may suffice. It’s better to release a smaller number correctly than a large number poorly. They will reproduce if the conditions are favorable.
Will ladybugs harm my hibiscus flowers or leaves? No. Ladybugs (and their larvae) are strictly predatory on soft-bodied pests like aphids, thrips, and mites. They do not eat plant material. You may see them crawling over blooms and foliage, but they are only hunting.
Can I use ladybugs indoors or on potted hibiscus? It is possible but requires careful management. The space must be enclosed (like a sunroom or greenhouse) to prevent them from dispersing throughout your home. Ensure the plant has a significant aphid infestation to hold their interest, and provide a water source. For a single potted plant, manual removal or a soap spray is often more practical.
Seeing my hibiscus bounce back, with clean, green leaves and fat flower buds forming again, was immensely satisfying. The ladybug release for organic gardens was a success, but it required more than just buying bugs. It demanded observation, timely intervention, and a commitment to working with nature’s systems. The two-week journey had its hiccups, but the result is a healthier plant and a garden that now has a resident population of these brilliant red guardians. If you’re facing an aphid invasion and want a truly organic solution, I highly recommend giving ladybugs a try—just be prepared to be an active participant in the process.





