 bluename
How to Treat Hibiscus Root Knot Nematodes: Soil Solarization
There’s a special kind of heartbreak that comes from watching a beloved hibiscus struggle. You’re doing everything right—the right sun, the right feed, the right amount of love—yet the leaves yellow, growth stunts, and blooms become a distant memory. I’ve been there, staring at a wilting plant, feeling utterly defeated. More often than not, the hidden culprit beneath the soil is the root knot nematode. These microscopic worms invade the roots, forming those telltale, damaging galls that choke the life out of your plant. If you’re facing this silent war in your garden, I want to share the method that finally brought my soil back to life: soil solarization. It’s a chemical-free, solar-powered technique I used to reclaim my garden beds, and I’ll walk you through my entire two-week journey, complete with the mistakes I made and how I fixed them.
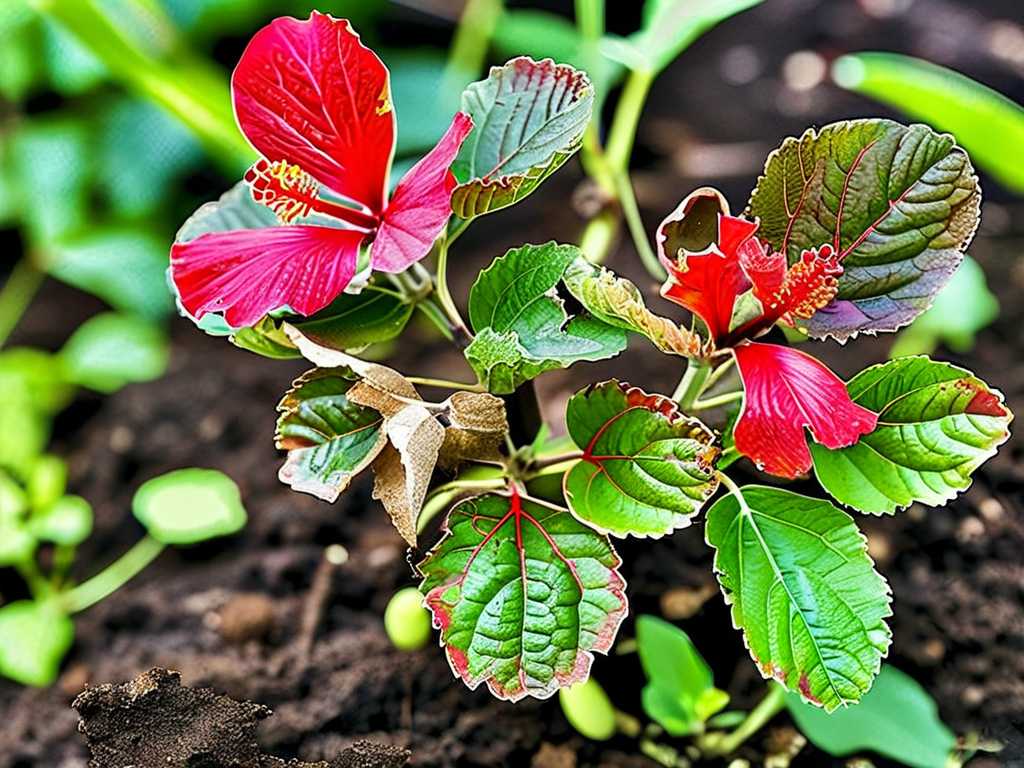
Understanding Your Enemy: The Root Knot Nematode
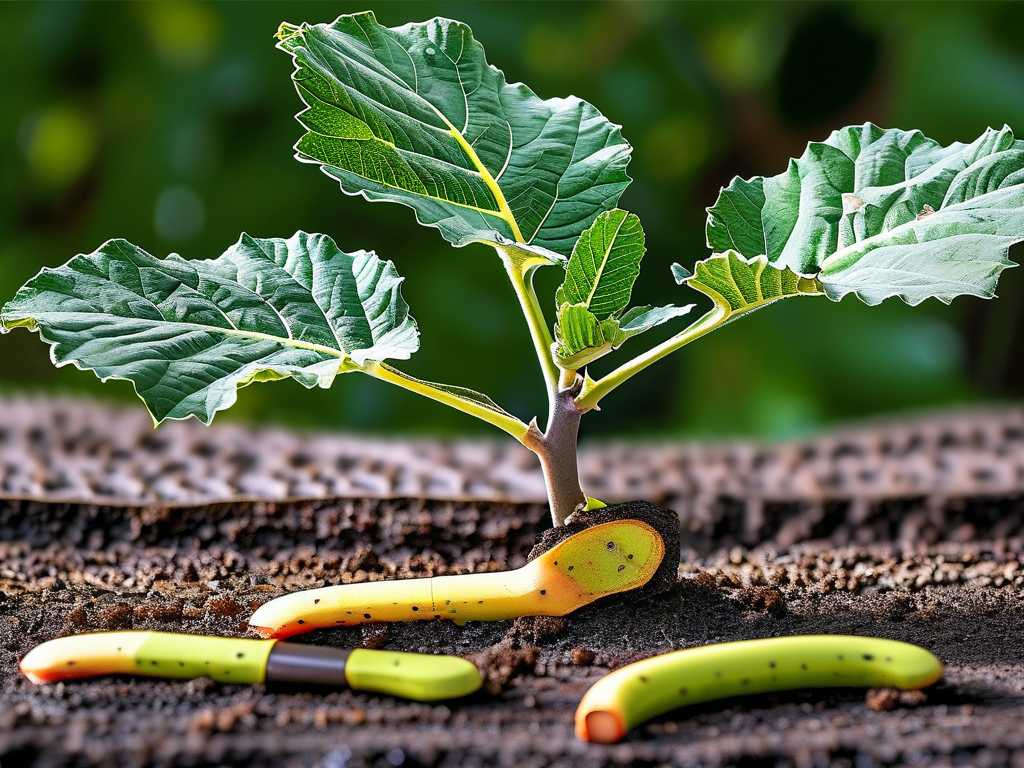
Before we lay down the plastic, it’s crucial to know what we’re fighting. Root knot nematodes (Meloidogyne spp.) are not your average garden pest. They’re soil-dwelling roundworms that pierce root cells, causing the plant to form swollen galls or “knots.” These galls disrupt the flow of water and nutrients, leading to the classic symptoms of decline. The insidious part is that they live and multiply in the soil, and once established, they can persist for years. Simply removing an infected plant leaves the problem waiting for the next victim. According to research cited by the American Horticultural Society (AHS), nematode populations can explode in warm, sandy soils—exactly the conditions many hibiscus varieties thrive in. This makes proactive soil management essential.
Why I Chose Soil Solarization for Nematode Control
When I discovered my hibiscus bed was infected, I explored all options. Chemical nematicides are complex and often concerning for a home garden ecosystem. Crop rotation wasn’t practical for my permanent landscape plants. Soil solarization emerged as the most promising solution. The process uses clear plastic tarps to trap solar energy, heating the top 12-18 inches of soil to temperatures lethal to nematodes, weeds, and many soil-borne diseases. The Royal Horticultural Society (RHS) notes in its pest management guidelines that sustained soil temperatures of 110-125°F (43-52°C) for several weeks can significantly reduce nematode populations. This method aligned with my goal of gardening more organically. It’s a treatment for how to get rid of root knot nematodes in garden soil without leaving harmful residues.
My Step-by-Step Soil Solarization Process
I committed to the process in the peak of summer, when solar radiation is strongest. Here is the exact procedure I followed, refined by my own trial and error.
Preparing the Garden Bed First, I removed the sadly lost hibiscus plants and all other vegetation. This was emotionally tough but necessary. I then tilled the soil thoroughly to a depth of about 8-10 inches. The goal is to create a fine, smooth seedbed. My first mistake here was not breaking up large clods. Lumps create air pockets that insulate the soil and prevent even heating. I had to go over it a second time with a rake until the surface was as level as possible. Next, I watered the area deeply until the soil was moist but not soggy a foot down. Moisture is critical—it conducts heat better than dry soil and makes nematodes more vulnerable to the heat stress.
Sealing the Area with Plastic I purchased 1.5 to 2-mil clear polyethylene plastic sheeting. Do not use black plastic; it absorbs heat itself rather than letting it pass through to heat the soil. I laid the sheeting over the prepared bed, pulling it tight. Initially, I tried to use rocks to hold down the edges. This was my second big mistake. Wind got underneath and turned my carefully laid tarp into a giant, flapping balloon. I quickly switched to the recommended method: trenching. I dug a shallow trench around the perimeter of the bed, laid the plastic edges in it, and backfilled it with soil, creating a complete seal. This locked in the moisture and heat perfectly. The plastic should be in direct contact with the soil surface.
The Two-Week Observation: Heat, Hope, and Adjustment
I started my soil solarization for nematode control in early July. The forecast promised two solid weeks of sun, which is ideal.
Week One: Building the Heat Within just 48 hours, I could see condensation forming on the underside of the plastic—a great sign that the moisture was being trapped. By day three, the soil underneath felt warm to the touch even at the edges. I used a compost thermometer by carefully lifting a corner of the plastic (and immediately resealing it). At a 2-inch depth, temperatures were already hitting 115°F (46°C). I was encouraged but knew the heat needed to penetrate much deeper to reach where nematodes reside.
Week Two: Sustaining and Monitoring The second week brought a challenge: an unexpected overcast day. I panicked, thinking the process was ruined. However, after consulting resources from the AHS, I learned that a brief cloudy period slows but doesn’t stop the process, as the sealed environment retains heat. I stayed the course. By the end of the two weeks, my temperature readings at a 6-inch depth were a consistent 122°F (50°C). I kept the plastic sealed for a total of 6 weeks, as most experts recommend 4-8 weeks for managing hibiscus nematodes naturally. The extended time ensures heat penetrates deeper and disrupts the life cycle of pests.
The Results and Lessons Learned
After six weeks, I carefully removed the plastic. The soil looked different—darker and somehow healthier. Most visibly, every single weed seed that had germinated was blanched and dead. To test the results, I planted a few marigolds (often used as a test plant for nematodes) and a new, small hibiscus in one treated section. Over the next two months, I monitored them closely. The marigolds grew vigorously with no root galls. The hibiscus showed strong, steady growth and no signs of stunting or yellowing. A season later, it produced its first blooms. The difference was night and day.
The key lessons I learned were:
- Soil preparation is non-negotiable. Take the time to create a fine, level, moist seedbed.
- Secure the plastic edges by trenching, not weighting. A complete seal is what makes the system work.
- Patience is part of the process. Solarization is a weather-dependent treatment. Choose the hottest, sunniest period for your climate and commit to the full timeline.
Enhancing Solarization and Preventing Re-infestation
Solarization is powerful, but it’s not a magic forcefield. To boost its effects, I incorporated organic matter like well-composted manure into the soil after treatment. This helps rebuild a diverse, beneficial soil microbiome. Prevention is now my mantra. I am meticulous about cleaning tools, avoiding moving soil from infected areas, and carefully inspecting the roots of any new plants before introducing them to my garden. I also practice deep watering less frequently, as stressed plants are more susceptible to pests.
Frequently Asked Questions
How long does it take for soil solarization to work? For effective control of persistent pests like root knot nematodes, a minimum of 4 to 6 weeks of continuous solarization during hot, sunny weather is recommended. I maintained mine for the full 6 weeks to ensure deep soil penetration.
Can I plant immediately after removing the plastic? Yes, but with caution. The soil will be very warm. I waited about a week for the soil temperature to moderate slightly before planting. This also gave me a chance to gently incorporate some compost without disturbing the soil structure too deeply.
Does soil solarization kill all soil life? It significantly reduces harmful pathogens, nematodes, and weed seeds in the top layers. However, some beneficial microbes and insects deeper in the soil can survive and recolonize. Adding compost after treatment is an excellent way to reintroduce beneficial biology and rebuild soil health faster.
Watching a healthy hibiscus thrive in a bed that once spelled certain doom for plants is the ultimate reward. Soil solarization required effort, patience, and a bit of faith in the sun’s power, but it provided a sustainable, non-chemical solution to a devastating problem. By understanding the process, preparing thoroughly, and committing to the timeline, you can rescue your garden soil. It’s a powerful reminder that sometimes, the best tools in gardening are the most fundamental: sunlight, water, and careful attention.





