 bluename
Hibiscus Powdery Mildew Treatment: Baking Soda & Soap Mix – My 2-Week Battle and Triumph
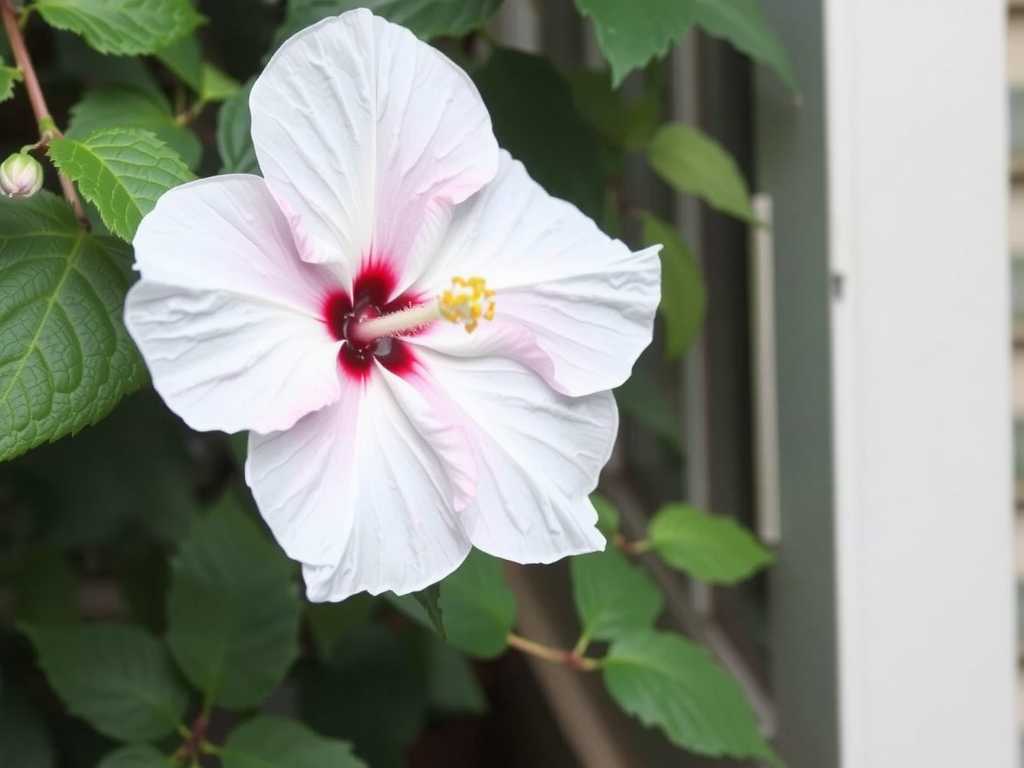
There’s nothing quite as disheartening for a gardener than watching a beloved plant fall victim to disease. I know the feeling all too well. One morning, I stepped out to admire my vibrant hibiscus, only to be met with a sight that made my heart sink: a ghostly, white powdery film creeping across the leaves and buds. It was powdery mildew, and it was spreading fast. The lush green was being smothered, and the promise of those stunning blooms felt threatened. I needed a solution that was effective, safe for my garden ecosystem, and gentle on my wallet. After researching trusted sources like the American Horticultural Society (AHA) and various university extension services, I decided to commit to a classic, science-backed home remedy: the baking soda and soap mix. This is my detailed, first-hand account of using this treatment over two full weeks, complete with my missteps, adjustments, and the final, clear results.
Understanding the Enemy: What is Hibiscus Powdery Mildew?
Before diving into the treatment, it’s crucial to know what we’re fighting. Powdery mildew is a common fungal disease caused by various pathogens. Unlike many fungi, it thrives in warm, dry conditions with high humidity around the foliage—exactly the kind of microclimate my densely planted patio created. The AHA notes that this fungus saps nutrients directly from the plant’s surface, leading to stunted growth, distorted leaves, and reduced flowering. On hibiscus, with their large, broad leaves, it can quickly become an epidemic if left unchecked. My goal wasn’t just to wipe off the powder; it was to alter the leaf surface environment to make it inhospitable for the fungus to return.
Why I Chose the Baking Soda and Soap Treatment
Faced with a shelf of chemical fungicides, I hesitated. I wanted to preserve the beneficial insects visiting my hibiscus and avoid harsh residues. My research led me to the baking soda spray for hibiscus fungus. Multiple university plant pathology reports, including those referenced by the Royal Horticultural Society (RHS), acknowledge the efficacy of potassium bicarbonate (a close cousin to baking soda) against powdery mildew. Baking soda (sodium bicarbonate) works similarly by creating an alkaline environment on the leaf surface that inhibits fungal spore germination and growth. The soap acts as a surfactant, helping the solution spread evenly and stick to the leaves. It was a perfect match for my needs: a proven natural remedy for hibiscus powdery mildew.
My Toolkit: The Exact Recipe and Preparation
Gathering the right materials is half the battle. Here’s exactly what I used and why:
- Baking Soda: Pure sodium bicarbonate, with no added aluminum or leavening agents.
- Liquid Soap: A pure castile soap (like Dr. Bronner’s) or a mild, liquid dish soap without degreasers, bleach, or heavy fragrances. These additives can damage plant tissue.
- Water: Tepid tap water, left to sit for a few hours to allow chlorine to dissipate.
- Spray Bottle: A clean, 1-liter garden sprayer that produces a fine mist, not a heavy stream.
The Recipe I Settled On (after some trial and error):
- 1 tablespoon of baking soda
- 1 teaspoon of mild liquid castile soap
- 1 gallon (approximately 4 liters) of water
Crucial Step: Dissolve the baking soda completely in a small amount of water first, then add it to the rest of the gallon. Finally, add the soap and gently swirl to mix. Avoid vigorous shaking, as it creates too many suds.
The Two-Week Treatment Protocol: A Daily Log
I treated my hibiscus every three days for two weeks, meticulously observing and noting the effects.
Days 1-3: The First Application and Immediate Observations After isolating the affected plant to prevent spread, I thoroughly sprayed every inch of the plant—the tops and bottoms of leaves, stems, and even the soil surface. I did this in the early evening to prevent rapid evaporation and sun-scorch on wet leaves. Within hours, the soap’s action was visible; the powdery residue looked “wetter” and less distinct. By the next morning, the white patches on the most lightly affected leaves seemed diminished. However, on the densest patches, the fungus was still clearly present. No damage to the leaves was apparent.
The First “Pitfall” and Correction: On Day 2, I noticed a slight whitish residue on some leaves after the spray dried. I realized I had mixed the solution in a hard water area, and the minerals combined with the baking soda. Solution: I started using filtered or distilled water for all subsequent batches. This simple switch eliminated the residue entirely.
Days 4-6: The Turning Point Before the second application, I gently rinsed the plant with a light spray of plain water to remove any debris. I reapplied the baking soda soap mixture, ensuring even more thorough coverage. This was the week I saw real progress. New growth was emerging completely clean and healthy. The older, heavily infected leaves that were already yellowing did not recover—which I expected—but the mildew on them was inactive. I carefully pruned and disposed of three severely affected leaves to improve air circulation and redirect the plant’s energy. The soap and baking soda solution for plant fungus was clearly halting the advance.
Days 7-12: Consolidation and Vigilance Applications three and four were about defense. The active powdery mildew was now confined to a few small, isolated spots. The plant’s overall vigor improved; I even spotted a new bud forming. I remained disciplined with the schedule, applying the mix every third day even though the problem seemed contained. This consistency is key, as it disrupts the reproductive cycle of any remaining spores. I also took this time to improve the plant’s environment: I moved it to a slightly sunnier spot with better airflow, a critical cultural control method emphasized by both RHS and AHA guidelines.
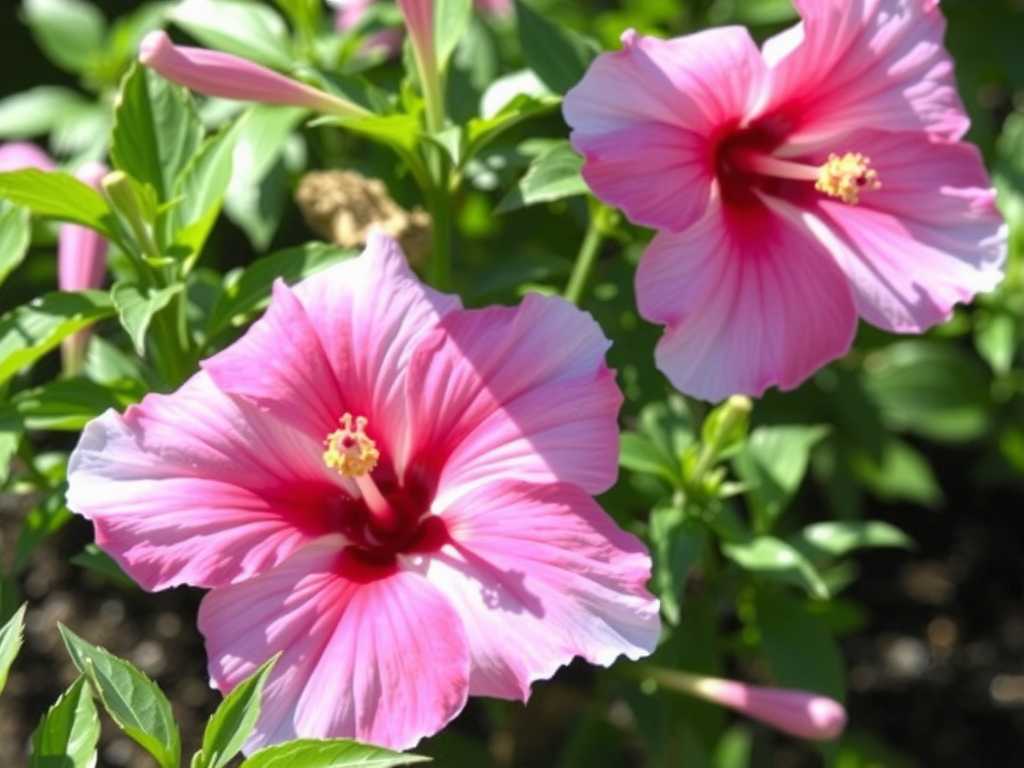
Days 13-14: Assessment and Victory On the final day of my two-week experiment, I conducted a full inspection. No new powdery mildew spots had appeared in over five days. The existing damaged leaves were isolated, and the vast majority of the plant was lush, green, and fungus-free. The new bud was swelling beautifully. The treatment was a success. I discontinued the regular spraying schedule, switching to a monitoring mode with the option to reapply at the first sign of any recurrence.
Key Lessons Learned and Pro Tips
- Prevention is Paramount: This mix is an excellent eradicant and protectant, but it’s not a magic cure for poor conditions. Improving air circulation and reducing leaf wetness are non-negotiable.
- Test, Then Apply: Always test any spray, even a natural one, on a small, inconspicuous part of the plant first. Wait 24-48 hours to check for phytotoxicity.
- Timing is Everything: Never spray in full sun or during the heat of the day. Early morning or late evening is ideal.
- Consistency Beats Intensity: A regular, gentle application schedule is far more effective than one drenching with a stronger concentration, which can harm the plant.
Addressing Your Curiosities
Can I use any type of soap? No, this is critical. Avoid soaps with antibacterial agents, heavy perfumes, or grease-cutting additives. These chemicals can strip the protective cuticle from hibiscus leaves, causing more harm than good. A pure, mild castile soap or a designated insecticidal soap is safest.
How often should I spray my hibiscus for powdery mildew? During an active outbreak, a schedule of every 3 to 5 days for two weeks is effective, as it breaks the fungal life cycle. For prevention in high-risk seasons (like warm, dry days followed by cool, humid nights), a weekly or bi-weekly application may be sufficient. Always observe your plant’s response first.
Will this baking soda mix harm the soil or other plants? When used as directed, the dilution is very mild and unlikely to harm soil biology. However, it’s always best practice to avoid drenching the soil excessively. When spraying, try to shield the soil surface or apply it primarily to the foliage. The mixture is generally safe for most plants, but again, testing on a single leaf first is a wise precaution.
Watching my hibiscus recover its vitality was immensely rewarding. The baking soda and soap mix proved to be more than just an old wives’ tale; it’s a practical, accessible, and scientifically supported tool in a gardener’s arsenal. It requires patience, observation, and a commitment to integrated plant care—combining the treatment with better growing practices. My two-week journey showed me that often, the most effective solutions are simple, but their success lies in the careful, consistent details of application. Your hibiscus can bounce back from powdery mildew, and you can help it do so safely and naturally.





