 bluename
How to Stop Hibiscus Unopened Buds Dropping After Internal Thrip Feeding Damage
If your hibiscus keeps throwing off fat, unopened buds before they ever get the chance to bloom, and you have already ruled out the usual suspects, internal thrip feeding damage is probably the reason. I learned that the hard way after watching an entire season of buds drop off my 'Tropical Breeze' hibiscus one by one. The short answer: you have to break the thrip life cycle inside the buds, not just spray the leaves. That means repeated treatments every 5 to 7 days, removing damaged buds, and keeping the plant stress-free so it can hold onto new flower buds. In this article, I will walk you through exactly how to stop hibiscus unopened buds dropping after internal thrip feeding damage, using the same steps I followed in my own garden over a two-week period.
I have killed more hibiscus plants than I care to admit. Some from neglect, some from love in the form of too much water. But the trickiest problem I ever faced was bud drop that no amount of fertilizer or re-potting seemed to fix. It took me three seasons and a lot of reading before I finally connected the dots between thrips feeding inside the buds and the constant dropping.
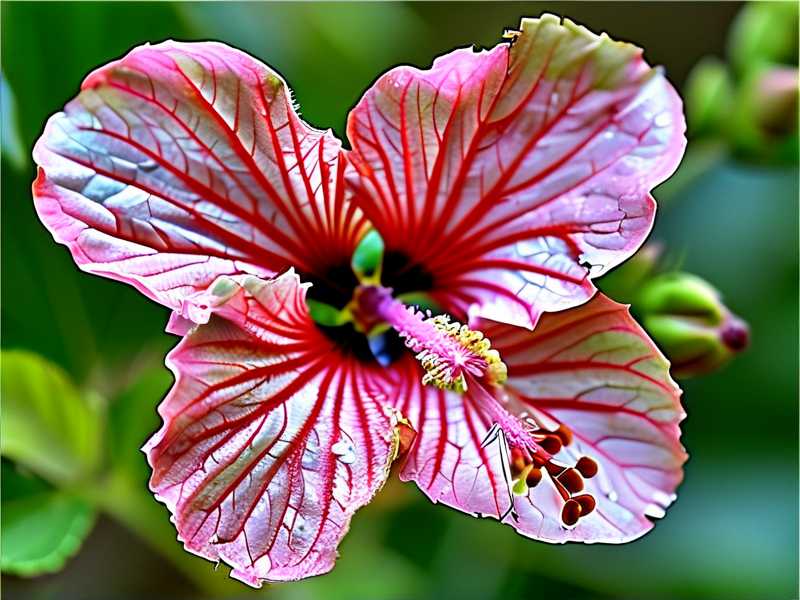
What Internal Thrip Damage Actually Looks Like
Thrips are tiny. We are talking about insects so small you might mistake them for specks of dust or a smear of pollen. The adults feed on the surface of leaves, but the real damage happens when females lay eggs inside the soft tissue of developing buds.
The larvae hatch inside the bud and start feeding from the inside out. By the time you notice, the bud is already compromised. It may look slightly discolored, with brown or silvery streaks on the petals. Or it might look perfectly fine on the outside but drop anyway because the internal tissue is destroyed.
I remember pulling apart one dropped bud and finding tiny, pale larvae wriggling inside. That was my "aha" moment. I had been treating the outside of the plant for weeks, but the real problem was hidden inside the buds themselves.
Why Bud Drop Happens After Thrip Feeding
When thrips feed inside a bud, they puncture plant cells and suck out the contents. This causes localized tissue death. The bud stops developing. The plant recognizes the damaged tissue and cuts its losses by aborting the bud.
It is a survival mechanism. The plant would rather drop a damaged bud than waste energy trying to bloom it. The problem is that thrips populations build up fast, and if you do not intervene, every new bud gets hit.
I have seen this cycle repeat itself in as little as ten days during warm weather. That is why a one-time spray never works. You have to keep at it.
My Two-Week Treatment Plan That Actually Worked
I am going to give you the exact steps I followed. This is not theoretical. I did this on my own hibiscus, and by day 14, I had new buds that opened fully without dropping.
Step 1: Isolate the Plant
The first thing I did was move my affected hibiscus away from my other plants. Thrips spread easily, especially when plants are crowded. I put mine on a separate table about six feet away from everything else.
Step 2: Remove All Damaged Buds and Flowers
This was painful. I had to pinch off every single bud that looked even slightly off. Some of them looked fine, but I removed them anyway because I could not be sure. I also removed any open flowers, since thrips hide in the petals.
I tossed all the removed plant material into a sealed plastic bag and put it in the trash. Do not compost it. Do not leave it on the ground.
Step 3: Spray with Spinosad or Neem Oil
I alternated between spinosad and neem oil. Spinosad is derived from a soil bacterium and is effective against thrips. Neem oil works as a repellent and growth regulator. I sprayed every 5 days for the first two weeks.
The key is to spray in the evening, when the plant is not in direct sun. I also made sure to spray the undersides of leaves and the new growth tips where thrips like to hide.
Step 4: Use Blue Sticky Traps
I hung a few blue sticky traps near the plant. Thrips are attracted to blue. These traps helped me monitor whether the population was going down. By day 10, I was catching far fewer adults.
Step 5: Keep the Plant Stress-Free
This is where a lot of people mess up. Thrips are more likely to attack a stressed plant. During my two-week treatment, I did not fertilize. I kept watering consistent. And I made sure the plant was not sitting in a draft or in blazing afternoon sun.
What I Observed Over 14 Days
Day 1 to 3: I removed 11 buds. It felt like I was stripping the plant bare. I sprayed with spinosad.
Day 5: I found two more tiny buds that looked discolored and removed them. Sprayed with neem oil.
Day 7: No new bud drop. The plant looked a little sad but stable.
Day 10: I saw the first new bud forming. It was small but green and tight.
Day 12: Two more buds appeared. I checked them daily for any signs of thrip damage.
Day 14: The first new bud opened. It was not huge, but it was intact. No brown streaks. No dropping.
By week three, I had four open flowers. They were not perfect, but they were mine.
The Three Biggest Mistakes New Growers Make
I made all of these. I am listing them so you do not have to.
Mistake 1: Overwatering
This is the number one killer. 90% of indoor plants die from overwatering. I know that sounds dramatic, but it is true. Overwatering causes root rot, which stresses the plant, which makes it more vulnerable to pests like thrips.
I used to water my hibiscus every other day because I thought it looked thirsty. It did not. The leaves were drooping because the roots were drowning. Once I switched to watering only when the top inch of soil was dry, the plant recovered.
Mistake 2: Wrong Light
Hibiscus needs bright, direct light to bloom well. But too much harsh afternoon sun can stress the plant. Too little light and the plant will not have the energy to hold onto buds.
I had mine in a spot that got six hours of morning sun and then filtered light for the rest of the day. That worked well. When I moved it to a south-facing window with all-day sun, the buds started dropping again. It was just too intense.
Mistake 3: Wrong Pot
This one took me a while to figure out. I had my hibiscus in a pot that was too large. The roots were sitting in wet soil for too long. Thrips love a stressed plant, and a plant with soggy roots is stressed.
I repotted into a container that was just two inches wider than the root ball. I also made sure it had drainage holes. That alone made a huge difference.
What the Experts Say
The Royal Horticultural Society (RHS) notes that thrips are a common pest of greenhouse and indoor plants, and that repeated applications of suitable insecticides are often necessary because the pests hide in tight spaces. You can find their full guidance at https://www.rhs.org.uk.
The American Horticultural Society (AHS) also emphasizes the importance of cultural controls, like removing infested plant material and avoiding overcrowding, to prevent thrip outbreaks. More details are available at https://ahsgardening.org.
I have found both of these resources helpful when I get stuck. They are not just for commercial growers. Home gardeners can use the same principles.
Long-Tail Strategies That Helped Me
Beyond the basics, I picked up a few tricks that made a real difference.
One was misting the plant lightly in the morning. Thrips dislike humidity. I am not talking about soaking the leaves. Just a fine mist that dries by midday. This seemed to slow them down.
Another was introducing beneficial insects. I ordered a small pack of predatory mites and released them near the plant. They are tiny and you will barely see them, but they hunt thrips. I did this after the first week of spraying, once the worst of the infestation was under control.
I also started a routine of inspecting new growth every two days. Thrips love tender new buds. If you catch them early, you can often just wipe them off with a damp cloth.
Frequently Asked Questions
Can I save buds that have already been damaged by thrips?
Honestly, no. Once a bud has been fed on internally, it is almost always going to drop. The damage is done. Your best bet is to remove it so the plant can put energy into new growth.
How long do I need to keep treating for thrips?
I treated every 5 days for two weeks, then once a week for another two weeks. Thrips have a short life cycle, so you need to keep interrupting it. If you stop too soon, they come back.
Will my hibiscus ever bloom normally again?
Yes. I was worried mine would never recover. But once the thrips were under control and the plant was not stressed, it bloomed again within a month. The key is to stay consistent with treatment and care.
Final Thoughts
Bud drop from internal thrip damage is frustrating because the problem is hidden. You cannot see the pests, but you see the result. The good news is that you can fix it. It takes time, patience, and a willingness to remove buds you were hoping to see bloom.
I know how discouraging it feels to watch bud after bud fall off. I have been there. But if you follow the steps I outlined, you will see new buds that hold. They will open. And you will feel like you finally cracked the code.
Just remember: do not overwater. Give the right light. Use the right pot. And treat for thrips like you mean it. Your hibiscus will thank you.





