 bluename
How to Revive Hibiscus Shrubs After Multiple Branches Succumb to Progressive Die-Back
If you're staring at a hibiscus with half its branches dead, brown, and hollow, don't grab the loppers and give up yet. I've brought back three hibiscus shrubs from what looked like certain death, and I'm going to walk you through exactly how to revive hibiscus shrubs after multiple branches succumb to progressive die-back. The short answer: cut back to live green wood, fix your watering and drainage immediately, and give it two weeks of careful observation before you decide anything drastic. That's it. Everything else is detail. And honestly, most of the die-back I've seen, including on my own plants, traces back to root problems, not some exotic disease.
I killed my first hibiscus in 2019 because I thought more water meant more flowers. It doesn't. It means root rot, and root rot is what causes progressive die-back from the inside out.
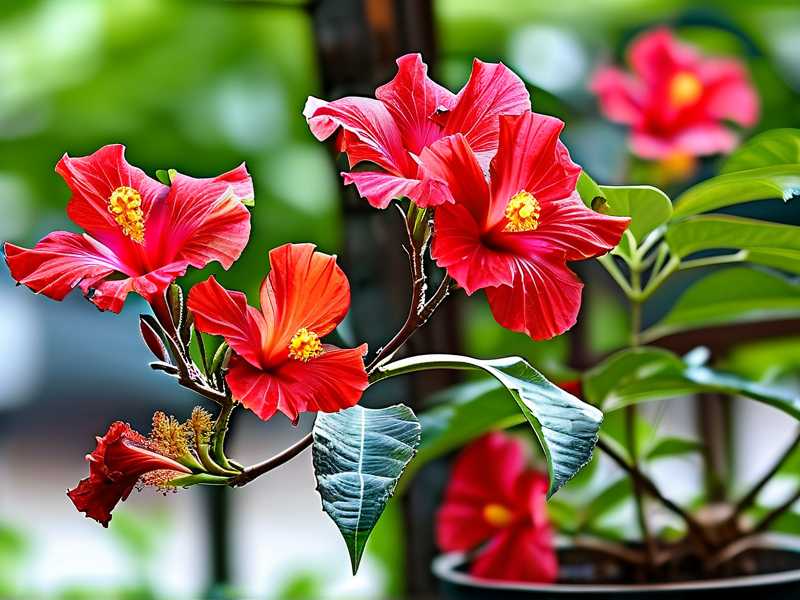
What Progressive Die-Back Actually Looks Like
Progressive die-back doesn't happen overnight. It creeps. First one branch tips over. Then a whole branch goes brown from the tip downward. Then another. The leaves yellow, curl, and drop. When you scratch the bark with your fingernail, you see brown, not green.
That scratch test is your best friend. Green under the bark means the branch is still alive. Brown or tan means it's dead wood, and dead wood doesn't come back. Ever.
I learned this the hard way with a 'President' hibiscus I overwintered in my garage. I brought it out in spring, saw four dead branches, panicked, and cut everything back to six inches. Bad move. The plant had live wood higher up that I destroyed. It survived, but it took two full seasons to bloom again.
The Three Mistakes That Cause Most Hibiscus Die-Back
Let me be blunt about the big three, because almost every case I've dealt with comes down to one of these.
Mistake One: Overwatering
Here's a stat that changed how I garden: 90% of indoor plants die from overwatering. Not underwatering. Overwatering. Hibiscus in containers are especially vulnerable because they sit in that soggy zone at the bottom of the pot.
I've done this. My second hibiscus sat in a decorative cachepot with no drainage hole. I watered it every other day because the top inch felt dry. The bottom four inches were swamp. Three months later, half the branches were dead.
The fix: water only when the top two inches are dry. Stick your finger in. If it's damp, wait. And always, always empty the saucer thirty minutes after watering. Hibiscus hate wet feet more than they hate drought.
Mistake Two: Light in the Wrong Place
Hibiscus are sun hogs. They want six or more hours of direct light. But here's the catch, indoor hibiscus near a south window in July can cook, and one near a north window in January will sulk and drop leaves.
I once moved a struggling hibiscus to a "bright" corner that got maybe two hours of filtered light. It died back faster than before. The plant was starving for energy it needed to push new growth.
The fix: give it the brightest spot you have, ideally with some direct sun. If you're in the UK or Pacific Northwest and natural light is scarce from October to March, add a full-spectrum grow light. Run it twelve to fourteen hours a day.
Mistake Three: The Wrong Pot
This one sneaks up on people. A pot that's too big holds too much wet soil around the roots. A pot without drainage holes is a death sentence. And a pot that's too small dries out so fast the plant stresses constantly.
I've tried everything, terracotta, glazed ceramic, plastic, fabric grow bags. For hibiscus, unglazed terracotta in a size just two inches wider than the root ball works best for me. It breathes. It dries evenly. It forgives my occasional overwatering.
My Two-Week Revival Method, Step by Step
This is the exact process I used on my most recent rescue, a tropical hibiscus that came to me with five dead branches out of eight.
Day 1: Assess and Sanitize
Scratch-test every branch from tip to base. Mark where green starts with a piece of string or a twist tie. Sterilize your pruners with rubbing alcohol. This matters, because you don't want to spread whatever is killing the plant.
Day 1: Make the Cuts
Cut one inch above the highest green point on each dead branch. Angle the cuts slightly so water runs off. Don't seal them with anything. I used to paint pruning cuts with wound sealant until I read guidance from the RHS{:target="_blank"} explaining that sealants actually trap moisture and slow healing. Skip them.
Day 1: Check the Roots
Slide the plant out of its pot. Healthy hibiscus roots are firm and white to light tan. Rotten roots are brown, mushy, and smell like a swamp. I lost a whole plant once because I skipped this step and just pruned the top. Cut away every mushy root with clean scissors. Repot in fresh, fast-draining mix, something like two parts potting soil, one part perlite, one part pine bark fines.
Days 2 to 4: Leave It Alone
Seriously. Don't water. Don't fertilize. Don't move it around. The plant is in shock and needs to settle. I made the mistake of fertilizing right after pruning once, and I burned the few surviving roots. Patience here is everything.
Days 5 to 10: Light and Light Watering
Put the plant in its brightest spot, but out of harsh afternoon sun if it's summer. Water sparingly, just enough to keep the mix barely moist. You're not trying to push growth yet. You're trying to keep the roots alive.
Days 11 to 14: Look for Signs
This is the payoff window. New growth usually shows up as tiny green nubs at leaf nodes on the surviving branches. On my rescue plant, I saw two little shoots on day 12. That's when I knew it would make it.
Once you see new growth, you can start watering more normally and begin a diluted liquid fertilizer at half strength, every two weeks.
According to the AHS{:target="_blank"}, hibiscus respond well to consistent moisture and regular feeding during active growth, but they need a recovery period after severe stress. My experience lines up exactly with that.
What If Nothing Happens After Two Weeks
Don't toss it yet. Hibiscus can take up to six weeks to push new growth after a hard reset, especially if the plant was already weak going into winter. Keep it warm, keep it bright, and keep the soil barely moist.
If the whole plant is brown under the bark, top to bottom, and the roots are mush, it's gone. I've had to accept that twice. It stings, but it's better than nursing a dead stick for months.
Preventing Die-Back From Coming Back
Once your hibiscus is recovering, the name of the game is consistency. Water on a schedule that matches the season, less in winter, more in summer. Feed lightly but regularly. Watch for pests like spider mites and whiteflies, which love stressed plants. And repot every two to three years before the roots get cramped and the soil breaks down.
I also started keeping a simple garden journal. Just a note on my phone about when I watered and what the plant looked like. It sounds fussy, but it stopped me from repeating the same overwatering mistake three years in a row.
Frequently Asked Questions
Can a hibiscus with completely dead branches grow back from the roots?
Sometimes, but only if the roots and lower trunk are still alive. Scratch the base of the main stem. If it's green, there's hope. Cut everything back to that green point and follow the two-week method above. If the base is brown and brittle, the plant is done.
Should I fertilize a hibiscus that's recovering from die-back?
Not in the first two weeks. Wait until you see new growth, then use a diluted balanced fertilizer at half strength. Full-strength feeding too early can burn stressed roots and set the plant back further.
How do I know if die-back is caused by disease rather than my care routine?
Look for cankers, sunken dark spots on the stems, or fuzzy fungal growth. Those point to something like botrytis or a fungal canker, which may need a fungicide. But in my experience, and in most home gardens, the cause is root stress from overwatering or poor drainage, not a pathogen. Fix the roots first, and the die-back usually stops.
Reviving a hibiscus with progressive die-back isn't glamorous work. It's scratch tests, sterile pruners, and a lot of waiting. But when those first green nubs appear, it's worth every bit of it. Give it two weeks. Be patient. Your plant wants to live.





