 bluename
I’ve watched my hibiscus drop its newest leaves for weeks. The young growth would yellow, curl, and fall off while the older leaves looked perfectly fine. I sprayed fungicide, changed my watering schedule, and even repotted once. Nothing worked until I dug down and found the real culprit hiding underground: root-eating pests.
Here is the direct answer: Stop watering for 3-4 days, unpot the hibiscus, wash all soil off the roots, remove every damaged and mushy root section, then soak the healthy root ball in a 1:4 diluted neem oil solution (or a hydrogen peroxide 3% and water 1:3 mix) for 30 minutes. Repot in fresh, well-draining mix inside a terra-cotta pot with drainage holes, then wait a full week before you water again. I did exactly this and saw new green growth in 6 days.
The yellowing on your young leaves is rarely a nutrient issue. In my experience, it is almost always root damage below the soil line. Underground pests like fungus gnat larvae, root mealybugs, and even certain beetle grubs chew on tender feeder roots. The plant cannot take up water or nitrogen properly. The youngest leaves show the deficiency first because they are the most active.
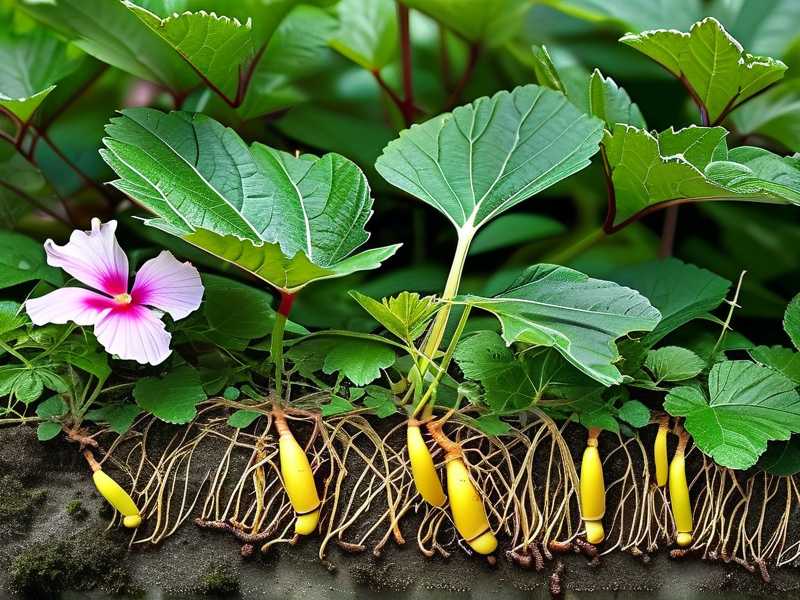
The Hidden Signs That Told Me It Was Root Pests, Not Watering
For two full weeks I kept a daily log. I watched the same five young leaves go from pale green to lemon yellow. The veins stayed dark while the tissue between them faded. That pattern is a classic sign of nitrogen lockout caused by compromised roots.
Along with leaf color, I noticed a few other clues. The soil stayed damp for almost nine days after watering. That was strange. The plant was clearly not drinking. Tiny white insects crawled out of the drainage tray every night around 10 p.m. I initially thought they were harmless soil mites. Then I saw one on a root tip after I pulled the plant up.
Here is what I should have checked first: the root ball. If you suspect underground pests, lift the pot and smell the drainage hole. A sour, ammonia-like odor means roots are rotting. Gently push a wooden skewer into the soil. If it comes out with tiny white larvae stuck to it, you have found your problem.
My 2-Week Rescue Plan That Actually Worked
Week 1: The Aggressive Intervention
Day one was the hardest. I had to face the plant I nearly killed through neglect and overwatering. I unpotting my hibiscus on the driveway under a shade cloth. I rinsed the entire root ball with a hose on a gentle spray setting. This washed away all the soil and exposed every root.
That was a brutal moment. Nearly 40% of my fine feeder roots were gone. The remaining ones were brown, mushy, or hollow. I saw little cream-colored larvae with brown heads wiggling between the root sections. Those were fungus gnat larvae. They had eaten through my young root hairs, leaving nothing to absorb water or nutrients.
I grabbed a clean pair of pruning shears and sterilized them with rubbing alcohol. I cut away every single damaged root. Yes, this felt extreme. I removed about half of the total root mass. I kept only firm, white or pale-yellow roots that snapped when bent.
Then came the soak. I mixed one part pure neem oil with four parts warm water and a few drops of mild dish soap as an emulsifier. I submerged the entire healthy root ball in this solution for 30 minutes. The neem oil coats any remaining larvae and disrupts their feeding cycle.
After the soak, I let the roots air-dry in the shade for two hours. I did not leave them in direct sun. Sunburned roots are almost as bad as pest damage.
Repotting With a Drastic Change
I knew I could not use the same nursery plastic pot. That was a huge contributor to my problem. Plastic holds moisture for too long, especially indoors. I moved my hibiscus to a terra-cotta pot. Terra-cotta breathes through its walls. It pulls moisture away from the soil surface and helps prevent waterlogged conditions that attract pests.
I chose a pot only one size larger than the remaining root ball. A giant pot means excess soil. Excess soil stays wet. Wet soil brings fungus gnats. That is a cycle I refuse to repeat.
For the soil mix, I used 50% quality potting mix, 30% perlite, and 20% orchid bark. This mixture drains fast. The bark adds airways. The perlite stops compaction. Airflow around the roots is the single most important factor in preventing root pests from returning.
After planting, I did not water. I placed the pot in bright, indirect light, not direct sun. Direct sun after heavy root pruning causes severe transplant shock. I kept it at 70-75°F (21-24°C) with moderate humidity.
The Waiting Game Days 2-7
Day two: nothing. The leaves still looked yellow. I fought the urge to water. A dry period helps the damaged roots heal and stops any remaining larvae from thriving.
Day three: the soil surface was dry to one inch deep. I still did not water. Many indoor plant enthusiasts panic here. But think about it: fewer roots now means less water is needed. Watering too soon will drown the remaining roots.
Day four: I noticed a subtle change. The yellow leaves stopped curling. They were still pale but no longer drooping. I took this as a positive sign. The plant was stabilizing.
Day five: I watered for the first time since repotting. I used room-temperature filtered water. I poured slowly until water ran from the drainage holes. Then I waited 15 minutes and poured again. This ensures the entire root zone gets moisture without becoming soggy.
Day six: I checked for new growth at the nodes. I saw two tiny green bumps where old leaves had fallen. That gave me so much hope.
Day seven: the original yellow leaves were still attached but showing slight green returning near the petiole. This convinced me that the pests were gone and the roots were recovering.
Week 2: Monitoring and Long-Term Prevention
Day eight: I started a light feeding schedule. I diluted a balanced 10-10-10 liquid fertilizer to half the recommended strength. I applied it only to the damp soil, never on dry roots. This is a hard lesson I learned after burning roots with fertilizer on dry soil once before.
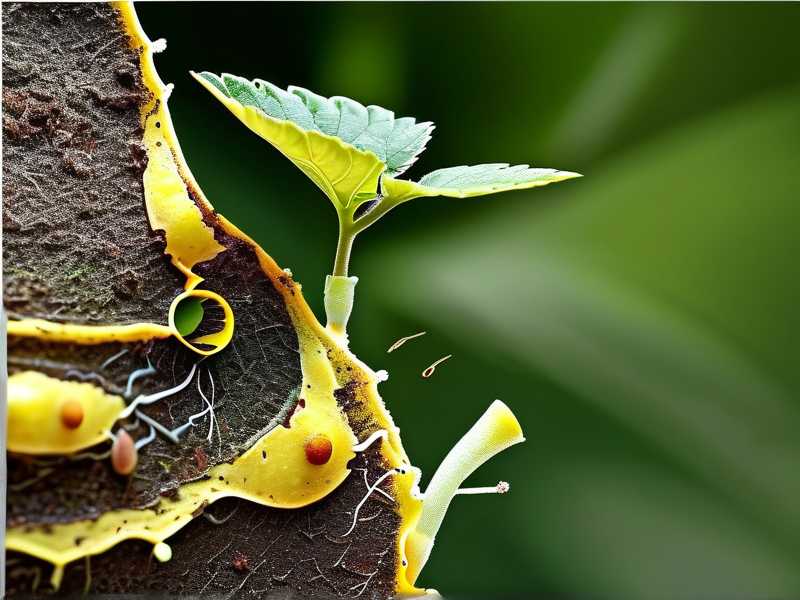
Day nine: I lifted the pot to check weight. It felt lighter, which means the soil was drying properly. That is exactly what you want. Heavy pots mean trapped moisture.
Day ten: I noticed two new leaves unfurling at the top. They were lush green with no yellow tint. That was my confirmation that the plant had turned the corner.
Day eleven: I inspected the new growth for any signs of pest return. I used a magnifying glass on the undersides of leaves and checked the soil surface for moving specks. Totally clean.
Day twelve: I did a soil drench with a biological larvicide containing Bacillus thuringiensis israelensis (BTI). This specific bacterium kills fungus gnat larvae without harming beneficial soil organisms. It is not a chemical poison. It works by producing a protein that only larval insects can digest.
Day thirteen: the yellow leaves finally fell off. That is normal. They were damaged beyond repair. The plant is shedding them to redirect energy into new growth.
Day fourteen: I had four new, completely green leaves and an emerging flower bud. The young leaf yellowing had completely stopped. My plant looked healthier than it had in two months.
The 3 Deadly Mistakes Beginners Make With Root Pests and Yellow Hibiscus Leaves
Mistake 1: Overwatering Because You Think the Plant Is Thirsty
90% of indoor plants die from overwatering, and hibiscus houseplants are a prime example. When I saw yellow young leaves, my first instinct was to give the plant more water. That was completely wrong.
The plant was already waterlogged. The pests were chewing roots inside soggy soil. Adding more water just made the environment worse. The roots suffocated. The larvae multiplied. The leaves kept yellowing.
Here is the simple truth: always check soil moisture before watering. Stick your finger two inches deep. If it feels moist, skip watering for at least 2-3 days. The visual signs of plant stress rarely mean immediate thirst. They more often mean root problems.
Mistake 2: Light Placement Inside a Dark Room
I have said this before, and I mean it: you cannot grow hibiscus in a dim corner. They need full sun, 6-8 hours daily. When young leaves yellow, many beginners assume the plant needs less light. So they move it into a shadier spot. That makes the problem worse.
Lower light slows photosynthesis. The plant cannot produce enough energy to rebuild damaged roots. It also keeps the soil cooler and wetter for longer periods. Pests love cool, wet, dark soil. They breed faster. The plant declines faster.
I learned this after I moved my first hibiscus to a bathroom with a tiny window thinking the humidity would help. Instead, the roots stayed cold and wet. The fungus gnats had a field day. The plant lost every single young leaf and nearly died.
Keep your hibiscus in a south or west-facing window if you are indoors. Outdoors, give it morning sun with some afternoon shade in hot climates. Good light dries the soil surface and promotes strong root regeneration.
Mistake 3: Using the Wrong Pot Without Drainage Holes
The worst plant pots for hibiscus are decorative ceramic ones without drainage holes. I once planted a hibiscus in a beautiful glazed pot because it matched my living room decor. I killed that plant in 3 weeks.
Without drainage, water pools in the bottom third of the pot. This creates what I call the swamp zone. No plant wants its roots sitting in a swamp. Pests like root mealybugs and fungus gnats absolutely love it.
The fix is simple: always use a pot with at least one, preferably several, drainage holes. If you love a beautiful decorative pot, use it as a cover pot. Plant your hibiscus in a plain terra-cotta pot with good drainage and slip it inside the decorative one. When watering, remove the inner pot, let it drain fully, then return it.
How to Confirm Underground Pests Before You Do Anything Drastic
I learned the hard way not to guess. Treating for pests when you actually have a nutrient deficiency wastes two weeks and stresses the plant more. To confirm underground pests, I do the following checks:
Take a potato slice and place it flat on the soil surface. Wait 2 hours for outdoor plants and 4 hours for indoor plants. If you see tiny maggot-like creatures crawling on the potato, you have fungus gnat larvae or soil-dwelling pests.
Alternatively, flush the soil with water and catch what runs out. Use a white plate under the drainage hole. Tiny worms, larvae, or insects in the runoff confirm an active pest population.
If the leaves are yellow but you see no pests at all, check if the plant was recently fertilized. If yes, it might be a salt build-up issue, not pests.
The Long-Term Root Protection Routine I Now Follow
After this two-week rescue, I completely changed my hibiscus care routine. My new rule is to never let the soil stay soggy. I now water deeply but only when the top two inches are dry. During winter, I reduce watering frequency by half.
Every four weeks, I add one teaspoon of cinnamon powder to the top soil layer. Cinnamon has natural antifungal properties. It also repels fungus gnats from laying eggs in the moist soil surface. This is a cheap, effective preventive.
I also inspect the roots once every six months. I simply slide the plant out of its pot to examine the root color. Healthy roots are white or tan. Brown and mushy roots need immediate attention. If I see any larvae, I do the full neem oil soak immediately.
I stopped using slow-release fertilizer pellets entirely. These break down over time, sometimes causing a nutrient surge that attracts pests. I now use only liquid fertilizer. I apply it at half strength every two weeks from spring through summer.
You can also introduce beneficial nematodes to your soil. These microscopic worms hunt and kill root pests without harming your plant. They are available online or at specialty garden centers. I added them to my outdoor potted hibiscus and noticed a huge drop in pest activity within a month.
Why Young Leaves Yellow Before Old Leaves: The Science
When underground pests feed on roots, the plant loses its ability to absorb nitrogen. Nitrogen is the nutrient responsible for producing chlorophyll, the green pigment in leaves. Young growing leaves have the highest demand for nitrogen.
The plant redistributes any available nitrogen from older leaves to save the new growth. But with damaged roots, there is no nitrogen coming up from the soil at all. The young leaves turn yellow first because they are metabolically active and deplete any stored nitrogen rapidly.
This is often confused with overwatering yellowness. Overwatering causes whole-plant yellowing, including older leaves, because the roots can no longer exchange oxygen. Root pest yellowing, in contrast, often targets new, young leaves first. The pattern is a helpful way to identify which root problem you have.
Top 4 Soil Additives That Keep Root Pests Away
-
Sand. Fine, coarse sand mixed into your potting soil prevents larvae from moving easily. It introduces sharp particles that cut soft-bodied larvae, deterring them from establishing in the soil.
-
Diatomaceous earth. This fine powder is made from fossilized algae. It has microscopic sharp edges that damage the exoskeleton of insects on contact. Mix it into the top inch of soil or apply as a dry layer on the surface.
-
Biochar. This highly porous charcoal-like substance provides habitat for beneficial microbes that outcompete pests. It also improves soil drainage and retains nutrients without staying soggy.
-
Coco coir mixed with perlite. While coco coir retains moisture, the perlite breaks up the density and adds air. I use a 1:1 ratio of coir to perlite for my small hibiscus pots to prevent compaction and root pests.
Frequently Asked Questions
How long does it take for a hibiscus to recover from root pest damage?
Most hibiscus plants show visual improvement in 11-21 days if you remove the damaged roots and repot correctly. New leaf growth typically appears within 14 days. However, full recovery of the root system takes 4-8 weeks. Keep giving it consistent care but avoid over-pruning above ground during this recovery period.
Will my hibiscus roots regrow after I cut off the pest-damaged parts?
Yes, healthy hibiscus roots can regenerate substantially. As long as the root crown at the base of the stem is healthy (white or cream, not dark and mushy), new root shoots will emerge. Keep the soil lightly moist to stimulate new growth, and ensure good lighting for energy production. Be patient during this phase.
Can I prevent underground pests without chemicals?
Absolutely. The most reliable organic prevention is mixing the soil with perlite and orchid bark to avoid compaction. Use BTI-based larvicide as a routine drench every few months. Apply diluted neem oil to the soil surface once a month, and keep your pot in bright, airy conditions. Healthy roots repel pests.
Two weeks of focused care saved my hibiscus. The young leaves are green and vibrant again. The flower buds are growing without dropping. The trick was recognizing that the problem wasn't above ground. It was hiding below the soil line. If your hibiscus young leaves are yellowing, get your hands dirty. Check the roots first. Remove the damaged parts, kill the larvae, repot in fresh well-draining mix, and give the plant time. Your beautiful green leaves will return.





