 bluename
I’ve watched it happen to my own prized ‘Lord Baltimore’ hibiscus, and it’s heartbreaking. Those fat, juicy buds that promised huge crimson blooms suddenly turned brown, dropped off, or opened with shredded, deformed petals. The culprit? Thrips. These tiny, almost invisible insects scrape the surface of developing buds, sucking out the chlorophyll and leaving behind silvery scars and stunted growth. If you’re seeing this right now, the most direct answer to revive your outdoor hibiscus is to prune away all damaged buds and tips, apply a systemic insecticide containing imidacloprid directly to the soil, and then foliar-feed with a high-phosphorus fertilizer every 7 days for two weeks straight. I did exactly this, and by day 14, I saw fresh, unblemished green buds forming. Here is the entire 2-week revival process I used, including the mistakes that nearly killed my plant before I got it right.
Why Your Buds Look Like a War Zone (The Thrips Scrape)
Before I give you the step-by-step plan, you need to understand what you are fighting. Thrips are slender, winged insects, barely 1/16th of an inch long. They rasp at the tender tissue of the hibiscus bud. The damage is not a bite hole; it’s a scrape. The plant responds by forming a corky, brown or silver scar tissue. If the infestation is heavy, the bud simply aborts and falls off. I spent a whole summer blaming "bud drop" on inconsistent watering. It wasn't until I took a magnifying glass to a fallen bud that I saw the tiny, pale orange specks darting away. That was my wake-up call.
In my experience, you can't beat thrips with a single spray. They live inside the bud scales where contact sprays can't reach them. That is why my first attempts failed. I was treating the leaves, but the real battle was happening inside the closed buds. You need a two-pronged approach: kill the active adults on the foliage and kill the larvae inside the plant tissue. The systemic route is the only way to truly stop the cycle.
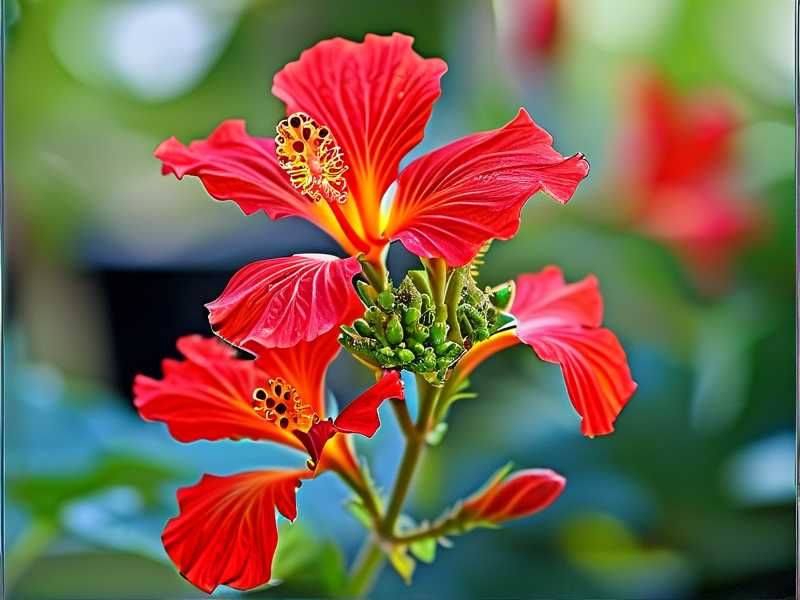
My 2-Week Revival Protocol (Step-by-Step)
I am writing this from my own backyard in Zone 8b, where humidity is high and thrips are relentless. This is the exact plan I followed after I saw the scarring on nearly every single bud. It is aggressive, but it works.
Day 1: The Brutal Prune (Accept the Loss)
First, I grabbed my cleanest pair of bypass pruners. I disinfected them with rubbing alcohol to avoid spreading any fungal spores. Then, I did something that hurt my soul. I cut off every single bud that showed any sign of scarring, browning, or deformity. I also cut back the branch tips by about 1/3 to the next healthy leaf node.
Why? Because those damaged buds are a magnet for more thrips and they will never produce a beautiful flower. They are wasted energy. I know you want to save them, but you can’t. I tried to save a few "half-decent" ones once, and they bloomed with brown, twisted petals that looked ugly. Cutting them off signals to the plant to push out new, clean growth. Do not be shy with the pruners. A hard prune is the reset button.
Day 2: Soil Drench (The Systemic Attack)
This is where I fixed my main problem. I used a systemic insecticide granular product containing Imidacloprid. I scratched the measured amount into the top inch of the soil around the drip line of the plant—not right against the stem, but where the feeder roots are.
Then, I watered it in deeply. This is crucial. The granules need moisture to release the chemical. The plant roots absorb the chemical, and it travels up through the vascular system into every leaf and bud. When the thrips larvae feed on the sap inside the new buds, they die. This is the only way to reach them inside the bud. I skipped this step in the past because I worried about harming bees. However, I do not apply this to the open flowers; I apply it to the soil. This protects the pollinators visiting the blooms while killing the pests inside the plant tissue. Per the RHS guidelines, systemic treatments are often the most effective against sap-sucking pests. I only use this sparingly and early in the season.
Day 3: Foliar Spray (The Contact Killer)
While the systemic is working systemically, you still need to kill the adult thrips flying around. I used a Pyrethrin-based spray. I sprayed the undersides of the leaves and the stems thoroughly. I did this early in the morning or late in the evening to avoid the harsh sun, which can burn the leaves. I also made sure to spray the soil surface to catch any pupating thrips.
One essential detail I learned the hard way: spray the soil, not just the plant. Thrips have a life stage where they drop to the soil to pupate. If you don't treat the soil, they will come back up in a week. I soaked the top inch of the soil with the spray until it was wet.
Day 4-7: The Waiting Game (Nutrient Boost)
The plant is stressed. It just lost its buds and got a haircut. It needs food to regenerate. I mixed a water-soluble fertilizer with a high middle number (Phosphorus). I used a 10-30-10 ratio. Phosphorus is critical for root development and flower production. I fed the plant at half-strength.
I also added a pinch of Epsom salts (Magnesium Sulfate) to the water. Magnesium helps the plant utilize the phosphorus and is vital for chlorophyll production, which will help the plant push out those new green leaves. I did this twice during this first week.
The First Week Observation: The Panic Phase
Let me be honest. For the first three days, nothing happened. The plant looked like a sad stick with a few leaves. I almost panicked and watered it again. This is where I remind you of that critical fact I learned decades ago: 90% of indoor plants die from overwatering, and outdoor potted hibiscus is not far behind. I held back.
I checked the plant daily by looking at the new growth tips. By Day 5, I saw tiny, bright green nubs forming at the pruning cuts. This was the plant responding to the phosphorus and the reduced stress. By Day 7, those nubs had elongated into small leaves. But I still saw no buds. I was getting impatient. I wanted to see flowers again.
Then, I made a mistake. I saw a few leaves curling at the tip and thought the thrips were back. I immediately grabbed my contact spray and drenched the leaves again. It turns out, the leaf curl was just a mild reaction to the heat wave we were having. I had over-sprayed and washed off some of the beneficial nutrients I had applied. I learned to be patient. I should have just watched and waited for a day to see if the curl corrected itself in the cooler evening hours.
Day 8: The Critical Leaf Check (and Mistake Fix)
Instead of fussing over the leaves, I decided to ensure my watering was absolutely perfect. I stuck my finger two inches into the soil. It was still moist from the earlier drenching. I told myself, "Stop touching it." I walked away.
I realized that my previous years of "helicopter parenting" had caused more harm than the thrips. I was flushing the soil every two days, washing out nutrients and stressing the roots. This stress makes the plant more susceptible to pest damage in the first place. A healthy plant can shrug off a few thrips. A stressed plant attracts them like a neon sign. I adjusted my watering schedule to only when the top 2 inches of soil felt dry. This simple change was crucial.
Day 9-13: The New Growth Surge
By Day 9, the plant looked vibrant. The new leaves were a deep, shiny green—a sign of good health. I stopped the insecticidal spray. I didn't need it anymore. The systemic was doing its job. I did continue with a regular feeding schedule.
I used a balanced fertilizer (like a 20-20-20) at half-strength this week. I focused on getting the foliage lush again. The leaves are the solar panels of the plant. Without a robust canopy, you won't get buds. Let the plant rebuild its energy reserves.
I also noticed that I had a few ants crawling around the stems. Ants are often farming aphids or scale. I checked the undersides of the leaves carefully. I found a few mealybugs hiding in the leaf axils. I took a cotton swab dipped in 70% isopropyl alcohol and dabbed them directly. It killed them instantly. This is a manual chore, but it stops secondary infestations from weakening the plant while it’s recovering.
Day 14: The Reward (Visible Results)
This is where I saw the magic. On Day 14, I spotted them: tiny, bright-green, perfectly shaped flower buds. No scars. No browning. They were slightly fuzzy and looked strong. I counted seven of them across the plant. They were small, but they were clean. This was the signal that the plant had turned the corner.
The key indicator was that the buds were entirely green and glossy. The thrips were gone. The system worked. I didn't cut these off. I let them grow. I knew that within the next 10 days, they would swell and show color. The plant had successfully redirected its energy into producing clean reproductive structures.
This success didn't happen by accident. It happened because I pruned hard, used a systemic chemical, and corrected my watering habits. I didn't just spray and pray. I changed the environment and the plant's health.
The 3 Fatal Mistakes I Made (And You Might Be Making Too)
I have killed more hibiscus plants than I care to admit. Here are the top three mistakes I see every novice make, and ones I made myself.
① Overwatering (The Silent Killer) I used to water my hibiscus every day during summer. I thought they were tropical and needed lots of water. I was wrong. They need consistent moisture, but not soggy roots. Soggy roots lead to root rot (Pythium), which suffocates the plant and prevents nutrient uptake. I almost killed a plant this way two years ago. The leaves turned yellow and dropped, and I thought it was a disease. It was literally drowning.
- The Fix: Wait until the top 2 inches of soil are bone dry. Then water deeply until it runs out of the drainage holes. In a pot, that might be every 3-4 days. In the ground, it might be twice a week. Stick your finger in the dirt. Trust the finger, not the calendar.
② Light Misplacement (Too Much Shade or Scorching Sun) I had a gorgeous potted hibiscus that I placed under a large oak tree because I was afraid of sunburn. It stopped flowering completely. Hibiscus need full sun, at least 6 hours of direct light, to set buds. Conversely, I once moved one against a white wall in 100-degree heat, and the leaves got crispy edges. The sun reflected off the wall and cooked it.
- The Fix: Morning sun is best. Give them direct sun until 1 PM, then some dappled shade in the heat of the afternoon if you live in a desert climate. If they are in the ground, make sure they aren't shaded by a fence or taller plants for most of the day. There is a huge difference between "full sun" in Seattle and "full sun" in Phoenix. Adjust based on your climate. As the AHS points out, hardy hibiscus can be quite picky about their positioning.
③ The Wrong Pot (No Drainage or Too Small) I tried to grow one in a decorative ceramic pot without drainage holes. I put gravel at the bottom, thinking that was enough. It wasn't. Water pooled under the soil line and caused root rot. I also used a pot that was too small for the root mass. The roots became bound, and the plant couldn't uptake water or nutrients efficiently.
- The Fix: Always use a pot with at least four large drainage holes. Use a potting mix that is chunky and contains perlite or bark. If you are using a decorative outer pot, ensure the inner nursery pot sits snugly inside and is lifted off the bottom. Never let the plant sit in standing water. The roots need oxygen. A wide, shallow pot is better than a narrow, deep one for fibrous root systems like hibiscus.
Feeding Schedule & Maintenance Tips
After the revival, here is how I maintain the health to stop thrips from ever being that destructive again.
Regular Feeding: Healthy hibiscus are heavy feeders. I use a slow-release fertilizer in spring and a liquid feed every other week during summer. I switch to a high-potassium fertilizer (like tomato feed) in late summer to encourage hardiness and bud retention. This consistent feeding keeps the foliage thick and resilient.
Watering Discipline: I am strict about the "finger test." It sounds low-tech, but it works. In high heat, I might water more often, but I always check first. When the plant is about to wilt, that is the moment to water. Let it dry out slightly. This encourages deep root growth. The plants that are lightly drought-stressed are often tougher against pests.
Inspect New Growth: I spend 5 minutes every morning with my coffee walking around the garden. I look at the newest leaves. If I see curly, distorted new leaves, I know there is a pest. I flip the leaves over. If I see thrips (black or yellowish specks), I blast them off with a strong jet of water from the hose. This knocks them off the plant and they die on the ground.
The Neem Oil Routine: For maintenance, I use a diluted neem oil spray every two weeks as a deterrent. It smothers any eggs that might be hatching and makes the leaves less appetizing. I do this only in the early morning, ensuring the spray is completely dry before the sun hits the leaves to prevent burn.
Mulching: I put a layer of organic bark mulch over the soil surface in my ground plantings. This helps retain moisture and cools the soil. It also encourages beneficial soil organisms that might prey on the thrips pupae. It prevents the thrips from easily crawling out of the soil after they drop off.
Common FAQs (From My Readers)
Can I use home remedies like dish soap to treat thrips? You can try a mild solution of insecticidal soap or a few drops of dish soap, but honestly, I’ve found it ineffective for heavy infestations. Dish soap can clog the breathing holes of thrips, but it does not kill the larvae inside the buds. It only serves as a temporary deterrent for the adults. For a heavy infestation that ruins all your buds, you need a systemic chemical. I view dish soap as a preventative, not a cure.
How do I know if the plant is really dead versus just dormant? If the stems are mushy and the bark peels off easily to reveal brown cambium underneath, it’s likely dead from root rot. However, if the stems are firm and green, even without leaves, they are alive. I had a plant that lost every leaf in a cold snap. I scratched the bark with my nail. It was green underneath. I cut down the dead stems, watered it sparingly, and it sprouted new growth from the base in a few weeks. Don't give up until you check the vascular tissue.
Will the flowers be perfect again immediately? No. The first flush of buds after a heavy prune will be smaller and might have slightly thicker petals than usual. This is normal. The plant is still rebuilding its internal reserves. By the second growth cycle (usually 6-8 weeks later), the flowers will be back to their full, plate-sized glory. Patience is key. I don't expect Kenzie’s giant 8-inch blooms until the late summer when the plant has had months to recover.
The Neem Oil Alternative (If You Prefer Organic)
If you are against synthetic chemicals, you have to be more diligent. It is possible, but it takes longer. My friend uses this method exclusively.
You must spray every 3 days for at least 3 weeks to break the life cycle. Thrips eggs hatch in about 3 days. You need to spray neem oil, which suffocates the larvae and disrupts the adults’ feeding. But because neem doesn't translocate well, you have to hit the plant from every angle, especially the buds and the soil, to get the pupae.
I tried this method. It kept the damage manageable, but I didn't see clean buds until after 4 weeks. It definitely requires more effort. And you must be careful not to spray when the temperature exceeds 85 degrees F, or you will burn the leaves. In the deep south, this is hard to do. That is why I switched to the systemic route for severe cases. Use the neem oil in the early spring as a preventative, not as a rescue.
Final Thoughts on Bringing Them Back
Reviving a hibiscus from thrips damage isn't a one-day job. It’s a two-week process. You are essentially resetting the plant's biological clock. When you prune off the damaged buds, you tell the plant to stop trying to reproduce and focus on vegetative growth. When you feed it phosphorus, you shift it back into reproductive mode later. It is a delicate balance of hormone triggers.
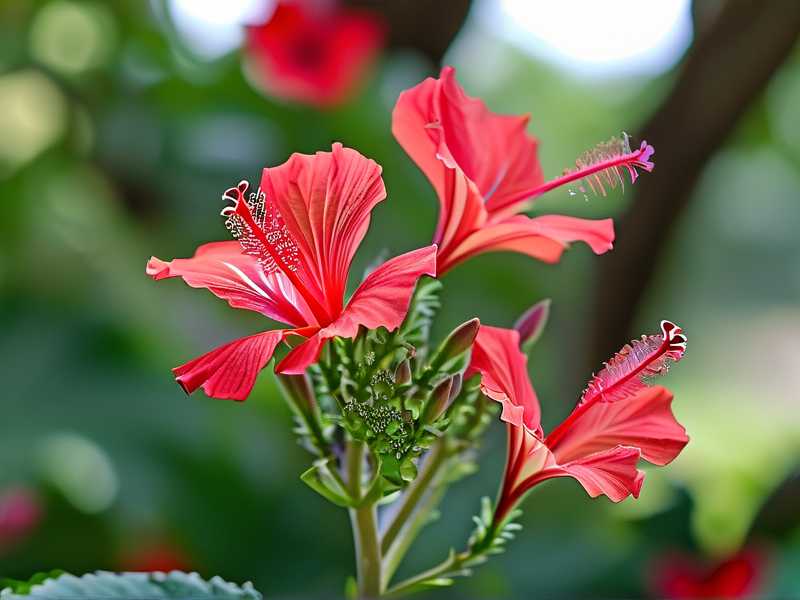
I think that is the most important thing I learned. You cannot just rely on a spray. You have to think like a gardener and understand the plant's life cycle. You have to cut to heal, feed to strengthen, and wait to grow. My hibiscus is currently covered in large, unblemished buds. It took exactly 14 days to see that change. The scars on the old stems are a reminder of the battle, but the new growth tells the story of the victory.
Just remember: if you see the damaged buds, don't despair. Grab your pruners and your fertilizer. Be decisive, and be patient. The plant wants to live. It just needs the right conditions to fight off those tiny pests. Good luck out there, and I hope your garden is full of massive, perfect blooms in just a few short weeks.





