 bluename
The Indoor Hibiscus Pest Prevention Monthly Inspection Checklist That Finally Worked for Me
If you grow hibiscus indoors, you already know the sickening feeling of spotting sticky leaves, tiny webs, or white fuzz after weeks of perfect growth. The indoor hibiscus pest prevention monthly inspection checklist I’m about to share isn’t theory. I burned through three hibiscus plants before I stopped guessing and started working a system. The short answer: you need a fixed 20-minute session every single month, a cheap magnifying glass, and the nerve to quarantine new plants for two weeks. That’s it. That’s the core. But the devil lives in the details of how you actually inspect, what you touch, and what you spray. Let me walk you through exactly what I do, what I learned the hard way, and what will save your plant.
Why Your Indoor Hibiscus Keeps Getting Pests
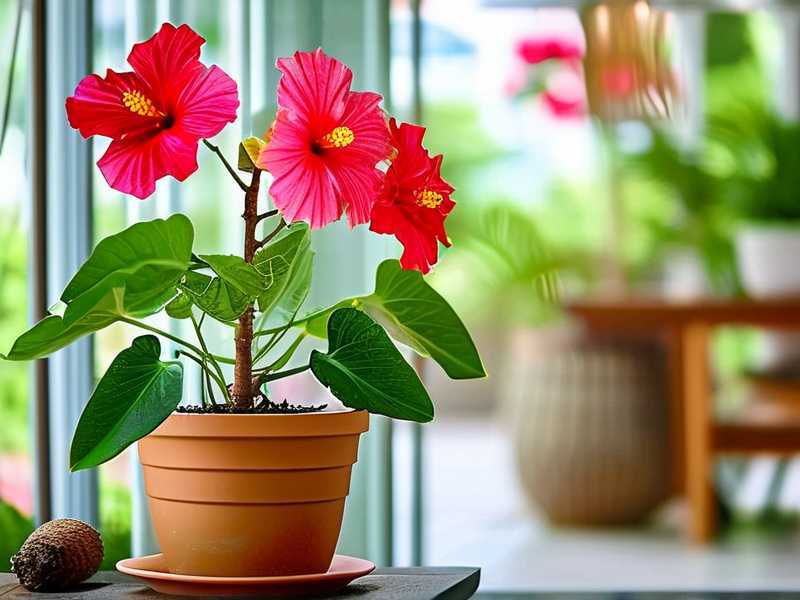
Everyone thinks pests just appear. They don’t. They hitchhike. They hide in the soil you brought home. They ride in on that "healthy" nursery plant you couldn’t resist. Or they survive because your hibiscus is stressed out of its mind.
I remember my second hibiscus. I babied it. I watered it every other day because the topsoil felt dry. I gave it bright window light, but not too much. And then one morning, the buds just dropped. Not one or two. All of them. I checked the undersides of leaves with my bare eyes and saw nothing. It took me three more weeks to realize I had spider mites.
The reason my first two hibiscus plants failed wasn’t bad luck. It was my routine. I didn’t have a checklist. I didn’t inspect properly. I just reacted when things looked bad. And by the time things look bad, the pest population has already exploded.
So let me give you the actual system. I’ve been running this for months now. The plant is thriving, the leaves are glossy, and I haven’t seen a single web in a long time.
The 3 Fatal Mistakes Every Indoor Hibiscus Owner Makes
Let’s get the messy stuff out of the way first. I’ve made every mistake on this list. If you’re new to this, read closely. If you’re experienced, you already know these are real.
Mistake #1: Watering too much
Honestly, this is the big one. I killed my very first hibiscus by drowning it with love. I saw the soil look dry on top and poured water. Every day. The roots sat in wet soil. The plant weakened. And what do weak plants get? Pests. Fungus gnats absolutely loved my soggy pot. Let me be blunt: 90% of indoor plants die from overwatering. I know I’m a broken record, but it’s true. Hibiscus likes moisture, but it hates wet feet. You have to wait until the top inch of soil is truly dry. Not "kind of dry." Truly dry.
Mistake #2: Wrong light placement
I tried to grow hibiscus in a north-facing window. I thought it would be fine. It wasn’t. The leaves turned pale, the stems stretched weirdly, and the plant just looked tired. A stressed hibiscus is a pest magnet. Mealybugs love weak, shade-grown plants. You need bright, direct light for at least 6 hours. I use a south window now, and I even added a grow light for the darker months. It made a massive difference.
Mistake #3: Wrong pot choice
I used to repot into any cute ceramic pot I found. No drainage holes. I didn’t think it mattered because I was careful with water. Wrong. Even careful watering can’t fix poor drainage. Water pools at the bottom. Salt builds up. The roots start dying. And then the plant sends out stress signals that aphids somehow detect from across the room. I only use terra cotta or plastic pots with proper holes now. No exceptions.
My Monthly Inspection Routine (The Exact Steps)
Here’s what I do now. It’s a monthly ritual. I set a reminder on my phone. I block out twenty minutes. I don’t skip it. It’s not hard, but it’s repetitive.
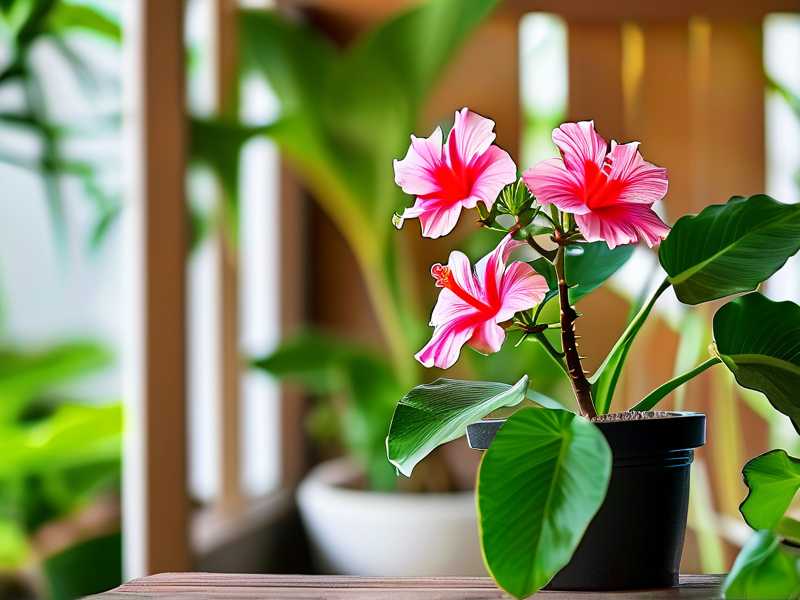
Step 1: The Quarantine Zone (Always Have This)
You can’t inspect your hibiscus properly if you’re bringing in new infected plants every week. I learned this after buying a beautiful "discount" hibiscus from a big box store. It had scale insects hidden in the leaf axils. I didn’t see them. For two weeks, it sat right next to my healthy plant. I didn’t even realize the problem until the scale spread.
So now, any new plant goes into a separate room for two full weeks. I treat it with a preventative spray. I inspect it twice during that period. I don’t bring it near my main collection until I’m absolutely sure it’s clear.
Step 2: Get Your Tools Ready
You don’t need fancy equipment. I use:
- A magnifying glass (10x is perfect)
- A flashlight
- Rubbing alcohol on a cotton swab
- A spray bottle with diluted neem oil
- A soft cloth or paper towels
Keep these somewhere accessible. If you have to hunt for your magnifying glass when something looks off, you’ll procrastinate. I keep my kit in a zipper pouch right next to the plant saucer.
Step 3: Visual Check of New Growth First
I always start with the newest leaves. Pests love fresh growth because it’s tender and juicy. I look at the undersides of the leaves first. That’s where spider mites hang out. That’s where aphids hide. I’m looking for:
- Tiny webbing (spider mites)
- Little tiny bumps that don’t wipe off (scale)
- White cottony fuzz (mealybugs)
- Tiny moving dots (thrips or mites)
- Sticky residue on the leaf surface (honeydew from aphids)
That sticky stuff is a big warning sign. I remember seeing sticky spots on the window sill and thinking I spilled something. No, it was aphid droppings. The leaves felt tacky. If you see that, switch to full attack mode.
Step 4: Check the Leaf Axils (The Sneaky Spots)
I can’t stress this enough. The joint where the leaf meets the stem is where the bugs hide. I gently pull back the leaf and look inside that little nook. This is where mealybugs love to nestle. They’re tiny white bugs that look like bits of cotton. They’re slow-moving and easy to spot once you know where to look. But they hide deep in these crevices.
Step 5: Inspect the Stems and Branches
Some pests don’t just sit on leaves. Scale insects look like tiny brown or tan bumps stuck to the stems. They almost look like part of the plant. In my experience, if you see scale on a stem, you’re in for a longer fight. You have to physically scrape them off or use alcohol on a cotton swab. Spraying hasn’t been enough for me with scale on stems.
Step 6: Look at the Soil Surface and Pot Edges
Fungus gnats are the most annoying pests of all. They aren’t deadly, but they’re everywhere. They fly out of the soil when you water. I check the soil surface for tiny white larvae or little gnats buzzing around the base. I also check the pot rim and the saucer underneath. If I see ants crawling around, that’s a red flag. Ants farm aphids and mealybugs to feed on the honeydew. If you see ants, you definitely have a plant pest problem too.
Step 7: The “Shake Test” for Mites
Here’s a trick I picked up. I hold a big piece of white paper under a branch, then gently tap the branch. If there are mites, tiny specks will fall onto the paper. They look like moving dust. The first time I did this, I was shocked. I had spider mites I couldn’t even see with my naked eye. The paper trick changed everything for me.
Step 8: Spot Treatment Before Anything Else
If I find anything during inspection, I don’t spray the whole plant first. I spot-treat. I dip a cotton swab in rubbing alcohol and carefully dab each mealybug or scale bug. This kills them directly. Then I wait a day and spray with neem oil over the entire plant, covering all leaf surfaces. This two-step process works way better than just spraying. I got this from a RHS guide that stressed physical removal for scale and mealybugs before any chemical treatment. And they’re right.
Step 9: The Preventative Spray (Every Month)
Even if I don’t see anything, I do a light neem oil spray after inspection. I mix a few drops of neem oil with a little mild dish soap and water. I shake it well and spray the whole plant. I make sure to get the undersides of leaves. I spray in the morning so the leaves have time to dry before night. Wet leaves at night invite fungal problems. I only do this once a month. More often than that can mess with the leaf pores.
Step 10: Wash the Dust Off the Leaves
Dust is a huge hidden factor. Think about it. Dust covers the leaves. Dust blocks the stomata, which are the breathing pores. The plant can’t photosynthesize as well, and it gets stressed. Stressed plants again, pest magnets. So during my monthly inspection, I wipe down the larger leaves with a damp cloth. For smaller leaves, I just gently spray them in the sink and let them drip. This simple act has kept my leaves healthy and made the plant stronger overall.
Step 11: Visual Audit of Color and Texture
This is more about plant health than pest detection, but I tie them together. Yellow leaves often mean overwatering. Pale leaves mean bad light. Brown edges mean low humidity. All of these conditions make the plant more vulnerable to pests. I look at the leaf shape. Cupped or curling leaves can be a sign of aphids or mites. Honestly, the quicker I catch the stress signal, the quicker I can fix the environmental issue before pests even get a chance to move in.
Step 12: Track Everything in a Journal
I keep a simple notebook. I write down the date of my inspection, what I found, what I treated, and any changes in the plant’s environment. This isn’t overkill. It helps me spot patterns. I noticed a few months ago that I always saw a couple of aphids in early spring when the new growth burst came in. Now I anticipate it. I start my preventatives two weeks before that growth spurt, and I haven’t had a real infestation since.
What Worked for Me Over the Two-Week Observation Period
I want to be honest about what happened when I started this checklist. The first week was mostly maintenance. I found a few mealybugs hiding in the leaf axils of my biggest plant. I treated those spots with alcohol directly. I didn’t see any other bugs.
Then the second week hit, and I noticed a few sticky spots on a lower leaf. I sprayed with neem oil the next morning. I checked the plant every two days after that. By the end of the second week, I found zero new pests. The sticky spots were just residue from the dead aphids. No live bugs. That was a relief.
But I also noticed a subtle improvement in the overall leaf health. Because I was wiping down dust that had built up, the leaves looked shinier. They looked greener. The plant just looked happier. I think the combination of clean leaves, proper watering, and the monthly neem oil spray really changed the game for me.
The Tools and Products I Swear By
You don’t need to break the bank on pest control. But you do need to have the right tools. Here’s my bare-bones kit that actually works.
Insecticidal Soap or Neem Oil
I prefer neem oil for monthly maintenance. It’s organic, and it’s a decent preventative. But I’ll say this plainly, neem oil isn’t a quick-fix bomb. It works slowly. You have to be consistent. If I have an active infestation, I switch to a ready-to-use insecticidal soap for a few weeks, then go back to neem for maintenance.
Rubbing Alcohol (70% Isopropyl)
This is a life-saver for direct contact hits. It melts the waxy coating on mealybugs and scale insects, which kills them fast. But it can burn leaves if you use too much. Use a cotton swab and dab carefully. Don’t drench the plant with it.
Sticky Traps
I now have yellow sticky traps in the soil. They catch fungus gnats and flying aphids. They don’t solve the problem completely, but they tell me what flying pests are in the area. A sudden catch on the trap means I need to do a deeper inspection of the leaves.
A Good Drainage Pot
I can’t overstate this. If you haven’t already, repot your hibiscus into a pot with multiple drainage holes. Terracotta is my favorite because it breathes and the soil dries out evenly. It prevents the stagnant, wet conditions that fungus gnats and root rot love. I prefer my pots to have at least four drainage holes at the bottom.
The 2-Week Pest Prevention Planning Guide (Simple Calendar)
I tried my own quick guide. I want to share it because it’s short and effective.
Week 1 (Day 1-3): Physical inspection of leaves and stems. Spot remove any visible bugs with alcohol swabs. Take note of the light conditions. Is the plant getting enough direct sun? If not, adjust the location slightly.
Week 1 (Day 4-7): Apply the neem oil spray. Don’t wait. Just do it after you confirm the plant is dry. Water only if the top inch of soil is completely dry.
Week 2 (Day 8-10): Re-check the undersides of the leaves. Look for any new sticky residue. Wipe down the largest leaves with a damp cloth to remove dust. Check the saucer for standing water. Empty it.
Week 2 (Day 11-14): Do the white paper shake test again. If you find anything, you’ll need to treat more heavily. If you find nothing, you’re clear for the month. Trim any dead or yellowing leaves to keep air circulating.
By following this, you move from reactive spraying to proactive care. It saves your plant and your sanity.
What the Experts Say About Pest Control
I didn’t just base my routine on my own mistakes. I checked what the gardening organizations recommend. The AHS has some solid notes on integrated pest management. They emphasize that a healthy plant is the first line of defense. They stress the importance of cultural controls before you even pick up a spray bottle. That means correct watering, good airflow, and proper light. They aren’t wrong.
The RHS also notes that most houseplant pests are linked to the conditions in which they’re grown. For example, they advise reducing watering for fungus gnats and inspecting new plants for mealybugs before introducing them. I applied their basic principles and it worked.
Honestly, official guidelines often read like common sense. But we don’t always follow common sense when we’re looking at a pretty plant. We overwater. We put it in a dark corner. We skip the basic checks. That’s where the manual fails. So take the expert advice, but combine it with a rigid personal schedule you can’t skip.
Frequently Asked Questions I Get All the Time
Q: I found pests on my hibiscus. Should I repot it immediately?
No. Don’t repot when you have an active infestation. Repotting stresses the plant. And a stressed plant will just attract more pests in the new soil. Instead, treat the pests first. Wait two weeks after the last sign of pests. Then repot if you need to fix the soil or root situation. The exception is if you have fungus gnats. In that case, repotting into a well-draining mix often helps the problem, but I still recommend treating the larvae first.
Q: How do I know if I have spider mites without a magnifying glass?
You’ll see the webs before you see the mites themselves. They create fine, silky webbing on the undersides of leaves and in the leaf axils. The plant might also look dusty or stippled. If you see those little pale dots on the leaves from the mites sucking out the chlorophyll, that’s a classic sign. But you might also notice a general look of dullness to the plant. Don’t ignore that. Use the white paper test I mentioned earlier. Seriously, just hold white paper under a leaf and tap. You’ll see moving specks if you have them.
Q: Can I use a dish soap spray on my hibiscus?
You can, but don’t overdo it. A very diluted solution of mild dish soap and water (a few drops per quart) can help break down the waxy coating of soft-bodied pests like aphids. However, I suggest you test it on a single leaf first. Some dish soaps have degreasers that can burn hibiscus leaves. Honestly, I mostly use mild dish soap as a spreading agent for neem oil. I don’t use it as my only pest control method.
Q: How long does it take to get rid of mealybugs completely?
Be patient. It can take three to four weeks with consistent treatment. Mealybugs are tough because they hide deeply in the crevices. I had a plant that I treated for six weeks before I was sure it was gone. The key is to check every few days and scrape off every cottony mass you see. The moment you stop looking, they come back.
Let’s Wrap This Up
My indoor hibiscus now sits in a south-facing window, in a terra cotta pot with proper drainage. I water it when the top inch of soil is dry. I check it with my flashlight and magnifying glass at the beginning of each month. I spray lightly with neem oil. I wipe the leaves down. It’s flourishing, and it hasn’t had a serious pest issue in months.
The whole secret is discipline. Not luck. Not expensive products.
You have to love your plant enough to look at the part of the leaves you usually ignore. You have to check the soil, not just the surface. You have to accept that a healthy houseplant doesn’t happen by accident.
I genuinely believe my checklist will work for you because it’s built on my failures. I botched the watering. I ignored the dust. I used the wrong pots. I skipped the inspections. But I corrected every one of those mistakes with a simple, repeatable process. You can do the same.
Take twenty minutes this week. Look closely. Your hibiscus will thank you.





