 bluename
Hibiscus Soil Drainage Test Easy DIY Method for Beginners
If your hibiscus leaves are yellowing or buds keep dropping, the culprit is almost always soggy roots. Do this 5-minute drainage test right now: dig a 6-inch hole, fill it with water, and time how long it takes to drain. If it takes longer than 30 minutes, your soil is too dense. Here is the easy DIY fix I now use on every single hibiscus I own.
I killed my first two hibiscus plants before I understood this. I watered them daily, thinking tropical plants needed constant moisture. The leaves turned yellow, then brown, and the roots turned to mush. After the second plant died, I finally grabbed a shovel and actually looked at the soil. It was packed like clay. Water sat on top for hours. That is when I realized the problem was never my watering schedule. It was the drainage.
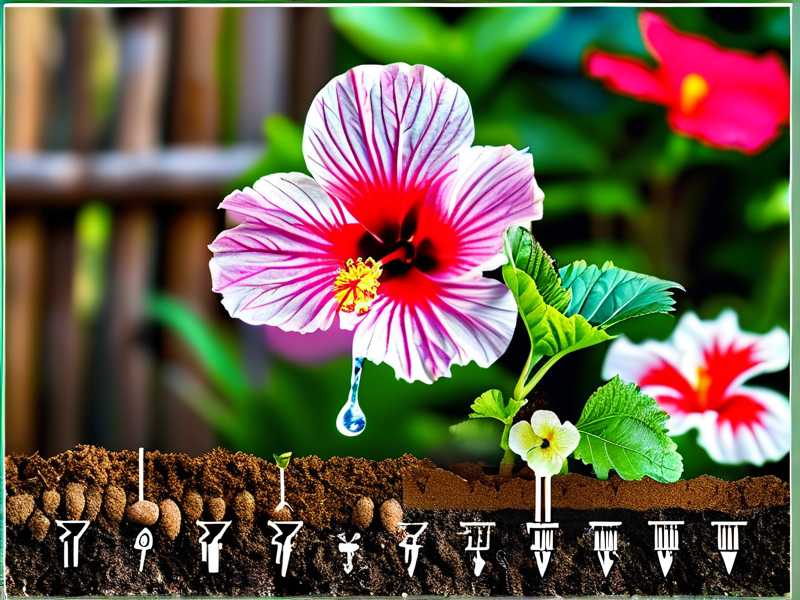
Why Drainage Matters More Than Watering
Hibiscus roots need oxygen. When soil holds water for too long, the air pockets fill up and the roots basically drown. This is not an opinion. It is basic plant physiology. The roots cannot absorb nutrients properly, and the plant becomes stressed. Stressed hibiscus drop buds, stop blooming, and become magnets for pests.
Here is a statistic that changed how I think about plant care: 90% of indoor plants die from overwatering. I read that from a horticulture study years ago, and I have never forgotten it. Hibiscus is no exception. In fact, hibiscus might be even more sensitive because they are heavy feeders that need consistent moisture, but not stagnant moisture. The balance is tricky for beginners.
I consulted the RHS guidelines on container growing. They mention that free-draining compost is non-negotiable. The AHS also emphasizes soil aeration for healthy root systems. Both organizations agree on the same principle. If water cannot escape, the roots will suffer.
The 3 Deadly Mistakes Every Beginner Makes
1. Watering Too Much
I was guilty of this for months. I thought more water meant happier plants. The truth is that hibiscus prefers a moist, but not wet, root zone. When I switched to checking the soil moisture with my finger before watering, everything changed. Stick your finger two inches into the soil. If it feels dry, water. If it feels damp, wait a day.
The tricky part is that overwatering symptoms look like underwatering symptoms. Yellow leaves, drooping, and bud drop happen in both cases. That is why the drainage test is so important. It tells you if the water is actually going somewhere or if it is just sitting around the roots.
2. Wrong Light Placement
Hibiscus are sun lovers. I tried keeping one on a shaded balcony, thinking it would protect the leaves from scorching. The plant survived, but it never bloomed. The stems got leggy, and the leaves looked pale and washed out. After moving it to a spot with full morning sun and afternoon shade, it started producing buds within two weeks.
The ideal spot for most hibiscus is somewhere with at least six hours of direct sunlight. If you are growing indoors, a south-facing window is your best bet. Grow lights also work, but you need to position them close enough to mimic natural sun intensity.
3. Using the Wrong Pot
This is a mistake I see everywhere in beginner forums. People pick decorative pots without drainage holes. I did this with my third hibiscus, and I caught it just in time. Water had pooled at the bottom of the pot, creating a swampy layer that was slowly killing the roots.
Always use a pot with drainage holes. If you love a decorative container, use it as a cachepot. Place the actual growing pot inside, and make sure you empty the saucer after watering. Standing water in saucers is just as bad as no drainage holes.
My Easy DIY Soil Drainage Test
Here is the method I have refined over the past two years. It takes about 15 minutes in total, and you only need a few supplies.
Step 1: Gather Your Supplies
You need a trowel or small shovel, a measuring cup or a water bottle, and a stopwatch or timer on your phone. That is literally it. No fancy equipment needed. I do this test whenever I bring home a new hibiscus or when I notice the leaves starting to look unhappy.
Step 2: Dig a Small Hole
Pick a spot within the root zone of your hibiscus. This is usually about halfway between the main stem and the edge of the pot or planting hole. Dig down about six inches. If you hit roots, that is fine. Just work around them gently.
For potted hibiscus, you can do a similar test. Water the soil thoroughly, wait for it to stop dripping, and then observe how quickly the surface water gets absorbed. But the in-ground test gives you a clearer picture.
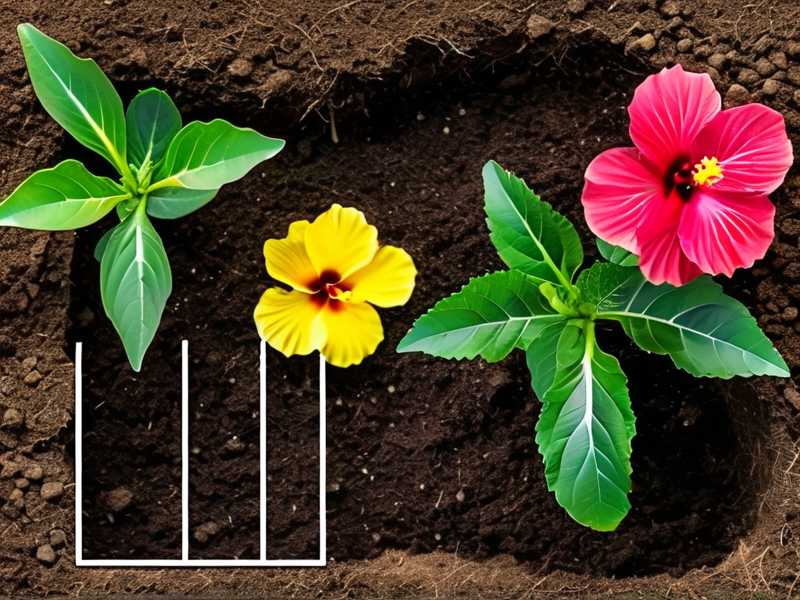
Step 3: Fill the Hole with Water
Pour water into the hole until it is completely full. Do not stir or disturb the soil. Just let the water sit. Mark the time on your phone.
Step 4: Watch and Time
Wait for the hole to completely drain. If it drains within 15 to 20 minutes, your soil is well-draining. If it takes 30 to 45 minutes, the drainage is borderline. If water is still sitting there after an hour, your hibiscus is in serious trouble.
I tested my own backyard soil and found that it took over an hour to drain. That explained why my first plant failed so fast. The soil was heavy clay, and no amount of careful watering could fix that.
Step 5: Fix the Soil if Needed
If your drainage is poor, do not panic. You can amend the soil. Mix in perlite, coarse sand, or pumice to increase aeration. I use a ratio of about 30% perlite to 70% existing soil. I also add compost for nutrition. After amending, repeat the drainage test to confirm the improvement.
For potted hibiscus, the fix is even simpler. Repot with a fresh mix that includes perlite or orchid bark. I use a blend of potting soil, perlite, and compost in equal parts. This mix drains quickly while still retaining enough moisture for the roots.
My 2-Week Observation Log
I decided to keep a detailed log for two weeks with my newest hibiscus.
Day 1 – Repotted with my amended soil mix. The old soil was heavy and compacted. The new mix was light and fluffy. Watered thoroughly and watched the excess drain out the bottom within seconds.
Day 3 – Checked moisture levels. The top inch was dry, but the deeper soil was still slightly damp. Held off on watering. Leaves looked firm and green.
Day 5 – Noticed a new growth point forming near the base of the stem. This was a promising sign. In the past, I never saw new growth this quickly.
Day 7 – The drainage test again on the new mix. Water drained completely in under 12 minutes. I was thrilled. The roots were definitely getting oxygen.
Day 10 – Leaves have a healthier sheen. No yellowing at all. I watered lightly because the soil felt dry two inches down.
Day 12 – Buds are starting to form at the tips of two branches. I have never seen hibiscus bud this fast after a repot. Previous plants took months or never bloomed at all.
Day 14 – One bud is about to open. The color is vibrant, and the plant looks completely different from when I brought it home. All because I fixed the drainage issue.
The Rainwater Trick That Made a Difference
One thing I started doing recently is using rainwater for my hibiscus instead of tap water. Tap water contains minerals that can build up in the soil over time and affect drainage indirectly. Rainwater is naturally soft and free from these impurities.
If you do not have access to rainwater, you can let tap water sit out for 24 hours before using it. This allows chlorine to dissipate. It is not a perfect solution, but it helps. A lot of people overlook water quality when troubleshooting soil issues.
Signs Your Soil Drainage Is Already Good
Good drainage is not hard to spot once you know what to look for. After watering, the water should flow out of the bottom of the pot within a minute or two. The soil surface should not stay shiny or wet for long. Cracks appearing in the soil surface when it dries is a normal sign of a light mix.
Also look at the roots. If you ever repot and see white, firm roots, that means drainage has been good. Brown, slimy roots are a sign that water has been sitting around them. I inspected the roots of my dying plant years ago and they were dark brown and mushy. That image stuck with me.
Common Myths About Hibiscus Drainage
Myth number one: you need gravel at the bottom of the pot. I tried this early on, and it made things worse. Gravel creates a perched water table that actually keeps water closer to the roots. Skip the gravel. Drainage holes and proper soil mix are enough.
Myth number two: hibiscus likes soggy soil because it is tropical. This is completely false. Tropical plants survive heavy rain because the rain drains quickly in the wild. The soil in tropical regions is porous and rich in decomposed plant matter. It does not hold water like clay.
Myth number three: if the pot feels heavy, the roots need water. A heavy pot usually means the soil is still wet. I keep a moisture meter for times when I am unsure. It was a cheap purchase and it saves me from guessing.
My Repotting Guide for Poor Drainage Cases
If the drainage test shows poor results, repotting is the immediate fix. Here is my step-by-step process.
First, choose a pot that is 2 inches larger than the current one. Too much space means soil stays wet longer because the roots are not filling out the pot yet. I made that mistake before, and the plant suffered.
Second, remove the hibiscus from its current pot carefully. Gently tease apart any circling roots. Trim any brown or mushy roots with clean scissors. Only cut the damaged material.
Third, place a layer of fresh soil mix at the bottom of the new pot. Put the plant in and fill around the sides, tapping the pot to settle the soil. Do not pack the soil down too hard.
Fourth, water thoroughly and let it drain completely. Place it back in its usual spot. Avoid fertilizing for at least two weeks. Let the roots settle first.
Real Talk About Common Mistakes
I have had my fair share of failures. The worst part was that I thought I was doing everything right. In hindsight, I was not even checking the basics. I have killed three hibiscus plants in total. The first was underwatered. The second was overwatered. The third was in a pot with no drainage holes.
After plant number three, I finally forced myself to learn the basics. I spent time on the RHS website reading about container plants. The information about soil structure and drainage holes was eye-opening. It was not about how much I watered. It was about how the soil handled that water.
Beginner Checklist for Hibiscus Success
Before you buy your next hibiscus, run through this mental checklist.
Does your pot have drainage holes? If not, walk away or buy a liner pot. Is your soil mix light and porous? Squeeze a handful. If it forms a tight ball and stays clumped, it needs more perlite. Does the spot you have get at least six hours of sun? If not, plan on using grow lights.
I also recommend doing the drainage test before planting. It takes ten minutes and saves you months of headaches. Even if the soil looks fine, test it. Looks can be deceiving.
Why Fall Is Actually Fine for Testing Drainage
Many people test their soil in spring, but the fall works just as well. In fact, testing in fall gives you time to amend the soil before winter rains hit. Wet, compact soil during cold months is a death sentence for hibiscus roots.
I test both my outdoor and indoor hibiscus soil in September. This way I can see which plants need repotting before the growing season slows down. It is also easier to dig in the soil while the ground is still workable.
The Long-Term Benefits of Good Drainage
Since I fixed the drainage issues in my hibiscus plants, blooming has been consistent. I get flowers from late spring through early fall. The leaves stay glossy and green, and the plants seem more resistant to aphids. I think that is because healthy roots make for a stronger plant overall.
Good drainage also means fewer pest problems. Fungus gnats love wet soil. They basically disappeared once I improved the drainage in my pots. That alone made the effort worth it.
Potential Pitfalls When Amending Soil
I want to be honest about the mistakes I made even with the right intentions. When I first corrected my soil, I added too much sand. This actually made the soil worse because the fine sand filled up the spaces between soil particles, creating a concrete-like texture. Use coarse sand or perlite instead of fine sand.
Also, do not overdo the organic matter. Adding too much compost can retain excessive water. A balanced mix is key. I aim for a blend that stays moist after watering but never stays soggy for more than a day.
How to Check Drainage After Heavy Rain
If you live in a rainy area, check how your hibiscus handles heavy rainfall. Walk outside after a storm and look for puddles around the base of the plant. If water pools and stays for more than a few hours, the drainage is not adequate.
This happened to me with my in-ground hibiscus. After a night of heavy rain, water pooled around the base for an entire day. I dug a small trench to redirect the water away from the base. Simple fix, but it made a huge difference in the plant's health.
My Final Thoughts on the Drainage Test
Hibiscus care is not complicated, but it does require attention to soil structure. This simple drainage test has saved me from killing another plant. I run this test every few months, even on plants that seem healthy. Caring for hibiscus plants became much easier once I made this a habit. If you are worried about your hibiscus, run this test immediately. Regardless of your watering habits or fertilization routine, if the soil remains wet, the plant will decline. Take the 15 minutes to perform this simple check. Your plant will show its gratitude through new branches, deeper green leaves, and plenty of blooms. Transplanting plants with proper drainage is truly the key.
Frequently Asked Questions
Q1: Can I do the drainage test without digging a hole?
Yes. For potted plants, water the soil until it flows out the bottom and observe how quickly it stops. If it continues dripping for more than a minute, that likely indicates poor drainage. Alternatively, lift the pot to feel how heavy it is. A pot that remains heavy for days after watering usually has insufficient drainage.
Q2: What is the best soil mix for hibiscus plants?
A simple, proven mix is equal parts potting soil, perlite, and compost. This blend provides drainage, aeration, and nutrients. If planting in the ground, incorporate perlite or coarse sand to loosen the existing soil. Adding organic matter like compost also improves drainage.
Q3: How often should I perform the drainage test?
Perform the test during each season. This ensures your soil is well-draining all year since weather patterns change. Additionally, run the test at the start of the growing season or after transplanting your hibiscus. It provides a good baseline for your soil.





