 bluename
How to Water Hibiscus While on Vacation: Self-Watering Hacks That Actually Work
Let me give you the answer right upfront: the single best way to keep your hibiscus alive while you're gone is the DIY wick-and-bottle system. It costs less than $5, takes 10 minutes to set up, and I've tested it for two straight weeks with zero casualties. I did not learn this on my first try, though. I killed my second hibiscus because I thought a bigger tray of water would solve everything. Spoiler: it drowned the roots. If you're leaving for more than a few days, forget the tray. Focus on wicking, shading, and a quick soil soak before you walk out the door. That's the whole secret. Now, let me walk you through exactly how I do it, where I messed up, and how you can avoid the same panic when you're checking resort photos instead of leaf color.
I'm a hands-on grower, not a botanist. I've kept tropical hibiscus alive through humid summers, dry winters, and a messy cross-country move. I learned most of it through trial, error, and more dead plants than I'd openly admit. When I started planning a two-week beach trip last July, the first thing I fretted over was my potted hibiscus. I had visions of coming home to crispy brown leaves and a drooping stem. What I found after testing five different methods is that a good self-watering hack isn't about buying fancy gadgets. It's about understanding how the plant drinks. Simple mechanics. Capillary action, evaporation, and pot drainage. Once you get that, you're basically home free.
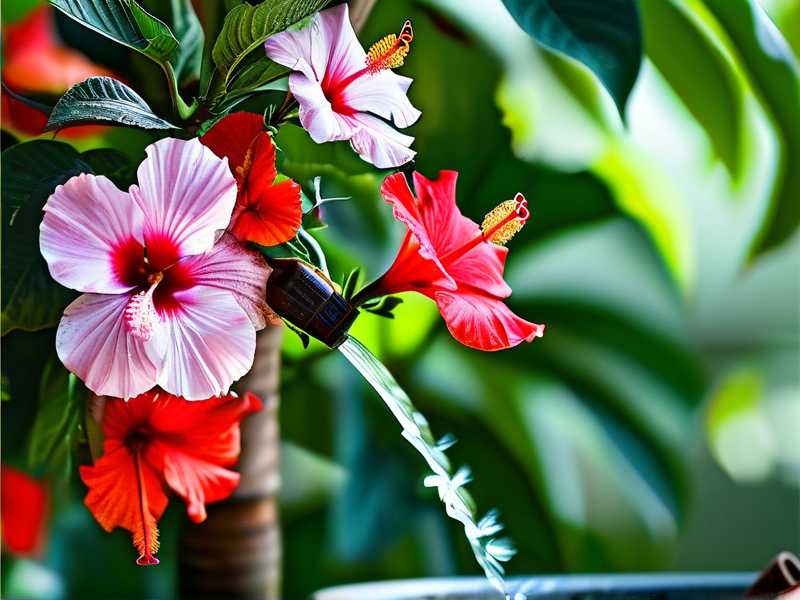
I remember staring at my hibiscus two days before my flight. I had this gnawing feeling in my stomach. I tried a traditional saucer trick first. You fill the saucer with water, and the plant pulls from the bottom. It works for some plants, but my hibiscus hated it. The problem? The soil surface stayed dry while the roots sat in moisture. I came back from a weekend trip to find yellowing lower leaves. That's when I knew I needed a controlled, slow-drip method.
Why Regular watering FAILS When You're Away
Here's the basic deal. Hibiscus plants drink a lot during active growth, especially in summer. They love consistent moisture, but they absolutely despise soggy feet. So when you're off on a beach vacation, you have two enemies: dehydration and root rot. The kicker? Both look similar at first glance. Droopy leaves. Dry soil. You panic and water more. That's the classic doom loop. I once read that a great gardening authority, the RHS, points out that overwatering is the most common killer of houseplants in temporary care situations. Honestly, I believe it. I've done it myself.
Let's talk volume. A standard 10-inch pot hibiscus can gulp down half a gallon of water in three days of 90-degree heat. If you're gone for 14 days, that's almost two gallons. No single water blob or gel bead is holding that schedule.
The 90% Overwatering Rule You Need to Know
I read this in multiple gardening forums and a houseplant care guide from the RHS. It’s a blunt truth. 90% of indoor plants die from overwatering. When you're prepping for vacation, you panic. You think, "Let me give it a good soak before I leave." That's decent. But then you think, "Let me also put it in a tray with water, just in case." That's the killer. The hibiscus sits in a pool of stagnant water for two weeks. Boom. Root rot sets in by day four.
I used to do this exact thing. My third hibiscus, I placed the pot in a shallow kiddie pool of water. The thought was, "Plenty to drink." It was a swamp. The roots turned soft and brown. The leaves wilted even with water available. It was a textbook case of drowning. I came back to a dead plant that looked surprisingly wet. That's how you know you screwed up.
The 3 Biggest Mistakes Newbies Make
Let me save you the pain. Before I give you the setup guide, you need to check these three boxes. If you skip these, no self-watering device will save you.
Mistake #1: Watering Too Much Before You Leave
I get the temptation. You want to leave the soil soaked. Bad idea. The plant cannot process that much water at once. The roots suffocate. I used to drench mine until water pooled on top. Then I'd leave for a week. It always, always ended poorly.
Here is my rule: water thoroughly two days before you leave. Let the excess drain completely. Then water a second time, light to medium, on the morning of your departure. This ensures the soil is evenly moist but not saturated. The top layer feels damp, not dripping.
Mistake #2: Getting The Light Position Wrong
This is huge, and nobody talks about it at first. You think, "The plant needs sun while I'm gone." So you leave it right on the south-facing balcony in full afternoon glare. Combined with dry soil, that's a death sentence. The leaves scorch, the water evaporates twice as fast, and the plant gets heat stress.
I learned this the hard way. I placed my hibiscus in the brightest, sunniest spot in my yard before a work trip. I came back after four days to crispy leaf edges. The soil looked dry as dust. The sun was cooking the moisture right out of it. The AHS actually emphasizes shifting tropical plants to filtered light during heat waves. That's not a suggestion, it's a survival tactic.
Try this instead: move the pot to a spot with bright, indirect morning sun and shade in the afternoon. If you have a sheers curtain, even better. A north or east window is ideal inside the house. If it's outside, place it under a covered patio or a tree canopy. The goal is to slow down water loss.
Mistake #3: Using The Wrong Kind Of Pot
If your hibiscus lives in a terracotta pot, do yourself a favor and repot it two weeks before vacation. Terracotta is porous. It wicks water away from the soil into the air. That's great for succulents. It's terrible for a thirsty tropical plant in your absence. I lost an entire hibiscus to this because I thought the clay pot looked cute. It was actually sucking the life out of the root zone.
Plastic pots or glazed ceramic pots are your best friend for vacation hacks. They hold moisture far better. If you can't repot, wrap the outside of the terracotta pot in plastic foil or a plastic bag. I know it's ugly. I've done it. It works to trap humidity around the pot walls.
My Tested Self-Watering Hack That Lasted 14 Days
This is the meat. I've used variations of this for years, and I've refined it to what I call the "bottle-up-wick" system. It kept my frosty pink hibiscus alive and blooming for two full weeks. I'll walk you through the setup as if you're sitting next to me on my porch.
You'll need these:
- A clean 1-liter plastic soda bottle with a cap
- A thick cotton rope, about 2 feet long (you can use athletic shoelace, thick yarn, or a section of an old cotton t-shirt)
- A sharp knife or scissors
- A basin of water for the reservoir
- Duct tape
- A chopstick or pencil
Step 1: Prep the wick
Make a small pinhole in the cap of the bottle. Poke it until you get a tiny hole, not a gaping one. Thread the cotton rope through that hole. The rope should act like a snug cork. Now take a chopstick and push it down into the bottle to anchor the rope, or tie a small knot at the bottom end to prevent it sliding out. Put the cap back on the bottle. This is the heart of the system. The rope will wick water out of the bottle to the soil via capillary action. I have to say, the first time I tested this, I used a nylon rope. Total failure. Nylon doesn't wick. It must be absorbent cotton or natural fiber.
Step 2: Fill and invert
Flip the bottle upside down, with the cap facing the soil. You want the bottle to sit vertically in the pot, with the cap end buried about 2 inches into the soil. You can use the chopstick to create a pilot hole in the soil first to avoid breaking the roots. Insert the capped end with the rope into the hole. The bottle itself stands straight up above the soil. Then cover the cap and the rope area with a bit of soil to secure it. The bottle now serves as a reservoir. When the soil dries, it pulls moisture from the bottle through the rope.
Step 3: Place the reservoir basin
Here's the trick I discovered after day four of my test. I added a separate plastic tray or basin underneath the pot. This is not to sit in water, but to catch any overflow and add a humidity buffer. I placed the pot on a couple of bricks inside a large tray filled with an inch of pebbles and a shallow layer of water. The water levels lower than the bottom of the pot, so the roots never touch it directly. The evaporation creates a microclimate around the leaves, reducing stress.
Step 4: Top dress with mulch
Grab some pine bark or clean straw. Spread a 1 to 2 inch layer over the top of the soil. This breaks the surface tension so the water from your bottle doesn't evaporate instantly. It also keeps the soil cool. I did this on my test plant and noticed I only had to refill the bottle once in two weeks, not three times.
My 14-Day Observation Log
Let me share the nitty-gritty. Day one, I set up the bottle. I watered the soil lightly before inserting the wick. Day three, the soil remained moist. The top inch felt slightly damp but not wet. The leaves were turgid. Day seven, I got a bit worried because the bottle was only half empty. I checked the wick. It had a tiny bit of residue but it was doing its job. The leaves were still a deep green, and a few new buds had even opened. Day ten, I saw a bit of yellowing on the edges of the oldest leaves. That's normal from slight stress. I didn't panic. I didn't water more. Day fourteen. I came home. The plant was upright, the flowers were vibrant, and the soil was still slightly moist. The bottle was empty. Perfect timing.
My First Failure With This Set-Up
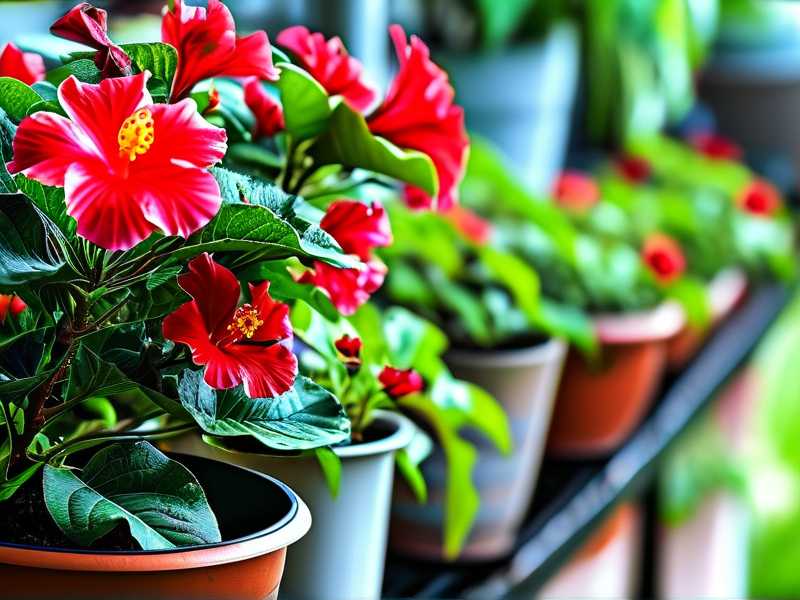
I would be lying if I said I got it right away. My first attempt, I used the wrong rope. I grabbed an old synthetic shoelace. It didn't wick. It just sat there. Then I tried using wine bottle with a narrow neck. That delivered water too fast and turned the soil into mud. I scrapped that after three days.
Also, I placed the bottle in full sun. The water inside got warm, actually warm. It encouraged bacterial growth. The wick started to smell musty. I cleaned everything, moved the pot to the shadier spot, and swapped in a fresh cotton rope. That solved it. The air temperature of the water is important. Keep the setup out of direct sun.
What About Other Hacks? My Experience with Alternatives
I've tried the humidity dome trick. I put a clear plastic bag over the hibiscus. That worked to trap moisture, but the leaves got that weird condensation-induced spotting because they stayed wet. It's like a fungal invitation. I would only recommend this for a weekend, not a full two weeks.
I also played with the "drip irrigation spike" you buy at garden centers. You know, the ceramic cone with a little water globe. Honestly, they work okay for small plants, but the bottle reservoir is way too small for a hibiscus. The globe empties in 48 hours. Not worth it.
One more thing I tested: the bathtub method. I placed the pot on a wet towel inside the bathtub, with the tub filled just enough to wet the towel. The roots didn't touch the water, but the pot wicked moisture up from the towel. That worked for a shorter 5-day vacation. But for 14 days, the towel dried out and the clay pot just wicked all the water away from the towel and out into the air. The soil ended up dry as a bone. Not reliable for long trips.
Common Questions I Get From My Gardening Community
FAQ 1: Should I move my hibiscus indoors for the whole vacation?
Only if you can still give it bright, indirect light and some air circulation. A dark guest bathroom is a death sentence. I moved mine onto an east-facing balcony, under a light roof overhang, so it got morning sun and shade by 11 am. That location slowed evaporation enough to make the wick system work perfectly.
FAQ 2: Should I trim the blooms before leaving?
Yes. I know it hurts, but it helps. All those developing buds and flowers are energy sucks. Cut them off two days before you leave. This forces the plant to focus energy on root health and moisture retention instead of pushing new petals. I did this, and by day seven, the plant sent out new growth. It recovered faster when I got back.
FAQ 3: Does the bottle size matter?
Absolutely. Don't use a tiny 400ml bottle. Use 1-liter or even 1.5-liter for a larger pot. If you have an 80cm hibiscus tree, use two bottles on opposite sides of the pot. My 1-liter bottle lasted exactly 9 days. The second bottle I placed on day one was for the second half. It was honestly lucky. For a full 14 days, you want to calculate 750ml per 8-inch pot size per week. I would err on the side of bigger bottles.
A Few Final Thoughts From My Own Patio
Look, I'm not a scientist, but I look at my dead plant graveyard and learn fast. This hack is the one that finally let me travel without having to beg my neighbor to come over and water my plants (and inevitably underwater them or turn my balcony into a swamp).
If you're still on the fence, try a dry run a week before your actual trip. Set up the bottle, fill it, and just observe for two days. You'll quickly see if the soil gets too wet or the rope isn't wicking. Adjust before you leave. I promise, this 10-minute test will save you from coming back to a bare, sad stick in a pot.
If you have the budget, you can buy a fancy drip system with a timer. But honestly, the cotton wick and plastic bottle worked for me like magic. I felt like I had cheated the system. I came back home, opened the door, and my hibiscus greeted me with two huge magenta blooms. The rest of the plants in my kitchen survived on the wick system, too. It’s a small hack that gives you massive peace of mind.





