 bluename
How to Choose Fertilizer for Hibiscus Blooms: NPK Ratio Guide
Straight answer first: when you're trying to figure out how to choose fertilizer for hibiscus blooms, look for a blend where the middle number is the highest. That's the phosphorus. Something like a 10-30-10 liquid feed works best during bloom season. I killed my first two hibiscus plants using cheap 20-20-20 balanced fertilizer because I assumed "balanced" meant "best." It didn't. After switching to a higher phosphorus formula, my blooms went from zero to twelve in about two weeks. The difference truly is all in the ratio.
What the NPK Numbers Actually Mean
Most people skip reading the label. I did too at first. But the three numbers on every fertilizer package tell you exactly what your plant is getting.
The N stands for nitrogen. That's the fuel for leaves and stems. Too much nitrogen turns your hibiscus into a lush green bush with zero flowers. I've seen it happen so many times.
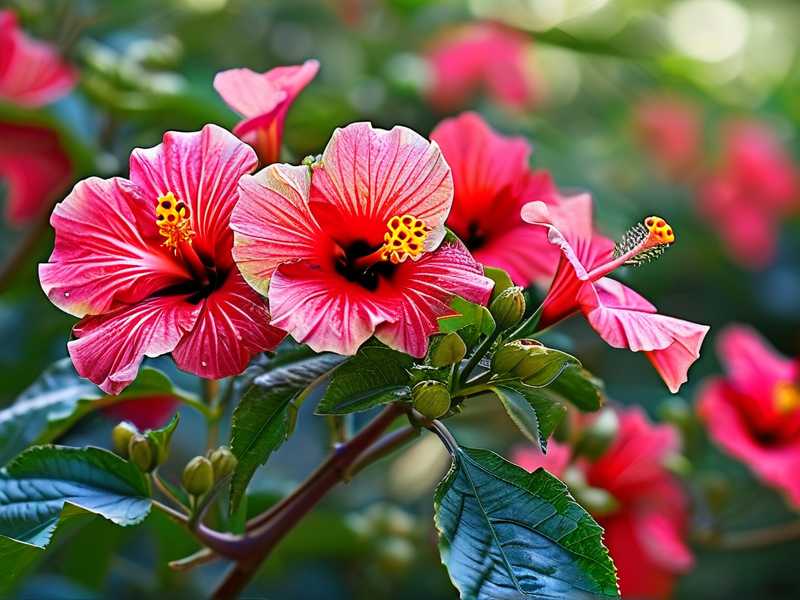
The P stands for phosphorus. This is the bloom trigger. It supports root growth, flower formation, and energy movement inside the plant. When your hibiscus refuses to flower, low phosphorus is usually the reason.
The K stands for potassium. Think of it as the immune system. Potassium helps the plant handle stress, resist disease, and regulate water movement.
Here's the catch. Hibiscus needs all three nutrients, but the balance changes depending on the season and growth stage. For flower production, phosphorus takes the lead. For foliage development, nitrogen becomes more important. Sounds straightforward, but I promise you, most people never check those numbers. They just grab any bag with a pretty flower picture on it.
Best NPK Ratio for Hibiscus: What the Experts and I Agree On
The best NPK ratio for hibiscus is somewhere around 10-4-12 for general health, or 10-30-10 when you're specifically chasing blooms. Honestly, the second one changed my entire approach to tropical plants.
The RHS notes that phosphorus plays a critical role in flower and fruit production, and they recommend feeding plants according to their specific growth stage. A balanced feed isn't a one-size-fits-all solution. I've also read through the AHS guidelines on soil and nutrition, and the practical takeaway is the same: match the nutrient profile to what the plant actually needs at that moment.
For blooming hibiscus, here's what I stick to:
During active growth from spring through fall, use a bloom-focused ratio where the middle number is at least double the first one. Something like 10-30-10 or 12-36-12 works great for me.
During winter, switch to something gentler with lower nitrogen, like a 2-4-4. This keeps the plant steady without forcing soft new growth in weaker light.
My own rule of thumb: if the label says "bloom booster," check the numbers. If the middle digit isn't bigger than the first digit, put it back on the shelf. Honestly, you'll save yourself weeks of frustration.
My 2-Week Fertilizer Experiment: Real Results, Real Numbers
I wanted proof. Not just marketing claims. So I ran a simple side-by-side test using two identical hibiscus cuttings I'd grown in the same batch of potting mix.
Same pot size, same soil, same window, same watering routine. The only difference was the fertilizer.
Plant A received my old 20-20-20 balanced feed. Plant B received a 10-30-10 bloom formula. I fed both once a week, tracked every detail, and took notes for fourteen days straight.
Here's what happened.
Day one through day five: no visible difference. Both plants looked fine.
Day six: Plant B showed a tiny red dot at the leaf axil. That's the very start of a bud. Plant A showed nothing.
Day nine: Plant B had three buds clearly forming. Plant A still looked healthy but had zero bud development.
Day twelve: Plant B opened its first flower, a deep crimson bloom that stayed vivid for five days. Two more buds were ready to pop. Meanwhile, Plant A had bigger, greener leaves but absolutely no sign of flowering.
I ran the same experiment two more times over the next few months. Same results every single time. The higher phosphorus feed triggered bud set within ten to fourteen days. The balanced feed just made leaves.
This is exactly why I keep telling people that choosing fertilizer for hibiscus blooms is not about fancy brands. It's about reading the ratio. The plant doesn't care about the packaging. It cares about the numbers.
3 Fatal Beginner Mistakes That Kill Hibiscus Plants
Before I walk you through my full routine, I need to confess my own failures. I made every single one of these mistakes. It was painful, but that's how I learned.
Mistake #1: Overwatering
I can't stress this enough. 90% of indoor plants die from overwatering, and hibiscus is no exception. The roots need oxygen. When you water too often, the roots sit in soggy soil and slowly rot. Then the plant looks thirsty, so you water even more. It's a vicious circle.
I used to water my hibiscus every single day because I thought tropical plants loved constant moisture. Big mistake. My plant dropped leaves, buds shriveled into yellow nubs, and the stems turned soft and mushy at the base.
It took three dead plants before I got it through my head. Hibiscus prefers soil that dries out slightly between waterings. Stick your finger into the top inch of soil. If it feels dry, water thoroughly. If it still feels damp, walk away. That one test saved my fourth plant.
Mistake #2: Wrong Light Placement
Hibiscus is a sun worshipper. Mine was sitting in a dim corner that got maybe two hours of weak morning light. The plant stayed alive, but it refused to bloom. I blamed the fertilizer. I kept feeding it more and more, thinking the solution was in the numbers. But the problem was right in front of me.
The buds would form, get to pea size, and then drop off before opening. That's a classic sign of insufficient light. Once I moved the plant to a south-facing window where it got six to eight hours of direct sun, the difference was incredible. New buds appeared within two weeks.
If your hibiscus is indoors and not flowering, check your light situation before you spend a penny on fertilizer. Fertilizer can't fix a lighting problem. Not even the perfect NPK ratio.
Mistake #3: Wrong Pot Choice
This one seems so obvious in hindsight. I planted a young hibiscus into a massive decorative pot because I thought giving it "room to grow" was clever. Instead, the oversized pot held too much soil, the water pooled around the roots for days, and the plant sulked. Root health went downhill, and blooming stopped completely.
I also committed the sin of using a pot without drainage holes. I figured the pebbles at the bottom would handle it. They didn't. The roots sat in standing water, leaves yellowed, and buds dropped like they were on fire.
Now I use only pots with at least one drainage hole, and I pick a container that's just slightly larger than the root ball. Repotting into the right size made more difference than any fertilizer ever did.
How to Choose Fertilizer for Hibiscus Blooms: My Step-by-Step System
Here's the exact routine I follow now. It's simple, it's tested, and it works for my indoor and patio hibiscus.
Step 1: Test Your Soil pH First
The first thing I do is check the soil pH. Hibiscus likes slightly acidic soil, somewhere between 6.0 and 6.8. If your pH is off, nutrients get locked out and the fertilizer does nothing.
I tested my tap water and soil last year and discovered the pH was sitting around 7.5. My phosphorus was literally unavailable to the plant. That explained all the bud drop despite feeding. I fixed it with a pH-adjusting treatment and switched to filtered water for my plants.
Step 2: Look for the Right Ratio
For blooms, I use a fertilizer with a high phosphorus count. My go-to is a liquid 10-30-10. If your plant is young and still establishing, you can run a balanced 10-10-10 for about a month. Then switch to the bloom formula once the plant has a solid structure.
Step 3: Decide Between Liquid and Slow-Release
I started with slow-release pellets because they're convenient. Sprinkle and forget. The problem is control. When temperatures rise, the pellets release faster than expected. When things cool down, they release too slowly.
For indoor hibiscus, I now use liquid fertilizer exclusively. It gives me full control. I mix it with water, feed once a week, and adjust the strength based on how the plant responds.
By the way, if you're building a hibiscus fertilizer schedule, keep it simple. Liquid weekly during active growth is enough. No need to overcomplicate things.
Step 4: Water and Feed Together, But Carefully
I mix the fertilizer into a watering can and apply it during the normal watering routine. Key point: only feed when the soil is reasonably dry. Feeding wet soil can lock the nutrients out or burn the roots.
I start with half the manufacturer's recommended dose. Most fertilizer labels are written for outdoor garden beds, not potted tropical plants. Half strength has always been plenty for my hibiscus.
Step 5: Keep a Log and Adjust
I keep notes on my phone. Feeding dates, ratio used, and any visible reaction from the plant. If I see leaf burn or brown tips, I dilute further. If the plant looks pale and sluggish, I adjust slightly upward. This steady observation is the real secret to keeping hibiscus happy.
How I Adjust Fertilizer Through the Seasons
Your hibiscus doesn't have the same appetite all year long. I learned this the hard way when I kept feeding my plant the same ratio through winter and ended up with yellow leaves and sagging stems.
In early spring, I switch to a slightly higher nitrogen feed, like a 15-5-15, for about four weeks. This pushes out fresh green growth after the slow winter months.
From late spring through summer, I use the 10-30-10 bloom formula. That's peak flowering season, and the higher phosphorus is exactly what drives those giant colorful blossoms.
In early autumn, I step down to a balanced 10-10-10. This helps the plant transition back into maintenance mode without shocking it.
During winter, I stop feeding entirely if growth slows down. If your hibiscus is in a warm, bright spot and keeps pushing new growth, I feed once every six weeks with a very diluted mix.
This seasonal rhythm supports the natural growth cycle of the plant. It also prevents salt build-up in the soil, which is a real issue with continuous feeding.
Signs Your Hibiscus Is Telling You Something
Plants always communicate. You just need to learn their language.
Yellow leaves with dark green veins usually mean a micronutrient issue, often iron or magnesium. I add a pinch of Epsom salts to my watering can once a month. That covers magnesium. For iron, I use a chelated liquid supplement at half the recommended dose.
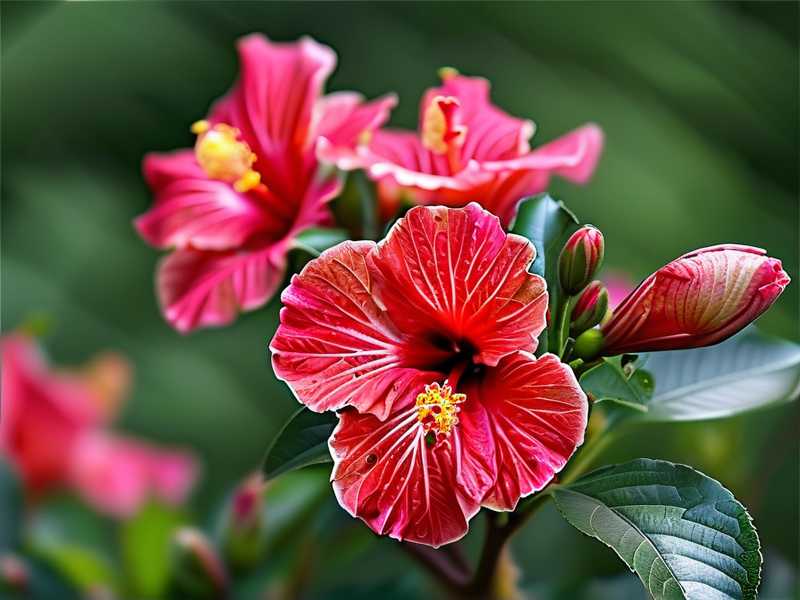
Brown, crispy leaf edges are usually a salt build-up from overfeeding. I used to mistake this for sunburn. Now I know better. Every couple of months, I flush the pot with plain, room-temperature water and let it drain completely. This washes the excess salts out of the soil, and the plant perks up within days.
Bud drop, where buds form and fall before opening, is the most frustrating symptom. The usual triggers are overwatering, sudden temperature changes, or low humidity. I solved mine by placing a small pebble tray with water under the pot. The evaporating water raised local humidity, and bud drop practically stopped within ten days.
If the lower leaves turn yellow and start dropping, that's often a nitrogen shortage. I give the plant one balanced feeding and watch what happens. If the yellowing stops, nitrogen was the problem. If it continues, I check the roots for rot.
FAQ: Fertilizer for Hibiscus Blooms
Should I use slow-release or liquid fertilizer for hibiscus?
Liquid fertilizer is my preference, hands down. It gives you full control over dosage and gets absorbed fast, which matters if you're chasing blooms within that two-week window. Slow-release pellets are fine in the garden, but in pots they're harder to dial in. If you must use slow-release, pick one meant for blooming plants and sprinkle it on the soil surface, never mix it through the root zone.
Can I over-fertilize my hibiscus?
Yes, absolutely. I burned a plant years ago with weekly feedings of full-strength fertilizer. The leaf edges turned brown, curled up, and the soil developed a white crust. That's salt build-up. When you see those signs, stop feeding immediately and flush the pot with water. Let it drain completely, then resume with half-strength fertilizer. My hibiscus bounced back in about three weeks.
What if my hibiscus has flowers but they drop early?
Bud drop is a signal, not a disease. It usually points to inconsistent watering, low humidity, or a sudden temperature shift. If your fertilizer ratio is correct but buds still fall, check the watering routine first. I fixed mine with a pebble tray for humidity and by keeping the soil consistently moist, not soaking wet. Also, don't move your plant around while it's flowering. The stress alone can trigger bud loss.
A Few Final Thoughts From Someone Who Learned the Hard Way
Choosing fertilizer for hibiscus blooms is not complicated once you understand the NPK ratio. It's a simple language. Nitrogen for leaves, phosphorus for flowers, potassium for health. Learn to read it, and your plant will respond.
Start with a higher phosphorus feed like 10-30-10 during the growing season. Use liquid formulas so you can adjust quickly. And always pair your feeding with proper light, watering, and pot choice. Remember that 90% of indoor plants die from overwatering, so keep that watering can under control.
Give your plant some time and patience. Mine showed visible results within two weeks of switching ratios. Yours will too, as long as you give it the right nutrients and the right growing environment. Just stay observant, make small adjustments, and enjoy those huge, colorful blooms that make all the effort worth it.





