 bluename
Hibiscus Potting Mix for Small Containers: Space-Saving Recipe That Actually Works
Growing hibiscus in tight spaces honestly broke me at first. I watched three plants die before I figured out what they really needed. Small pots trap moisture like a sealed jar, and standard potting soil turns to mud. Here's the direct answer. My space-saving recipe for hibiscus potting mix for small containers is: 40% premium potting soil, 30% coarse perlite, 20% coco coir, and 10% worm castings. Mix everything in an old bucket, moisten it slightly, and pot your hibiscus. That's it. Four ingredients. About ten minutes of work. No secret formula.
Why Container Hibiscus Keeps Dying
I killed my first hibiscus with love. That sounds soft, but it's true. I watered it every two days because the top inch of soil looked dry. The roots never had a chance. They sat in soggy soil, suffocated, and rotted within three weeks.
Here's a hard truth you'll see repeated in every serious gardening forum: 90% of indoor plants die from overwatering. Hibiscus in small containers are even more at risk because there's less soil to absorb excess water. Tiny pots dry out fast on the surface, so you think they need water. But the bottom half of the soil stays wet for days.
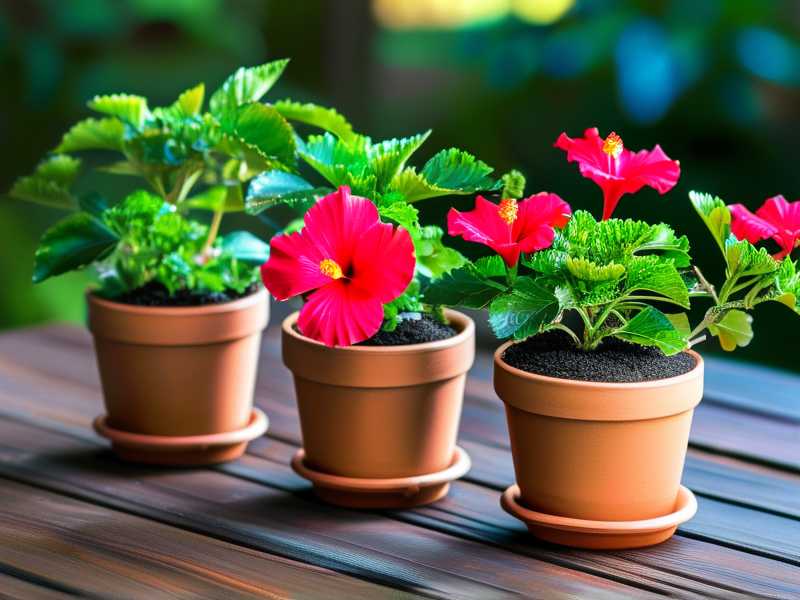
The fix isn't watering less. It's changing the soil structure so water flows through quickly and roots can breathe.
The Exact Recipe for Hibiscus Potting Mix for Small Containers
Let me be precise about my space-saving recipe. I've tweaked this over two years, and it's the only mix that kept my hibiscus blooming through summer and winter.
To be blunt, this is my hibiscus container soil recipe that I trust completely.
Ingredients for one 6-inch pot:
- 2 parts premium potting soil
- 1.5 parts coarse perlite
- 1 part coco coir
- 0.5 part worm castings
- A pinch of slow-release fertilizer (10-10-10 works fine)
By percentage that's roughly:
- 40% potting soil
- 30% perlite
- 20% coco coir
- 10% worm castings
I've also tried adding orchid bark, sand, and crushed charcoal. None of them made a meaningful difference. Perlite is the workhorse here. It creates air pockets that let oxygen reach the roots and lets excess water drain freely.
Why This Mix Works in Tiny Pots
Small containers have one giant problem. The soil-to-root ratio is tight. There's no buffer zone. Water collects at the bottom, and root rot follows.
My mix solves this in three ways.
First, perlite increases drainage dramatically. Water doesn't pool around the root ball. Second, coco coir holds moisture without staying soggy. It releases water slowly, which means you don't have to water as often. Third, worm castings feed the plant gently over time.
I tried a regular bagged potting soil for my first attempt. It compacted within two weeks, felt like clay, and the hibiscus dropped its leaves in protest. This mix stays fluffy for months. You'll find the difference immediately when you squeeze a handful after two weeks.
Step-by-Step: How to Mix the Space-Saving Recipe
Let me walk you through exactly what I do. No skipping steps.
Step 1: Gather everything
You need a bucket, a measuring cup, and your four ingredients. I use an old plastic watering can with the spout cut off. Any container works.
Step 2: Add the potting soil first
Pour in two cups of potting soil. Use the measuring cup for consistency. I eyeball it now, but measuring at the start helped me get ratios right.
Step 3: Mix in perlite
Add one and a half cups of perlite. Wear a mask if you have one. Perlite is dusty and lightweight. It floats to the top when you water, which is normal. Don't panic when you see it.
Step 4: Add coco coir
One cup of coco coir. If you're using compressed coir bricks, soak them in water first. They expand to about five times their dry size. I made this mistake once and ended up with coir all over my kitchen.
Step 5: Mix in worm castings
Half a cup of worm castings. These smell earthy, not unpleasant. They're packed with nutrients and beneficial microbes.
Step 6: Combine everything
Mix until the blend looks uniform. You want a fluffy, slightly crumbly texture. Squeeze a handful. If it stays clumped tightly, add more perlite. If water immediately runs through it, add a bit more coco coir.
Step 7: Moisten slightly before potting
Dry mix can shock the roots. I spray the mix with water and stir. It should feel like a wrung-out sponge. Not dripping. Not bone dry.
My 2-Week Observation Log
This is the part I want you to take seriously. I repotted my struggling hibiscus into this mix and tracked everything for two weeks.
Day 1: Repotting
The plant looked rough. Leaves yellowing, buds dropping. I trimmed the rotten roots, placed it in a fresh 6-inch pot with drainage holes, and filled it with my mix. Watered once and let it drain fully.
Day 3: First visible changes
The drooping leaves started to perk up. Honestly, I was skeptical. Soil felt dry on top, but I kept myself from watering. Instinct told me to give it more, but the mix was still moist at depth.
Day 5: New growth appeared
Tiny green tips appeared at the base. This was the first sign the roots were recovering. I checked the soil moisture with my finger about an inch deep. Still slightly damp. Good sign.
Day 7: The old leaves greened up
The yellowing stopped. Some of the lower leaves regained their deep green color. I pinched out a few damaged tips to encourage bushier growth.
Day 10: Buds formed
Small round buds appeared at the stem tips. I almost cried. After three failed attempts, this was the first time a hibiscus made it past the two-week mark in my care.
Day 14: First flower
A bright pink bloom opened. The soil was still aerated. The plant looked healthier than when I bought it. My husband joked that the hibiscus finally forgave me.
What did I learn from this? The mix isn't magic. It's just physics. Roots got oxygen, water moved freely, and the plant could do what plants do.
The 3 Fatal Mistakes That Kill Potted Hibiscus
I've killed more plants than I'd like to admit. Every single death traced back to one of these three errors. Let me save you the heartbreak.
Mistake #1: Overwatering
This is the number one killer. Hands down. I already mentioned 90% of indoor plants die from overwatering, but let me give you a real example.
I used to water my hibiscus every morning before work. Routine felt responsible. In reality, I was drowning the roots. The potting soil I used back then was dense. Water sat in the bottom of the pot with nowhere to go. Within ten days, the roots turned brown and mushy, and the leaves followed.
Here's what I learned to check: stick your finger into the soil up to your second knuckle. If it feels damp, don't water. If it feels dry, water thoroughly. This simple check changed everything. Combined with my gritty potting mix, the plant finally breathed.
Mistake #2: Wrong Light Placement
Hibiscus want bright light. Not direct scorching sun. Plenty of indirect or morning sun. But I made the opposite mistake.
I placed my first hibiscus in a dark corner of my living room because it looked pretty there. Big mistake. The plant stretched, turned leggy, and dropped all its leaves. People think hibiscus are fragile, but they're not. They just need proper lighting.
What I recommend based on my experience: a south-facing window with a sheer curtain, or a spot that gets six hours of bright indirect light. In my small apartment, I use a small plant stand right by the window. If you're in a darker space, a basic grow light works too.
Side note: a lot of people underestimate how much light hibiscus need in winter. Windows that work in summer become weak in winter. I move my plant closer to the glass or add a supplemental light.
Mistake #3: Using the Wrong Pot
I used a decorative ceramic pot without drainage holes once. Beautiful. Absolutely deadly. The water had nowhere to escape, so the soil stayed saturated, and the roots rotted.
Now I only use pots with drainage holes. It sounds obvious, but so many beginner-friendly pots skip them. I check every pot I buy now. The RHS actually emphasizes good drainage as a non-negotiable for container plants, and I couldn't agree more. To be honest, I even stopped using saucers that stay full of water. If you use one, empty it after each watering.
Common Pitfalls I Hit Along the Way
Let me be real about the messy parts. Mixing your own soil isn't always smooth.
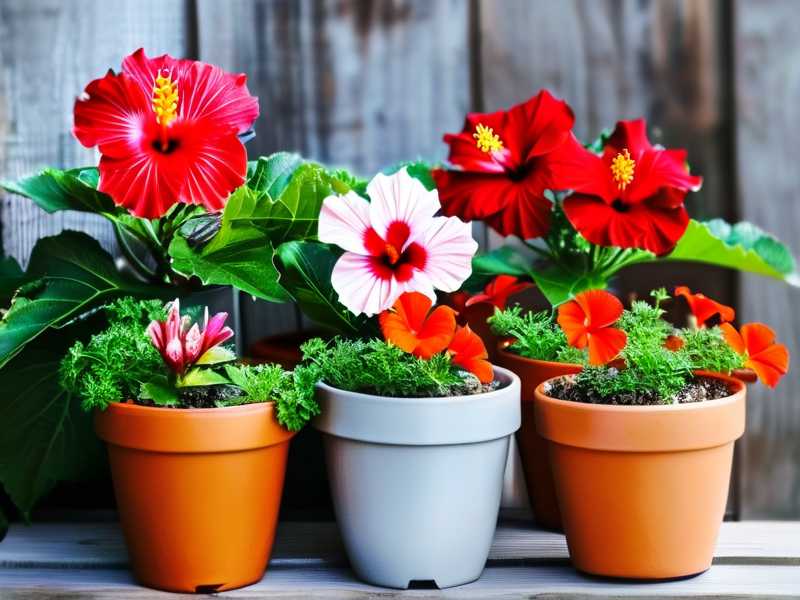
I added too much coco coir at first. My blend retained too much water, and the roots sat in dampness for too long. Fix: I doubled the perlite and cut the coir by half.
Perlite floated to the surface after watering. It looked ugly and made me worry. It's completely harmless. Just top-dress it with a thin layer of soil if it bothers you.
I composted too aggressively once. My worm castings had chunks that clogged drainage. Now I sift them before adding.
I skipped the slow-release fertilizer and the plant lagged. Without an initial nutrient boost, new growth was slow. A pinch of balanced slow-release fertilizer made a visible difference within the first week.
The mix dries out faster in tiny pots. That's actually a good thing. Small pots can't hold much water, so the mix's drainage properties are even more critical. I water about twice a week in summer, once a week in winter.
Adjusting the Mix for Different Small Container Sizes
Not all small pots are equal. A 4-inch pot behaves differently from an 8-inch pot.
For pots under 5 inches, increase perlite to 35%. There's less soil volume, so you need more air space. For pots 6 to 8 inches, my standard recipe works well. For hanging baskets, add a bit more coco coir to retain moisture, since baskets dry out fast.
I keep separate bags of perlite and soil so I can adjust on the fly. Mixing per pot takes about two minutes. I've never seen a reason to premix large batches.
When to Repot a Hibiscus in a Small Container
Small containers mean more frequent repotting. Here's what I've noticed. When roots start circling the bottom of the pot, or when water rushes straight through without being absorbed, it's time.
I repot my hibiscus once a year in spring. I don't always use a bigger pot. Instead, I refresh the soil with fresh mix and prune the roots slightly. This keeps the plant compact, which is exactly what you want in a small space.
If you see roots poking out of drainage holes, that's the plant begging for a new pot. A 1-inch larger pot is enough. Don't jump sizes.
How to Water Correctly in Small Pots
I mentioned the finger test already. Let me add more.
When I water, I do it slowly, until water runs out of the drainage holes. Then I wait for the top inch of soil to feel dry before watering again. This cycle works with my mix because the perlite prevents waterlogging.
I stopped using a schedule after my second plant died. Schedules are for people with consistent homes, not for people with fluctuating room temperatures and humidity. Trust your fingers.
One more thing. Room temperature water works best. Cold water from the tap shocks tropical roots. I keep a watering can filled and sitting on the shelf. It stays at room temperature, ready to go.
Fertilizing Hibiscus in a Small Container
Small pots hold limited nutrients. Hibiscus are heavy feeders, but you can't go crazy with fertilizer in a tiny container. The salts from synthetic fertilizers accumulate and burn roots.
I use a half-strength liquid fertilizer every two weeks during the growing season. Spring and summer, that is. In winter, I stop completely. Slow-release granules mixed into the soil at repotting time provide a steady baseline.
One tip: after fertilizing in a small pot, flush the soil with plain water once a month. This washes away accumulated salts. If you see leaf tips turning brown, that's your clue to flush.
Choosing the Best Soil for Hibiscus in Pots: My Honest Advice
People keep asking me what the best soil for hibiscus in pots is. Here's the truth. There's no single perfect product on the shelf. Premium potting mix alone won't save you. What matters is structure and drainage.
You can take any decent bagged potting soil and improve it with perlite. Add one part perlite to three parts soil, and you're ninety percent of the way to my recipe. Add coco coir and worm castings, and you've got the full experience.
That's why I recommend mixing at home. It costs less, you know exactly what's in there, and you can adjust for your particular environment. I tried the store-bought route. My tropical hibiscus potting medium needs weren't met by any single bag.
How to Test Your Mix Before Planting
Here's a quick test I do every time I mix a new batch.
Take a handful of the mix and squeeze it in your fist. Open your hand. If the ball stays intact and holds its shape, the mix is too dense. Add perlite. If the ball crumbles easily, you're good.
Then water it. Use a separate empty pot with the mix. Pour a cup of water over the top. It should drain through in under thirty seconds. If it pools on the surface for minutes, your mix needs more coarse material.
I killed my fourth plant because I skipped this test. Never again.
Can I Use This Mix for Other Plants?
Yes. The mix I described works for many flowering plants, including begonias, petunias, and geraniums. The AHS points out that well-draining soil is fundamental to nearly all container gardening. So you're not wasting time. One batch can serve multiple plants.
I've also used it for my small herb pots. It works fine. The higher drainage means I need to water a bit more often, but the roots thank me.
Final Thoughts on This Hibiscus Potting Mix for Small Containers Recipe
The biggest lesson I've learned from years of killing plants is this. Most plant deaths don't come from a lack of care. They come from too much care. Too much water. Too much attention.
The best thing you can do for your hibiscus is to give it good soil, proper light, and the right amount of restraint. My space-saving recipe does the heavy lifting so you can relax and let the plant grow.
Trust the process. Mix a small batch. Repot your hibiscus. Give it two weeks and watch what happens.
Frequently Asked Questions
Should I mix my own soil or buy a pre-made one?
Honestly, mixing is worth it if you want control and cost savings. Store-bought hibiscus soil often has the same drainage problem as regular potting soil. My four-ingredient recipe is simple, cheap, and works. If you have zero time, buy a high-quality mix and add extra perlite. That's the minimal version of my recipe.
How often do I need to repot a hibiscus in a small pot?
I repot once a year. This gives fresh soil and prevents root binding. If you see roots pushing out of the drainage holes, do it sooner. Always repot in spring when the plant is waking up from its slow winter phase.
Can I use this mix if I live in a humid climate?
Yes, and you might want to add even more perlite. Humid air slows evaporation, so the soil stays wetter for longer. Increase perlite to 35% or 40% in high humidity. In dry climates, you can add a bit more coco coir to help hold moisture.





