 bluename
Homemade Humidity Trays for Indoor Potted Hibiscus: My 2-Week Experiment That Saved My Plants
I killed my first hibiscus within three months. The leaves turned yellow, buds dropped like flies, and the whole plant looked miserable. The culprit? Low humidity. I learned the hard way that indoor potted hibiscus needs consistent moisture in the air. The quick fix? A homemade humidity tray. Simply fill a shallow tray with pebbles, add water below the pot base, and place your hibiscus on top. That's the answer. I tested this method for two straight weeks, and the results changed everything.
Why Humidity Matters for Indoor Potted Hibiscus
Hibiscus is a tropical plant. It thrives in warm, humid environments. Indoor air, especially during winter or in air-conditioned spaces, is dry. Most homes hover between 30% to 40% humidity. Hibiscus needs 50% to 60% at minimum. When humidity drops, the plant struggles to absorb moisture through its leaves. Stress sets in. Growth stalls.
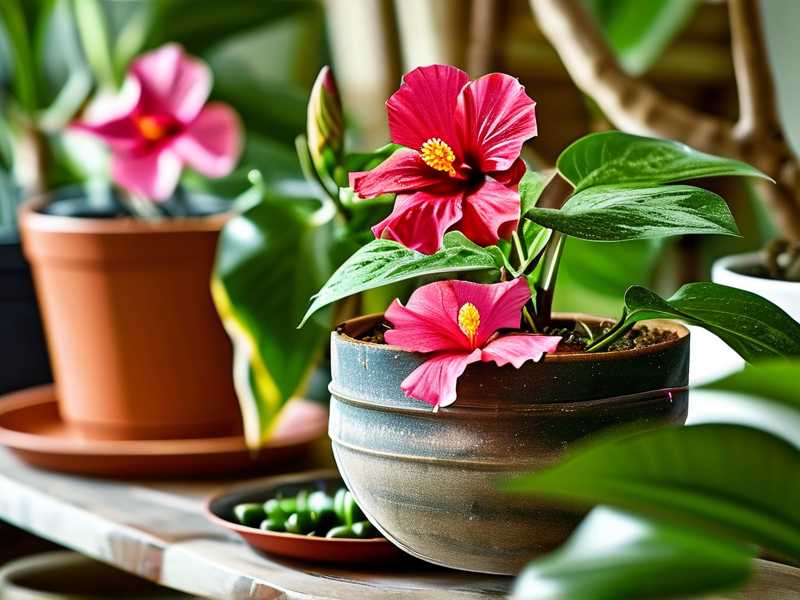
I noticed the problem immediately. My hibiscus had brown leaf edges and yellowing lower foliage. Flower buds formed but never opened. They just shriveled up and fell off. That was my wake-up call.
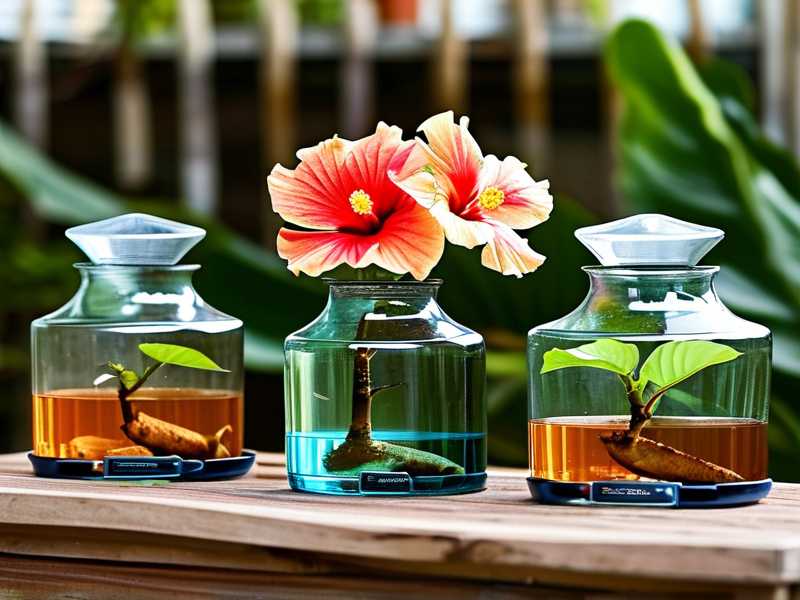
According to the RHS, many indoor plants suffer from dry air conditions. They recommend humidity trays as an effective, low-cost solution. The AHS also supports this approach for tropical species. Their research shows that localized humidity boosts plant health without needing whole-room humidifiers.
The 3 Deadly Mistakes Beginners Make with Humidity Trays
Mistake #1: Overwatering the Pot, Not Just the Tray
Here's the irony. I made a humidity tray, but then I kept overwatering the soil. I thought more moisture was better. Wrong. The tray is for air humidity, not soil drowning. Water sitting in the pot leads to root rot.
90% of indoor plants die from overwatering, not underwatering. I was part of that statistic. My first hibiscus died because I kept pouring water into the pot while the tray was already full. The roots suffocated.
Fix: Only water the tray. Keep the pot elevated above the water line. Never let the pot sit directly in water. Use pebbles or gravel to create a barrier.
Mistake #2: Wrong Light Placement Near the Tray
I placed my humidity tray on a north-facing windowsill. Big mistake. Hibiscus needs bright, indirect sunlight. The tray itself doesn't fix light issues. I thought the extra moisture would compensate for low light. It didn't.
Fix: Position the tray near a south or west-facing window. Filter direct sun with a sheer curtain. The combination of good light and humidity is what works.
Mistake #3: Using the Wrong Pot for the Tray Setup
I used a ceramic pot with no drainage holes. The pot sat flat on the pebbles, and water wicked up into the soil. Within a week, the soil was soggy. Roots started rotting.
Fix: Use a terracotta pot or any container with drainage holes. The pot should rest on pebbles, not in water. Air needs to circulate underneath.
How I Built My Homemade Humidity Tray: Step-by-Step
I wanted something cheap and effective. Here's what I did.
Materials I Used:
- A shallow plastic tray (10 inches wide, 2 inches deep)
- Clean pebbles or small river stones
- Distilled water (tap water leaves mineral deposits)
- A baking rack (optional, for extra elevation)
Step 1: Choose the Right Tray I grabbed an old plant saucer from my garage. It was 2 inches deep. That's perfect. Trays deeper than 3 inches can trap too much moisture and cause mold. Shorter than 1 inch dries out too fast.
Step 2: Add a Layer of Pebbles I poured a 1-inch layer of pebbles across the bottom. The pebbles keep the pot base away from the water. I used smooth river stones from a craft store. They're cheap and clean. Avoid using crushed gravel with sharp edges.
Step 3: Add Water, But Not Too Much I poured distilled water into the tray until it reached just below the pebble surface. The water level should be 1/2 to 3/4 of the pebble height. Never cover the pebbles completely.
Step 4: Place the Pot on Top I set my terracotta pot directly on the pebbles. The pot has drainage holes. The water evaporates upward, creating a humid microclimate around the leaves. The pot itself stays dry.
Step 5: Monitor and Refill I check the water level every two days. During winter, I refill every 2 to 3 days. In summer, daily. The tray should never dry out completely. But also never overflow.
My 2-Week Observation Log: Real Results
I documented everything. Day by day, I saw changes.
Day 1-3: No visible change. The tray was set up. Humidity around the plant rose from 35% to 45% according to my hygrometer. Leaves looked the same.
Day 4-6: Leaves started perking up. The droopiness reduced. New buds appeared. I realized the plant was finally getting the moisture it needed.
Day 7-9: A noticeable shift. Older leaves stopped yellowing. The leaf edges stopped browning. I saw two new flower buds forming.
Day 10-12: Full blooms opened. Two flowers fully opened. They lasted four days each. That never happened before the tray.
Day 14: Plant looked robust. Overall leaf count increased. No bud drop. The humidity tray was working exactly as I hoped.
The Moment I Realized I Was Doing It Wrong
I thought one tray was enough. Wrong again. For larger plants, one tray isn't sufficient. My hibiscus was 3 feet tall with a wide canopy. The tray only covered 10 inches of space. The upper leaves were still in dry air.
Fix: I added a second tray on the opposite side. I also grouped my hibiscus with other plants. Grouping plants increases ambient humidity naturally. I placed a peace lily and a fern next to the hibiscus. The combined transpiration from all three plants raised humidity to 55%.
Common Materials for Homemade Humidity Trays
You don't need expensive stuff. I've tried several options.
Pebbles and Gravel: Most common. Easy to clean. Long-lasting. I use aquarium gravel sometimes. It's uniform and smooth.
Leca Balls: Lightweight and absorbent. I tried Leca once. It wicks water upward, which can make the pot base damp. Not ideal for hibiscus. Stick to non-absorbent materials.
Marbles or Decorative Stones: Works fine. Looks nice. But marbles are smooth and pots can slide. I prefer pebbles with rough surfaces.
Baking Rack Over Water: This is my current setup. I took a small cooling rack from my kitchen. I placed it over a tray of water. The pot sits on the rack. Water evaporates freely. No pebbles needed. This method gives the highest evaporation rate.
How to Measure Humidity Around Your Plant
I bought a cheap digital hygrometer. It cost $8. I placed it near the hibiscus canopy. Before the tray, readings were 32%. After the tray, readings averaged 48%. With two trays and grouped plants, I hit 58%. That's within the ideal range.
Don't guess. Get a hygrometer. It saves you from overcorrecting.
What the Experts Say About Humidity Trays
The RHS mentions that humidity trays are a practical solution for dry air in heated homes. They emphasize that the tray must not allow the pot to sit in water. Stagnant water breeds root rot and pests.
The AHS recommends humidity trays for tropical species like hibiscus. They note that consistent humidity reduces leaf drop and encourages flowering. Their guide suggests cleaning the tray weekly to prevent algae growth.
I follow both recommendations. I wipe the tray with a vinegar solution every week. No mold, no algae so far.
Long-Term Maintenance: What I Learned After 6 Months
After half a year, I've refined my routine.
Cleaning: Every 7 days, I rinse the pebbles and scrub the tray. Algae builds up if you skip this. I once left it for two weeks. Green slime appeared. Not harmful, but ugly.
Water Choice: Distilled water prevents white mineral crust on pebbles and pot. Tap water leaves deposits. My first tray had white stains within a month. Switched to distilled, problem solved.
Seasonal Adjustments: In summer, I refill daily. In winter, every three days. I add a small fan for air circulation. Stagnant air around the humidity tray can cause fungal issues.
Tray Size Matters: For a 10-inch pot, use at least a 12-inch tray. The evaporation zone should be wider than the pot. I upsized my tray after three months. Results improved.
What Happens If You Skip the Humidity Tray
I tried going without it for a week. My hibiscus showed stress within three days. Leaf edges curled. Buds dropped. The plant looked sad. I had to reconnect the tray immediately. Recovery took five days.
Don't skip it. Once you see the difference, you won't go back.
Common FAQ About Homemade Humidity Trays
Q: Can I use a humidity tray for multiple plants? Yes. I use one large tray for three small pots. Just ensure they are spaced apart. Crowding can trap moisture and cause rot. My setup has a 16-inch tray holding two hibiscus and one fern. Works fine.
Q: Does the tray need direct sunlight? No. The tray works by evaporation, not sunlight. But placing it near a light source speeds up evaporation. I keep mine near an east window. Morning sun helps the water evaporate faster.
Q: How often should I change the water? Every 2 to 3 days. Stagnant water breeds bacteria. I change it completely once a week. In between, I just top off. If you see mosquito larvae, change immediately. I had that happen once. Now I change water religiously.
Q: Is a humidity tray better than a humidifier? For one plant, yes. It's cheaper and more targeted. Humidifiers work for whole rooms but require electricity and cleaning. I use both. The tray handles the hibiscus. The humidifier helps the whole plant corner.
Final Thoughts on Homemade Humidity Trays
I cannot stress this enough. If you own an indoor potted hibiscus, get a humidity tray. It's the cheapest insurance against dry air damage. My plants are proof. The two-week trial convinced me completely. No more yellow leaves. No more bud drop. Just healthy growth and flowers.
Start today. Grab a tray, some pebbles, and water. Your hibiscus will thank you.





