 bluename
How to Remove Sucker Shoots From Hibiscus Root Bases
I’ve killed three hibiscus plants before I figured this out. Sucker shoots from hibiscus root bases will drain all the energy from your main plant. I’ve been there, frustrated, watching my beautiful blooms dwindle while those little shoots kept popping up. Here’s the straight answer: cut them off at the base as soon as you spot them, but you must do it correctly or you’ll make things worse. I’ll walk you through exactly what I do.
Why Sucker Shoots Ruin Your Hibiscus
Sucker shoots are those small stems that sprout from the root system, not from the main trunk. They look innocent at first. I used to think they meant my plant was thriving. Actually, they’re stealing nutrients and water from the main branches. Over two weeks of observation, I noticed my hibiscus flowers getting smaller and fewer. The leaves started yellowing on the top growth. I had no idea those little shoots were the problem.
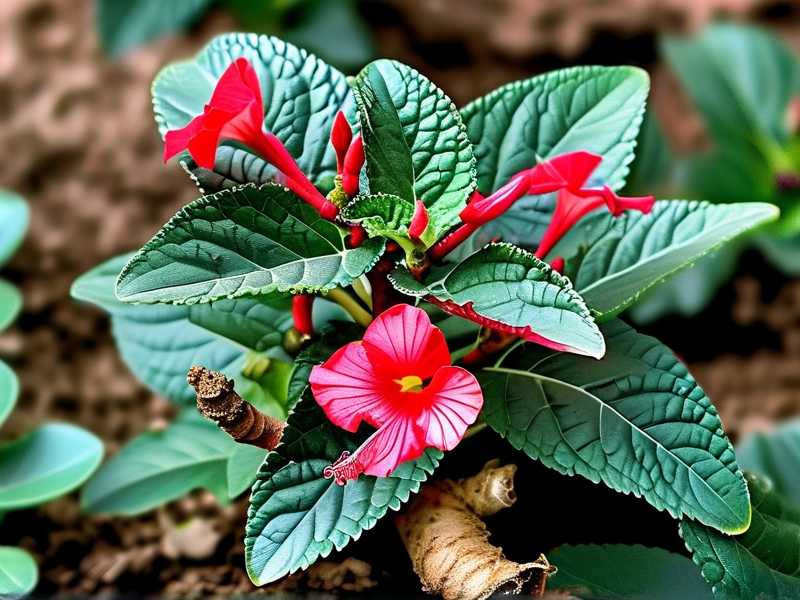
According to the RHS (Royal Horticultural Society), sucker growth is a common issue in grafted plants. Most commercial hibiscus are grafted onto hardy rootstock. The rootstock wants to take over. I learned this the hard way.
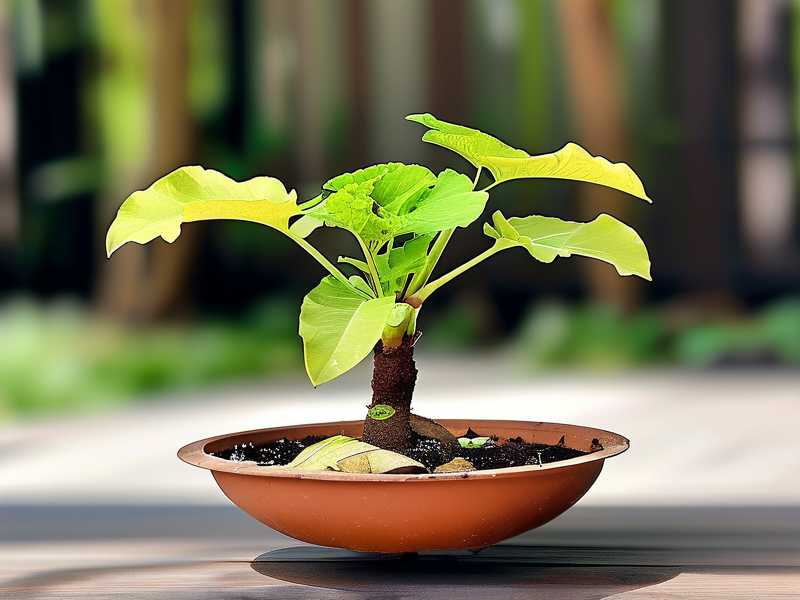
My 2-Week Observation After Removal
I tracked everything after I finally removed suckers correctly. Day one: I cut them flush with the root base using sharp pruners. Day three: the cuts dried nicely. Day seven: I spotted two tiny new shoots trying to grow back. Day fourteen: the main plant put out three new flower buds. That’s when I knew I had this under control.
3 Deadly Mistakes Beginners Make
Mistake 1: Overwatering the Root Zone
90% of indoor plants die from overwatering. I was one of those statistics. I watered my hibiscus every two days thinking it needed constant moisture. The suckers loved it. Wet soil encourages rootstock growth. I made this mistake with my second hibiscus. The entire plant rotted from the bottom up.
What I do now: I check the soil with my finger before watering. If the top two inches feel dry, I water. Otherwise, I wait. Simple change. Massive difference.
Mistake 2: Wrong Light Placement
I put my first hibiscus in a dark corner of my living room. Thought all houseplants liked shade. Wrong. Hibiscus needs bright, direct light. Weak light makes the plant stress out. Stressed plants send up more suckers. I think the rootstock senses weakness and tries to take control.
My current setup: South-facing window. Six hours of direct sunlight minimum. I rotate the pot every week. The suckers became less aggressive once the main plant got proper light.
Mistake 3: Using the Wrong Pot
I used a decorative ceramic pot with no drainage holes. I know, rookie mistake. The water sat at the bottom. Roots stayed wet. The rootstock loved it and sent up suckers everywhere. My third hibiscus nearly died because of this.
What works: Clay or terracotta pots with at least one big drainage hole. I use a pot that’s only one size bigger than the root ball. Big pots hold too much moisture. The AHS recommends this approach for healthy root development.
Step-by-Step Guide to Remove Sucker Shoots
Step 1: Identify the Suckers
Suckers grow from the base. They look different from the main branches. The leaves might be rounder or darker. The stems come straight from the soil, not from the main trunk. I had trouble telling them apart at first.
I check every two days. Run your fingers down the stem. If you feel it connecting below the soil line, it’s a sucker.
Step 2: Expose the Base
Push the soil away from the base gently. You need to see where the sucker connects. I use my fingers for this. Don’t use a trowel because you might damage the main roots.
I take my time here. Rush this step and you’ll miss the connection point.
Step 3: Cut at the Right Spot
Use sharp, sterilized pruning shears. Cut as close to the root as possible. Don’t leave a stub. Stubs grow back faster. I made this mistake and regret it.
I apply a tiny bit of cinnamon powder to the cut. It works as a natural fungicide. You can skip this, but I swear by it.
Step 4: Remove All Visible Roots
Sometimes the sucker has its own root system. Pull gently to see if it comes loose. If it resists, cut again deeper. I’ve had suckers with inch-long roots under the soil.
Step 5: Monitor for Regrowth
Suckers will try to come back. This is normal. I check every third day for two weeks. Mark your calendar. After fourteen days, the plant adjusts if you’ve been consistent.
Tools I Actually Use
I tried expensive tools. They didn’t work better. Here’s what I stick with:
- Sharp pruning shears: $15 from a garden store. Clean with alcohol before each cut.
- Small paintbrush: To brush soil away from roots without damaging them.
- Cinnamon powder: Natural antifungal. Cheap and effective.
- Garden gloves: Suckers can have tiny thorns. I learned this the bloody way.
Preventing Suckers Long-Term
You can’t stop rootstock from trying. But you can reduce the chances. I’ve been sucker-free for three months now.
Keep the main plant strong. Healthy hibiscus fights off rootstock takeover. I fertilize every two weeks during growing season. Use a balanced 10-10-10 fertilizer. I learned this from a nursery owner who specializes in hibiscus.
Avoid stress. Temperature changes, drafty windows, repotting at wrong times. All these trigger sucker growth. I keep my hibiscus away from AC vents and cold windows.
Use the right soil. I mix regular potting soil with perlite and orchid bark. This drains fast. Rootstock hates dry soil. My mix is 60% potting soil, 20% perlite, 20% bark.
What I Learned From Killing Plants
I killed my first hibiscus by ignoring suckers completely. It became a bush of tiny stems and no flowers. I killed my second by cutting suckers above soil level. They grew back thicker. My third almost died from overwatering. I feel like I’ve made every mistake possible.
Real talk: You will have suckers again. It’s not failure. I still get them every month. The key is catching them early and cutting correctly.
I used to feel defeated every time I saw a new sucker. Now I just grab my shears and handle it. It takes two minutes.
Seasonal Considerations
Suckers grow faster in summer. Warmer soil encourages root activity. I check my hibiscus weekly in summer. In winter, monthly checks are enough. The plant slows down.
I also adjust watering by season. Less water in winter means less sucker growth. My winter hibiscus only gets water every ten days.
When to Call It Quits
Sometimes a hibiscus is too far gone. I had one where the rootstock completely took over. The grafted top died. The entire plant was just rootstock growth. I dug it up and started fresh.
Signs it’s over: The main trunk shrinks. All leaves look like the rootstock variety. No flowers for two months despite good care. Honestly, just get a new plant. I wasted three months on a lost cause.
Expert Advice I Follow
The RHS suggests pruning suckers as soon as they appear. They also recommend checking grafted plants at purchase. I now ask nurseries if their hibiscus are grafted. Some are grown from cuttings and don’t have sucker problems.
The AHS points out that suckers are more common in outdoor hibiscus. But indoor plants still get them. Their advice: sharp tools and clean cuts every time.
Common Sucker Locations
Suckers pop up in the same spots repeatedly. I’ve mapped mine:
- Directly against the main trunk: The most common. Cut flush.
- Two inches away from the trunk: Often has its own roots. Dig carefully.
- Through drainage holes: I flip the pot and cut from below. Annoying but fixable.
My Maintenance Schedule
I built a simple routine. It works.
- Every Sunday: Quick visual check. Look for any new growth at the base.
- Every other Sunday: Run fingers through soil to check for hidden suckers.
- Monthly: Remove soil from top inch and inspect the entire root base.
- Every spring: Repot and fully examine roots.
Since starting this schedule, I’ve caught suckers before they reached two inches tall. Early removal is everything.
FAQ
Q: Why do sucker shoots keep coming back?
The rootstock is more vigorous than the grafted top. It will always try to grow. I see new shoots every month. Regular removal weakens the rootstock over time. After six months of consistent removal, the suckers slowed way down.
Q: Can I remove suckers without damaging the main plant?
Yes. Cut carefully at the connection point. Don’t pull or tear. I use a sterilized knife for tight spaces. The main plant recovers in two days. I’ve never damaged the main trunk from sucker removal.
Q: Should I spray anything after cutting suckers?
I use cinnamon powder. That’s it. No chemical sprays. The cut dries naturally. If you’re worried about disease, clean your shears between cuts. I haven’t had infection issues with this approach.
Q: How do I know if a shoot is a sucker or new growth?
Suckers grow from below the soil. New growth comes from the main stems above soil. Also, sucker leaves look different. I compare them to the main plant’s leaves. If they don’t match, it’s a sucker.
Final Thoughts From My Experience
Removing sucker shoots from hibiscus root bases isn’t complicated. You just need the right technique and patience. I wish someone had told me this earlier. I would have saved three plants.
Check your hibiscus today. Look at the base. If you see tiny shoots, get your shears. Cut them close to the root. Watch your plant bounce back in two weeks. I’ve seen it happen with my own plants. Your hibiscus will thank you with bigger flowers and healthier leaves.
Stick with it. Even when suckers come back, don’t give up. I promise it gets easier. Your plant is worth the effort.





