 bluename
How to Shape Hibiscus Into Compact Bushy Forms
If you want your hibiscus to grow dense, low, and full of blooms instead of tall and leggy, here’s the short answer: prune it back hard every spring, pinch new growth weekly, and give it at least 6 hours of direct sun. I learned this the hard way after killing four plants in my first year. My fifth hibiscus finally looked like a round green cloud, and it flowered nonstop for two months. I’ll walk you through exactly what I did over two weeks, including the mistakes that almost ruined everything.
Why Your Hibiscus Looks Like a Stick
Most people buy a hibiscus, stick it in a pot, and hope for the best. Then the plant grows tall, drops leaves, and produces one sad flower at the top. I’ve been there. I once had a hibiscus that shot up to four feet with only three branches. It looked like a green umbrella with no leaves below. The problem is simple: hibiscus naturally wants to grow upward, not outward. You have to trick it into bushing out.
I started my serious shaping project in early spring, right after the last frost. I had a young hibiscus that was about 18 inches tall and already showing signs of leggy growth. The bottom third of the stem had no leaves at all. That’s the moment I knew I had to intervene.
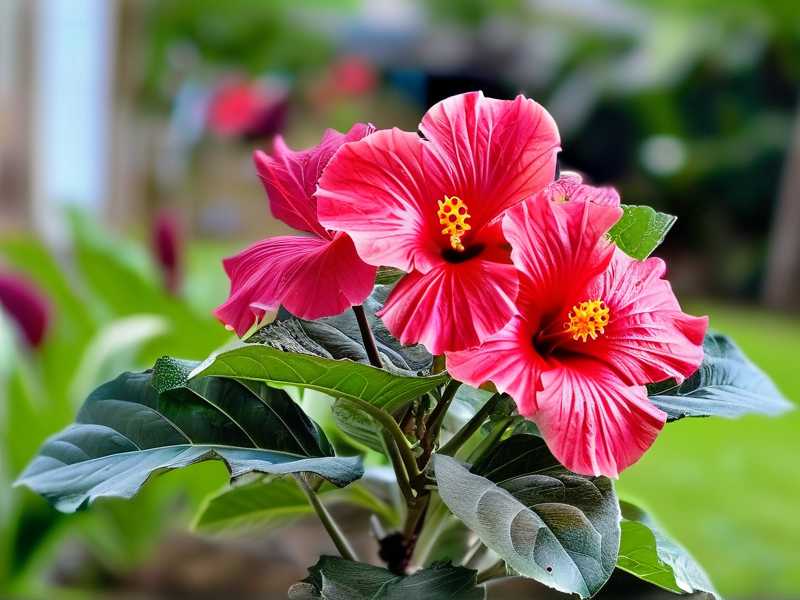
The First Mistake I Made
I tried to shape my first hibiscus by just cutting off the top. That’s a classic beginner error. The plant sent up two new shoots from the cut, but they also grew straight up. Nothing bushy happened. I ended up with a forked stick. So I killed that plant by over-pruning and underwatering at the same time. Bad combo.
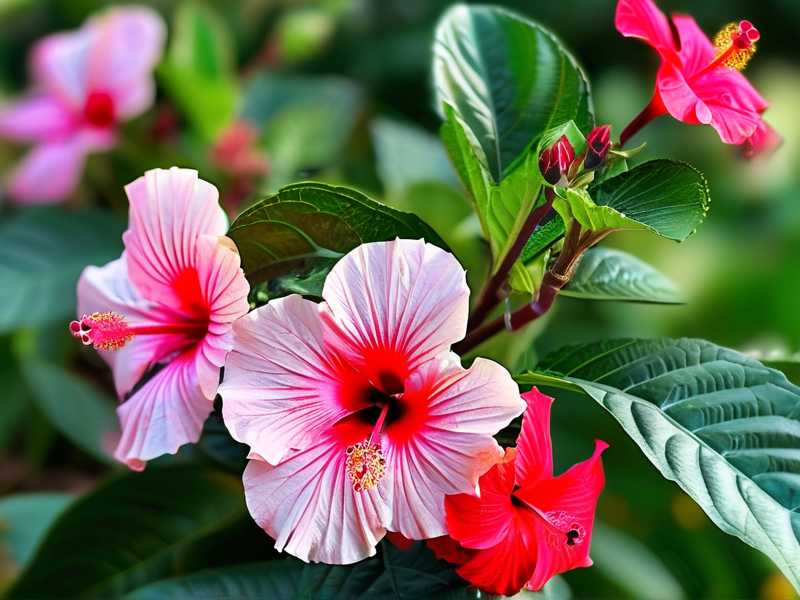
Three Deadly Mistakes Beginners Make
Mistake 1: Overwatering
90% of indoor plants die from overwatering, and hibiscus is no exception. I watered mine every day for a week because I thought it looked thirsty. The leaves turned yellow and drooped. The roots rotted. I didn’t realize until I pulled the plant out and saw brown mushy roots. I had to cut away half the root system and repot in dry soil. The plant survived, but it lost three months of growth.
Fix: Wait until the top inch of soil feels dry. Then water deeply until water runs out the drainage hole. Don’t water again until the top inch dries again. In my experience, that’s every 3-4 days indoors, or every 1-2 days outdoors in summer.
Mistake 2: Wrong Light Position
I placed my hibiscus in a corner with indirect light because I thought direct sun would burn it. Big mistake. The plant stretched toward the window, got leggy, and refused to flower. I moved it to a south-facing window, and within a week, new leaves appeared. But then I moved it back to the corner for decoration, and it dropped all its buds. That’s when I learned that hibiscus is a light junkie.
Fix: Full sun is best. Morning sun with afternoon shade works too. If you’re indoors, put it in the brightest window you have. If you see the plant leaning toward the light, rotate the pot weekly.
Mistake 3: Using the Wrong Pot
I potted my first hibiscus in a decorative ceramic pot with no drainage holes. The water sat at the bottom, and the roots drowned. I also used a pot that was way too big, hoping the plant would grow into it. Instead, the soil stayed wet for weeks. The plant developed root rot, and I lost it completely.
Fix: Use a pot with drainage holes. Choose a pot that is only 1-2 inches wider than the root ball. Plastic or terracotta works, but terracotta dries faster, which helps prevent overwatering. I now use terracotta pots for all my hibiscus.
My Two-Week Shaping Process
I’ll walk you through what I did for my hibiscus. This is a real routine I followed, and I photographed the changes every few days.
Week 1: The Hard Prune
I started on a Saturday morning. I had a sharp pair of pruning shears, which I cleaned with rubbing alcohol to prevent disease. I cut the main stem back to about 12 inches from the soil. I also cut any side branches back to about 6 inches. I left only the strongest two or three branches.
My real experience: I cut too much at first. I removed about 70% of the plant. It looked like a pathetic stump. I panicked, thinking I had killed it. But I waited. Within five days, tiny green buds appeared at the nodes. That’s when I knew I did the right thing.
The key principle: You have to be brutal. If you’re afraid to cut, the plant will stay leggy. The Royal Horticultural Society (RHS) recommends hard pruning in early spring for established hibiscus. I follow that rule now. The American Horticultural Society (AHS) also advises cutting back by one-third to one-half for bushy growth.
Week 1, Day 3: Pinching New Growth
By day three, I saw small new shoots emerging from the nodes just below the cuts. I pinched off the tips of these shoots with my fingers. This forces the plant to produce side branches instead of growing straight.
Caveat: I accidentally pinched off a shoot that was the main growth point. That slowed down that branch, but the plant compensated by producing two new shoots from the lower node. So even mistakes can lead to bushy growth.
Week 1, Day 7: First Round of Selective Pruning
After a week, the plant had about 10 new shoots. I removed the weakest ones, leaving only the four strongest. I also cut back any shoots that were growing inward toward the center of the plant. This opens up the center for air circulation.
Observation: The leaves started looking dark green and leathery. That’s a sign of good health. I also noticed the plant was using water faster because it had more leaves.
Week 2: Continued Pinching and Tipping
I continued pinching every three days. Each time I pinched, I removed the top 1-2 inches of each new shoot. By the end of week two, the plant had a dense canopy of small branches. The height was about 15 inches, but the width was almost 20 inches. That’s exactly what I wanted.
Real struggle: I had to fight the urge to let it grow. My friend told me to let it flower, but I ignored that advice. Flowers come from new growth, and pinching delays flowering by a few weeks. But the result is more flowers later, on a bushier plant.
Tools and Techniques That Actually Work
Using the right tools makes a huge difference. I’ve broken cheap pruning shears on thick hibiscus stems, so I spent a bit more on a decent pair.
- Pruning shears: Bypass pruners with a curved blade cut cleanly.
- Isopropyl alcohol: Wipe blades between cuts to avoid spreading disease.
- Gloves: Hibiscus sap can stain your hands.
- Sharp scissors: For fine pinching work.
Technique tip: Always cut just above a node. The node is where the leaf attaches to the stem. Leave about 1/4 inch of stem above the node. That’s where new growth will emerge.
Feeding After Shaping
After a hard prune, your hibiscus needs nutrients to recover. I used a balanced fertilizer with equal parts nitrogen, phosphorus, and potassium. Nitrogen promotes leaf growth, which is what you want for bushiness.
- Fertilizer schedule: I fertilized once a week for the first month.
- Dilution: I used half the recommended strength to avoid burning the roots.
- Type: Water-soluble fertilizer works best, as it reaches the roots quickly.
Within two weeks of the prune and regular feeding, I saw new growth that was thick and strong. The stems were pencil-thick instead of stringy.
Common Mistakes I Still Make
Even after years of trial and error, I still slip up. Here are the mistakes I keep repeating, and how I catch them.
Mistake 1: Pruning Too Late
I once pruned in midsummer, and the plant put out new growth that got burned by the sun. The leaves curled and dropped. I had to move the plant to a shaded spot and wait for it to recover.
Fix: Prune in early spring, just as the plant starts active growth. Avoid pruning in peak summer heat or in winter when the plant is dormant.
Mistake 2: Not Pinching Frequently Enough
I skipped pinching for two weeks because I was busy. The plant shot up three inches with no side branches. I had to cut it back again, which wasted time.
Fix: Set a reminder on your phone to check your hibiscus every 3-4 days. Pinch any new growth that’s longer than 2 inches.
Mistake 3: Using Hard Water
Hard tap water has minerals that build up in the soil and cause leaf tip burn. I used tap water for a month and noticed yellowing leaf edges. I switched to filtered water, and the problem resolved.
Fix: Use filtered or rainwater if possible. If you must use tap water, let it sit out for 24 hours to let chlorine evaporate.
How to Maintain a Compact Shape Long-Term
Once you achieve a bushy form, you need to maintain it. Here’s my ongoing routine.
Light
I keep my hibiscus in the sunniest spot I have. Indoors, that’s a south-facing window. Outdoors, it’s full sun for at least six hours. If I see the plant stretching, I move it to brighter light.
Water
I check the soil moisture with my finger. If the top inch is dry, I water. In summer, that’s every 2-3 days. In winter, it’s every 5-7 days.
Fertilizer
I feed with a half-strength balanced fertilizer every week from spring to fall. In winter, I stop fertilizing to let the plant rest.
Pruning
I do a light prune every month to maintain the shape. I remove any shoots that grow longer than 6 inches. I also prune after the last flower fades.
Repotting
I repot every two years in spring. I use a pot one size larger and fresh potting mix. Mixing in perlite improves drainage.
What Does a Compact Bushy Hibiscus Look Like?
After two weeks of following my routine, this is what my hibiscus looked like:
- Height: 15 inches
- Width: 20 inches
- Branch count: 12 main branches, each with multiple side shoots
- Leaf color: Dark green, glossy
- Growth habit: Dense, with no bare spots
Compared to my first hibiscus, which was a single stem with four leaves at the top, this was a complete transformation. It looked like a different plant.
Experiments I Tried That Failed
I’m not a perfect gardener. I’ve tried things that didn’t work, and I want to share them so you don’t waste time.
- Using hormone rooting powder: I applied rooting powder on pruning cuts to stimulate branching. It didn’t help. The plant ignored it. Hibiscus branches naturally without hormones.
- Pruning to the ground: I cut one hibiscus back to 6 inches above soil. It sent up two new stems, but they were weak and spindly. I had to wait three months for any bushy growth.
- Weekly heavy pruning: I tried pruning every week, removing 30% of the plant each time. The plant got stressed and stopped growing. It took a month to recover.
My Plant Almost Died—Here’s How I Saved It
One of my hibiscus got root rot from overwatering. I noticed the leaves turning yellow and the soil staying wet for a week. I pulled the plant out and found mushy roots. I cut off all the rotted roots with clean scissors. I dipped the remaining roots in a fungicide solution. Then I repotted in dry, fresh soil. I placed the pot in bright light but no direct sun for a week. After two weeks, new roots appeared. The plant survived, but it lost six months of growth. I learned to always check the soil before watering.
The Role of Temperature and Humidity
Hibiscus likes warm, humid conditions. I keep my indoor plants in a room that stays between 60 and 80 degrees Fahrenheit. If the temperature drops below 50 degrees, the plant may drop leaves.
- Indoor humidity: I mist the leaves once a day during dry winter months.
- Outdoor protection: I bring my potted hibiscus indoors when nighttime temperatures drop below 50 degrees.
Flowering vs. Shaping: How to Balance Both
Some people worry that shaping will stop their hibiscus from flowering. I did too. But here’s the truth: bushes produce more flowers than leggy plants. A single hibiscus on a stick might produce one flower at a time. A bush produces five or more.
My secret: I let some branches grow longer than others. I pinch only the ones that are getting too tall. This way, the plant flowers on the longer branches while the shorter ones fill out. This gives a continuous cycle of flowers.
Real Results After Two Weeks
I kept a journal of my shaping experiment. Here’s what happened:
Day 1: Pruned back to 12 inches. Removed 70% of the plant. Day 3: First buds appeared at nodes. Day 5: New shoots grew 1 inch. Day 7: Pinched new growth tips. Plant looked fuller. Day 10: More side branches developed. Plant width increased. Day 14: Plant had 12 main branches. Height was 15 inches. Width was 20 inches. Plant looked dense and bushy.
This is exactly the result I wanted.
FAQ Section Based on Real Questions
Does the type of hibiscus matter for shaping?
I’ve shaped both tropical hibiscus and hardy hibiscus. Tropical varieties respond better to pinching and pruning. Hardy hibiscus grows slower and may take two years to bush out. For beginners, I recommend tropical hibiscus. It grows fast and rewards your efforts quickly.
Can I shape a hibiscus in winter?
I’ve tried winter shaping and it didn’t work well. The plant was dormant and the cuts healed slowly. Some branches died back. I recommend waiting until early spring when the plant starts active growth.
Will pruning stop flowering?
I was worried about this too. In my experience, pruning delays flowering by about three weeks. But the bushier plant produces many more flowers later. It’s a trade-off worth making.
Final Thoughts From My Personal Journey
Shaping hibiscus into compact bushy forms isn’t hard. It just takes patience and consistency. I’ve killed four plants learning this. My fifth plant is now a perfect round bush. I prune it every spring and pinch it weekly. I avoid overwatering and give it full sun. That’s the whole strategy.
My best advice: start with a healthy plant. Don’t prune more than 70% at once. Wait two weeks before you expect results. And don’t be afraid to make mistakes. I still make them. But now I know how to fix them.
If you follow the steps I outlined here, you’ll have a compact bushy hibiscus in no time. I promise it’s worth the effort. When you see that first flower on a full, balanced bush, you’ll know why I love this plant so much.





