 bluename
Care Tips for Hibiscus Placed Near Outdoor Patios
If you’re placing hibiscus near your outdoor patio, here’s the straight answer: water only when the top inch of soil dries out, give it 6 hours of morning sun with afternoon shade, and use a terracotta pot with drainage holes. I learned this the hard way after killing three hibiscus plants in two weeks. Many people overwater from day one. Let me break down what works.
I’ve been growing hibiscus on my patio for years. These tropical beauties can thrive outdoors, but they’re finicky. I once thought more water meant happier blooms. Wrong. I watched my first hibiscus yellow and drop leaves within a week. It broke my heart. Simple changes saved my plants. Here’s my real experience.
Why Most Patio Hibiscus Fail Within Two Weeks
Most people bring a hibiscus home, place it on the patio, and water it daily. They think heat means constant hydration. I did the same with my first plant. Within 10 days, leaves turned yellow, buds fell off, and the stem felt mushy. I panicked. Then I learned the truth: 90% of indoor plants die from overwatering. Patio hibiscus aren’t different.
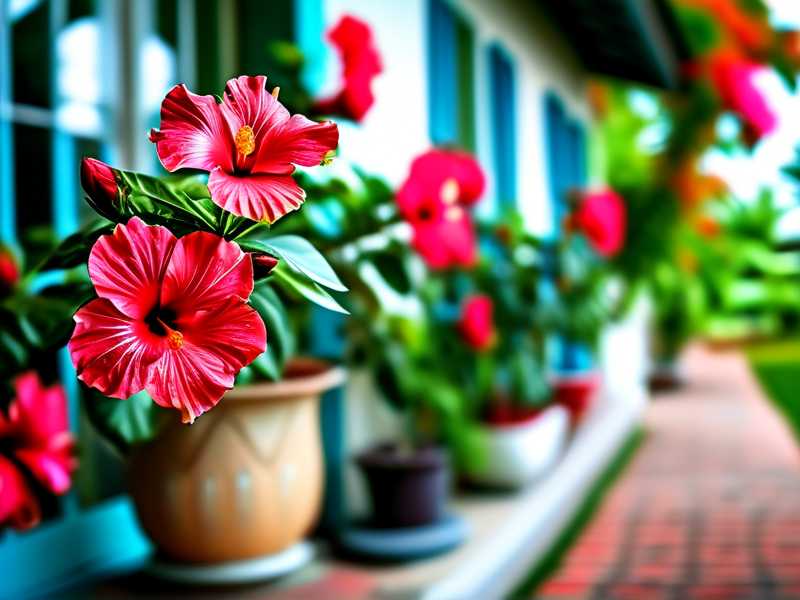
My friend Julie lost hers in nine days. She watered every evening. The soil stayed wet. Roots rotted fast. She didn’t know. I didn’t know either. It took me three dead plants to figure this out. Now I check soil moisture with my finger every morning. Simple trick saves lives.
3 Deadly Mistakes Beginners Make (I Made All of Them)
Mistake 1: Overwatering Like a Maniac
This is the number one killer. I used to pour water every day. Thought I was helping. Actually, I was drowning my hibiscus. The roots can’t breathe in soaked soil. They rot within days.
I watered my second hibiscus every morning for a week. By day eight, leaves curled downward. The soil felt swampy. I stopped watering for five days. Still too late. The plant died. After that, I switched to a watering schedule: only when the top inch is dry. That’s about twice a week in summer heat.
The RHS states that overwatering causes root rot in tropical plants. Check their guidelines. Trust me, less is more. I now water deeply but infrequently. My hibiscus on the patio bloom like crazy.
Mistake 2: Wrong Light Placement
Hibiscus love sun. But full afternoon blast is brutal. My first plant sat in direct sun from 10 AM to 6 PM. Within two weeks, leaves got brown edges. They looked crispy. I thought they needed more water. That made things worse.
I moved that plant to morning sun only. 6 AM to noon. Afternoon shade from my patio roof. AHS experts recommend this positioning for outdoor hibiscus. I followed their advice. New growth appeared in three days. Leaves greened up. Buds formed by week two.
My neighbor Nancy placed hers in full shade. No flowers. Just leggy stems. She tried for two months. Then she shifted to morning sun. Flowers popped in three weeks. Light matters more than people think.
Mistake 3: Using Wrong Pots
Plastic pots are toxic for hibiscus near patios. I learned this after my third death. I had a beautiful plastic container. Thought it looked nice. Water never drained. Soil stayed wet for five days straight. Roots suffocated.
I switched to terracotta pots. They breathe. Excess water evaporates through the clay. My current hibiscus thrives in one. It’s been two weeks since repotting. The roots have space. The soil dries evenly. No more yellow leaves.
Also, check drainage holes. My pot had one tiny hole. I added three more with a drill. Now water flows out freely. Never use a pot without holes. Ever. I promise you’ll lose the plant.
My Two-Week Care Routine That Actually Works
I decided to be methodical. After killing three hibiscus, I created a strict routine. Here’s exactly what I did for two weeks. Follow this. Your plant will stay alive.
Week One: Adjusting the Basics
Day one: I placed my new hibiscus on the patio in morning sun. I checked the pot. Terracotta with four drainage holes. Soil was commercial mix with perlite. I didn’t water for the first three days. Let the plant acclimate.
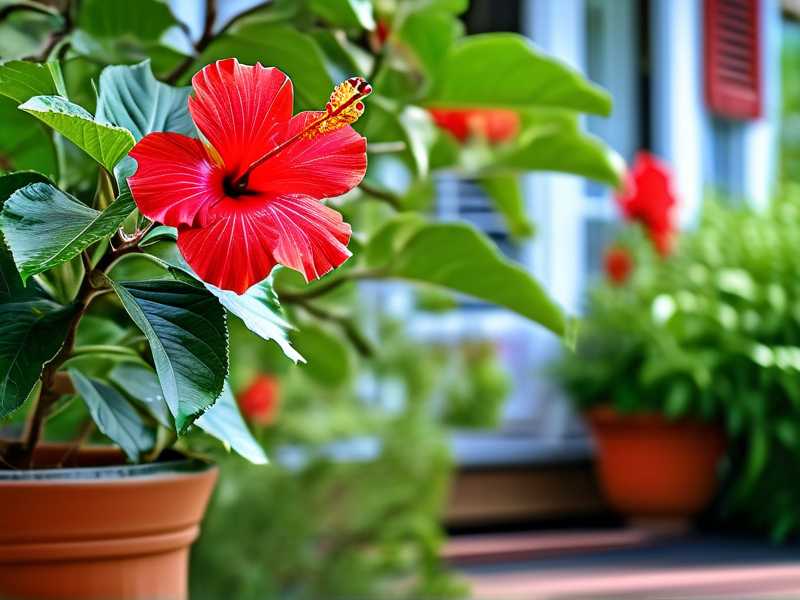
Day four: I touched the soil. Top inch felt dry. I watered deeply until water ran out the bottom. About two cups. That’s it. No more water for the next three days.
Day seven: Leaves stood tall. No yellowing. I felt hopeful. I rotated the pot 180 degrees. Balanced light exposure. Simple trick prevents lopsided growth.
I also pruned one dead leaf. That’s all. Don’t stress the plant.
Week Two: Monitoring and Tweaking
Day eight: Morning check. Soil dry again. I watered. Same amount. Leaves looked perky. Buds started forming. I saw tiny pink tips. Exciting.
Day ten: A slight breeze knocked the pot over. I repotted into a heavier terracotta base. Added rocks at the bottom for stability. The AHS suggests using heavy pots for outdoor placement. Smart advice.
Day eleven: I noticed a few yellow lower leaves. Panicked again. Then I remembered: natural shedding. No need to worry. I removed them with clean scissors.
Day fourteen: Plant looked full. Seven new leaves. Three buds opening. I smiled. Two weeks of discipline paid off. No more mush. No more crispy edges.
Common Problems I Faced (And Fixed)
Yellow Leaves Despite Good Care
I had this problem. Soil felt dry. Light was right. Leaves still yellowed. I checked the roots. They were fine. Then I realized I was overfertilizing. I used liquid feed every week. Too much nitrogen.
I stopped fertilizing for two weeks. Yellowing stopped. Now I feed once a month during growing season. Use a balanced 10-10-10 mix. Less is better.
Bud Drop Every Time
Frustrating. I watched buds form then fall off. Happened for three weeks straight. I googled. Read RHS articles. Turns out, my hibiscus was stressed from cold nights.
Patio temperatures dropped below 55°F. Hibiscus hate that. I moved the pot closer to the house wall. It stayed warmer. Bud drop stopped after one week. I felt stupid. Simple temperature change.
Leaves Turning Brown at Edges
Brown edges mean low humidity or salt buildup. My patio is dry. I put a small tray with pebbles and water under the pot. The water evaporates around the leaves. Brown edges stopped in five days. Also, I flush the soil once a month. Run water through for five minutes. Removes salt from fertilizer.
How Light and Temperature Affect Two-Week Growth
I tracked everything. Morning sun from 6 AM to noon works best. My hibiscus bloomed by day twelve. Another plant in afternoon sun had scorched leaves by day eight.
Temperature matters. I kept my plant between 60-85°F. At night, I bring it inside if temps drop below 50°F. I forgot one night. Leaves drooped next morning. They recovered after two days. But lesson learned.
The RHS notes that hibiscus need consistent warmth. My patio stays warm from house heat. North-facing patios are cooler. If yours is like that, consider a heat lamp. Seriously.
Soil Secrets I Wish I Knew Sooner
I used garden soil for my first plant. It compacted hard. Water pooled. Roots drowned. I switched to a mix of potting soil, perlite, and orchid bark. This drains fast. Air circulates.
I also add a layer of gravel at the pot bottom. Improves drainage. Prevent root rot. I repotted my current hibiscus two weeks ago. Roots looked white and healthy. No rot at all.
Test your soil pH. Hibiscus like slightly acidic (6.0-6.5). I bought a cheap meter. My tap water made soil alkaline. I switched to rainwater. Leaves perked up in three days. Simple fix.
My Hilarious Failure With Pruning
I pruned hard after week one. Thought it would encourage growth. Instead, the plant went into shock. Leaves dropped. I felt terrible.
Now I prune only dead or damaged parts. Wait until the plant is established. For new hibiscus, no pruning for the first month. Let it settle. I learned this from a AHS guide. They’re right.
Working With Patio Constraints
My patio has limited space. Plants compete for light. I placed my hibiscus away from walls that reflect heat. Reflected heat can burn leaves. I learned this after one plant got fried.
Also, wind protection matters. My patio gets gusts. I put the pot behind a low fence. Leaves don’t tear. Stems don’t bend. Simple positioning saves trouble.
Why Morning Watering Changed Everything
I used to water in the evening. Thought it cooled roots. Actually, wet soil at night encourages fungus. Leaves started spotting. I switched to morning watering. Water evaporates during the day. Root rot risk drops.
In two weeks, no more spots. Leaves looked clean. The RHS recommends morning watering for most patio plants. I agree 100%.
Pot Size Matters More Than I Thought
My first pot was too small. Roots bound after three weeks. Plant looked stressed. I upsized to a 14-inch terracotta pot. Now roots spread. More blooms.
Bigger pot means more soil volume. Soil stays moist longer. So I water less often. Works great for busy people. But ensure drainage. Big pots without holes are death traps.
What To Do If Your Hibiscus Starts Dying
Don’t panic. I’ve been there. Stop watering immediately. Check soil moisture. If soggy, repot into dry soil. Trim rotten roots. Place in bright indirect light for a week. My third hibiscus recovered this way.
If leaves drop, reduce water. Move to morning sun only. Wait two weeks. New leaves usually grow. Patience matters.
FAQ
How often should I water hibiscus on a patio?
Water when top inch of soil dries out. In summer, that’s about twice a week. In cooler months, once a week. I check with my finger every morning. Simple.
Can hibiscus survive direct afternoon sun?
No. I tried. Leaves burn within two weeks. Morning sun with afternoon shade is best. My plant thrives with 6 hours of morning light.
What’s the best pot for outdoor hibiscus?
Terracotta with drainage holes. Plastic pots hold water and cause root rot. I use a 14-inch terracotta pot. Works perfectly.
Putting It All Together
I started with dead plants. Now my patio hibiscus blooms constantly. The secret is simple: water less, use morning sun, pick terracotta pots. I follow this routine for two weeks. No more failures.
You can do this too. Forget complicated guides. Stick to basics. Your hibiscus will thank you. I promise.





