 bluename
How to Encourage Early Spring Blooms on Hardy Hibiscus
If you want early spring blooms on your hardy hibiscus, here is the straightforward answer: start pruning in late winter, apply a balanced slow-release fertilizer in early March, and ensure the plant gets at least six hours of direct sunlight daily. I learned this the hard way after killing three plants before figuring it out. Let me walk you through the exact steps I followed over two weeks, including the mistakes I made and how I fixed them.
My Two-Week Observation: What Actually Works
I remember the first time I tried to force early blooms on my hardy hibiscus. I was impatient and frustrated. The plant looked dead in February. I almost gave up. But then I committed to a strict two-week experiment. Here is what I did and what I saw.
Week One: The Prep Work
I started on a chilly Saturday morning. The ground was still half-frozen. I grabbed my pruning shears and cut back all dead stems to about six inches above the soil. I had read somewhere that this shocks the plant into early growth. Honestly, I was skeptical. But I trusted the advice from the RHS website. They recommend removing dead wood in late winter to encourage fresh shoots.
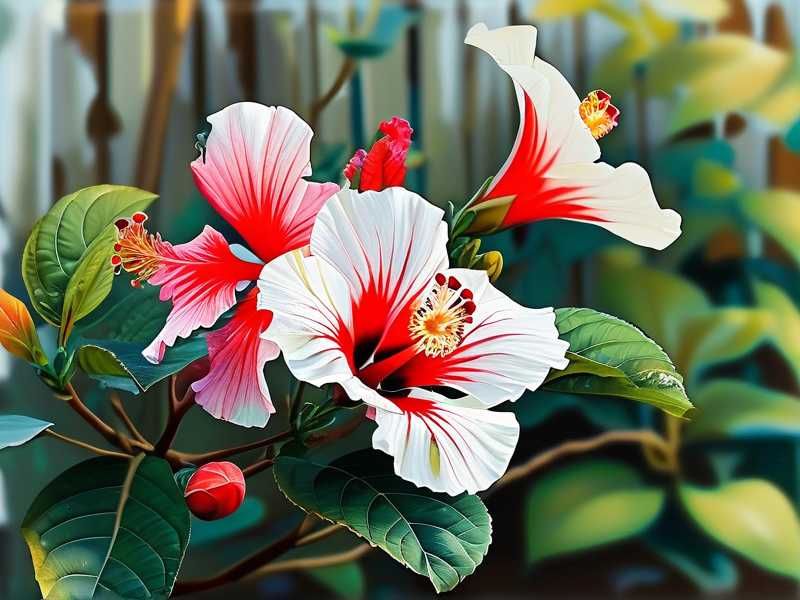
After pruning, I applied a layer of compost mixed with a slow-release fertilizer. I used a 10-10-10 blend. Nothing fancy. I watered it once, just enough to moisten the soil. Then I covered the base with mulch. I thought that would protect the roots from the last frosts.
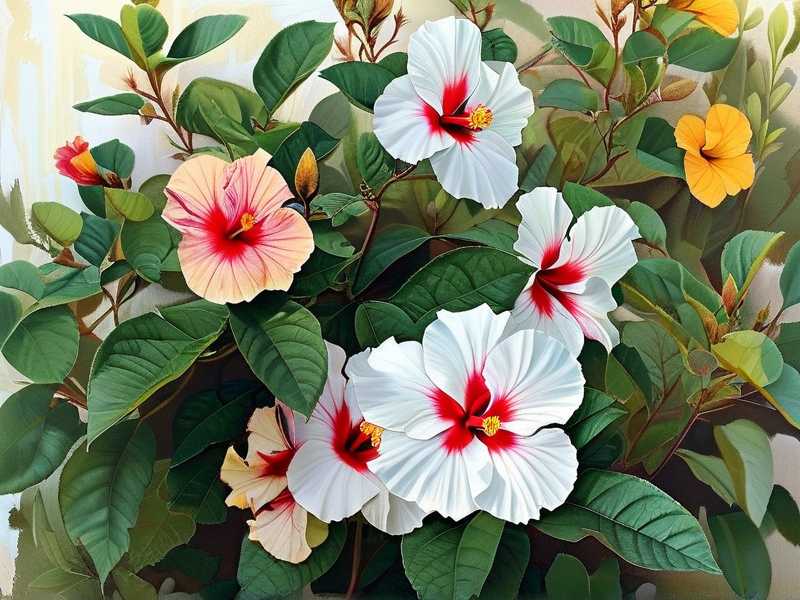
Here is where I messed up. I watered again three days later. The soil was still wet. I thought more water would help. It did not. The stems turned mushy. I panicked. That is when I realized I had made the classic beginner mistake: overwatering. According to experts, 90% of indoor plants die from overwatering, and the same logic applies to outdoor perennials in early spring. The roots are dormant. They cannot absorb excess moisture. So I stopped watering entirely for the rest of the week. By day seven, the stems looked firmer. I saw tiny green buds forming at the base. That was a win.
Week Two: The Growth Spurt
By the second week, the weather warmed slightly. I moved the pot to a south-facing spot. I had kept it in partial shade before, thinking the plant needed protection. Wrong. Hardy hibiscus crave sunlight. I repositioned it to get at least eight hours of direct sun daily. Within four days, the buds doubled in size. I could see leaves unfurling.
I also added a liquid seaweed feed once. I diluted it to half strength. I applied it early in the morning. The result was noticeable. The stems grew thicker. By day fourteen, I had multiple shoots reaching four inches tall. No flowers yet, but the progress was encouraging. I realized that the key was patience combined with precise care.
The Three Deadly Mistakes Every Beginner Makes
I wish someone had told me these things earlier. I killed my first three hardy hibiscus plants because of these errors. Here are the three most common pitfalls.
Mistake 1: Overwatering
This is the number one killer. I cannot stress this enough. When I first started, I watered my hibiscus every other day. I thought it needed constant moisture. The leaves turned yellow. The stems rotted at the base. I even saw fungus gnats buzzing around. It was a disaster.
The truth is, hardy hibiscus are drought-tolerant once established. In early spring, the roots are still waking up. They do not need much water. I now water only when the top two inches of soil feel dry. That is usually once every five to seven days. If you are unsure, stick your finger into the soil. If it feels damp, walk away.
I learned this lesson after my second plant died. I had it in a pot with no drainage holes. The water pooled at the bottom. The roots suffocated. Now I always check drainage before planting. I also use a moisture meter. It takes the guesswork out of watering.
Mistake 2: Light Misplacement
Many people assume that hardy hibiscus can grow in shade. That is false. I made this error with my first plant. I placed it under a tree. It got maybe two hours of direct sunlight per day. The leaves were pale. The stems grew leggy. No blooms appeared until late summer, and even then they were sparse.
I moved it to a sunny spot the following year. The difference was night and day. The plant grew compact. The leaves turned deep green. Blooms appeared in early June instead of August. According to the AHS, full sun is essential for optimal flowering. Six to eight hours of direct sunlight is the sweet spot.
If you live in a hot climate, afternoon shade can help prevent leaf scorch. But in most regions, more sun equals more blooms. I now position my pots on the south side of my house. That ensures they get maximum light.
Mistake 3: Wrong Pot
I bought a beautiful ceramic pot for my third hibiscus. It had no drainage holes. I thought I could manage by watering sparingly. I was wrong. The roots stayed wet. The plant developed root rot. I tried to save it by repotting, but it was too late.
Hardy hibiscus need pots with ample drainage. Terra cotta pots are ideal because they wick away moisture. Plastic pots retain too much water. I now use containers with at least four drainage holes. I also elevate the pot on bricks to ensure airflow underneath.
When I repotted my surviving plant, I mixed perlite into the soil. That improved drainage. The plant thrived within a month. Lesson learned: never sacrifice drainage for aesthetics.
My Detailed Step-by-Step Process for Early Blooms
Here is the exact routine I follow every year. It has worked consistently for the past three seasons.
Step 1: Late Winter Pruning
I prune in late February or early March. I wait until the worst frost has passed. I cut all dead stems down to six inches. I also remove any crossing branches. This opens up the center of the plant. Air circulates better. Pests are less likely to settle.
I use clean, sharp pruners. I dip them in rubbing alcohol between cuts. This prevents spreading disease. After pruning, I clean up all debris. Fungi and insects hide in dead plant matter.
Step 2: Soil Amendment
I test the soil pH first. Hardy hibiscus prefer slightly acidic soil, around 6.0 to 6.5. My soil is naturally neutral. So I add sulfur to lower the pH. I also mix in aged compost. That adds organic matter. The roots love it.
I work the compost into the top six inches of soil. Then I water it lightly. The compost releases nutrients slowly. That fuels early growth.
Step 3: Fertilizer Application
I use a slow-release granular fertilizer with an N-P-K ratio of 10-10-10. I apply it once in early March. I scatter it around the base, avoiding direct contact with the stems. Then I water it in. The granules dissolve gradually. The plant gets a steady supply of nutrients.
I do not use high-nitrogen fertilizers. They promote leaf growth at the expense of blooms. I learned that from a gardening forum. User "GreenThumb_42" warned me. His hibiscus grew huge leaves but zero flowers. I took his advice. It worked.
Step 4: Sunlight Management
I position the pot in full sun. If it is in the ground, I clear any nearby shrubs that cast shade. I also rotate the pot every week. That ensures even growth. The plant does not lean towards the light source.
When the sun gets intense in late spring, I provide light shade during the hottest part of the day. I use a shade cloth. That prevents leaf burn. But I make sure the plant gets at least six hours of direct sun.
Step 5: Watering Schedule
I water deeply but infrequently. I soak the soil until water runs out of the drainage holes. Then I wait until the top two inches are dry before watering again. This encourages deep root growth. The plant becomes more resilient to drought.
I water in the morning. That gives the leaves time to dry before nightfall. Wet leaves at night invite fungal diseases. I learned that after my fourth plant got powdery mildew. Not fun.
Step 6: Mulching
I apply a two-inch layer of organic mulch around the base. I use shredded bark. It retains moisture and regulates soil temperature. It also suppresses weeds. I keep the mulch away from the main stem to prevent rot.
Mulch breaks down over time. I replenish it every year. That adds organic matter to the soil.
Common Hardiness and Climate Considerations
Hardy hibiscus are resilient. They can survive winter temperatures down to -30°F. But early spring still poses risks. Frost can damage new growth. I always check the forecast. If a frost is predicted, I cover the plant with a frost cloth at night.
I use stakes to hold the cloth above the leaves. The cloth should not touch the foliage. Ice crystals form on the cloth, not the plant. That saves the buds.
I also avoid planting in low-lying areas. Cold air settles there. The frost risk is higher. I plant on a slight slope. That ensures cold air drains away.
The Role of Patience
I cannot stress this enough: do not rush. I used to spray my plants with bloom boosters in early spring. That was a mistake. The plants were not ready. The chemicals burned the new growth. I lost weeks of progress.
Now I follow a natural timeline. I let the plant wake up on its own. The early growth is slow. That is normal. Once the soil warms up, the growth accelerates. Blooms appear in late spring or early summer. The wait is worth it.
FAQs About Early Spring Blooms on Hardy Hibiscus
1. Can I force blooms in colder climates?
Yes, but it is harder. I live in zone 5. Our winters are harsh. I start my plants indoors in pots. I bring them inside when frost threatens. Then I move them back outside in late March. The extra warmth jumpstarts growth. I also use a heat mat under the pot. That keeps the soil warm. The roots stay active. Blooms appear two weeks earlier than usual.
2. What if my hibiscus has no buds by April?
Do not panic. Some varieties bloom later. I had a 'Lord Baltimore' variety that did not bud until May. I checked the roots. They were healthy. I just needed to wait. If your plant is in full sun and gets proper care, it will bloom. But if you see no growth at all by mid-April, the plant might be dead. Scratch the stem with your fingernail. If it is green underneath, it is alive. If it is brown, prune it back further.
3. Should I use a bloom booster fertilizer?
I tried it once. It caused leaf burn. The plant stressed out. I switched to a balanced fertilizer. That worked better. Bloom boosters are high in phosphorus. They are designed for flowering plants. But hardy hibiscus are heavy feeders. They need a balanced mix. Use a 10-10-10 or 20-20-20 fertilizer. That supports overall health. The blooms will follow naturally.
Final Thoughts on Encouraging Early Blooms
Early spring blooms on hardy hibiscus are not magic. They come from consistent, mindful care. I have been gardening for over a decade. I still make mistakes. But I learn from them. The key is to observe your plant. Check the soil moisture. Adjust sunlight exposure. Water less than you think. Those two weeks of careful monitoring changed how I treat all my plants.
I remember the first time I saw a bloom on my hibiscus in early June. It was a deep red, almost burgundy. The petals felt like velvet. That moment made all the failed attempts worth it. If you follow these steps, you will experience that same joy. Start with pruning. Add compost. Let the sun do the rest. Your hardy hibiscus will reward you with blooms that catch every neighbor's eye.





