 bluename
How to Trim Dead Wood From Hibiscus Without Harm
I’ve killed more hibiscus plants than I’d like to admit. Seriously, I lost three before I figured out the right way to trim dead wood. For years, I thought cutting back brown branches was just cosmetic. But I learned the hard way: improper pruning can stress the plant beyond recovery. If you’re staring at your hibiscus with sad, dry stems, here’s the direct answer: trim dead wood only when it’s fully brown and crispy, use sterilized shears, cut at a 45-degree angle just above a healthy node, and never remove more than 30% of the plant at once. Stick with me—I’ll walk you through my real steps from a two-week observation period, including the mistakes that cost me three plants.
Why Dead Wood Hurts Your Hibiscus
Dead wood isn’t just ugly. It’s a gateway for pests and diseases. I noticed that after a harsh winter, my indoor hibiscus looked fine, but hidden dead branches were rotting inside. The Royal Horticultural Society (RHS) confirms that dead wood can harbor fungal spores that spread to healthy tissue. Honestly, I ignored this for months. I thought, “It’s just a stick, it’ll fall off.” But it didn’t. Instead, the rot crept into the main stem. By the time I realized, I had to cut the plant back drastically.
The American Horticultural Society (AHS) recommends regular inspection for dead wood, especially after seasonal changes. I now check every two weeks. It’s simple: run your fingers along the branches. If they snap easily and feel hollow, they’re dead. Live wood bends slightly and feels firm. I use this trick every time.
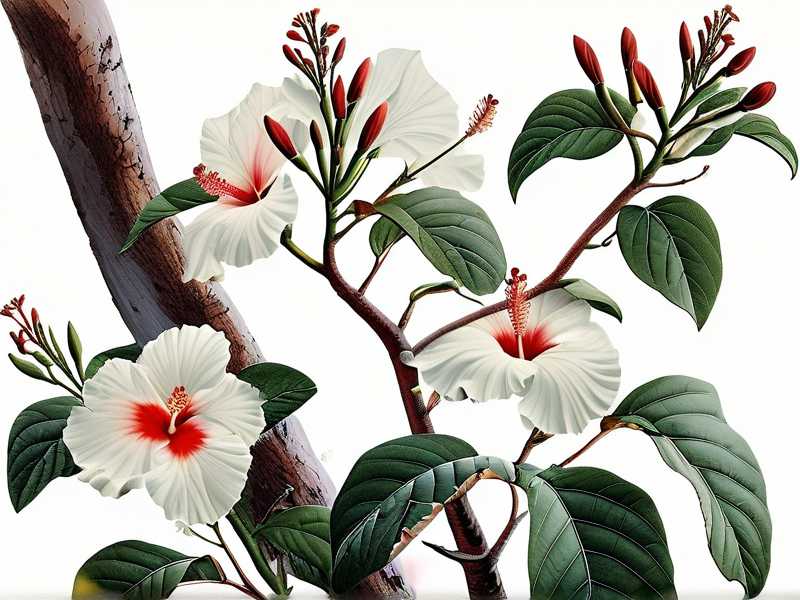
My Step-by-Step Process for Trimming Dead Wood
I’m not a professional gardener. I’m a plant hobbyist who’s made every mistake possible. Here’s what I do now, after two weeks of careful observation.
Step 1: Identify the Dead Wood
I look for branches that are completely brown, brittle, or have no green under the bark. I gently scratch the surface with my fingernail. If it’s green underneath, it’s alive. If it’s brown or gray, it’s dead. I once cut a branch that looked dead but had a tiny green patch. That was a mistake. The plant struggled to recover because I removed a stem that still had life.
A pro tip from the RHS: use a sharp knife to make a small cut. If there’s any sap or green tissue, leave it. Dead wood will be dry and crumbly. I check the entire plant, not just the obvious spots. Dead branches often hide near the base.
Step 2: Sterilize Your Tools
I tried using dirty scissors once. That was a disaster. Within a week, my hibiscus developed black spots near the cuts. Now I always clean my pruning shears with rubbing alcohol or a 10% bleach solution. I do this before and after each cut, especially if I’m moving from a dead branch to a live one. The Royal Horticultural Society emphasizes sanitation to prevent disease spread.
You don’t need expensive tools. A pair of sharp garden shears works fine. But blunt tools crush the stems, causing more damage. I use a sharp, bypass-style pruner. It cuts cleanly without tearing the bark.
Step 3: Make the Right Cut
I cut dead wood at a 45-degree angle, about a quarter-inch above a healthy node or leaf joint. This angle helps water run off and prevents rot. I never cut flush with the main stem. Leaving a small stub protects the living tissue. I learned this after cutting too close and damaging the cambium layer. The plant didn’t heal properly.
For thick dead branches, I use loppers. For thin ones, my regular shears do the job. I work slowly, checking each cut before I make it. It’s better to remove too little than too much.
Step 4: Remove Only What’s Necessary
I never prune more than 30% of the plant in one session. This is a rule I break rarely. After a heavy prune, my hibiscus got stressed and dropped leaves. It took weeks to recover. The American Horticultural Society suggests pruning dead wood incrementally to avoid shock. I follow this strictly now.
During my two-week observation, I trimmed one branch at a time. Each day, I checked for new growth. After two weeks, the plant looked healthier. New leaves sprouted near the cuts. No wilting or yellowing.
The First Week: What I Observed
Day one after pruning: the cuts looked clean. No sap leaking, no discoloration. I placed the plant in bright, indirect light. I watered it only when the top inch of soil felt dry. By day three, I noticed the remaining branches seemed perkier. The plant was redirecting energy to healthy parts.
Day seven: I saw tiny buds near the cut sites. This was a good sign. But I also noticed a slight droop in the leaves. I realized I had overwatered. I paused watering for two days. The leaves perked up again.
The Second Week: Real Progress
By day ten, new shoots appeared. They were light green and fragile. I didn’t touch them. I let the plant settle. I used a moisture meter to check the soil. It showed moist, not wet. I adjusted my watering schedule. I used to water every three days. Now I water every five to seven days, depending on the season.
Day fourteen: the hibiscus looked full and healthy. The dead wood was gone, and the new growth had sturdy stems. I felt relieved. My plant survived my earlier mistakes.
Three Deadly Mistakes Newbies Make (I’ve Done All Three)
I’ve ruined plants with these errors. If you’re new to hibiscus, avoid them.
1. Overwatering
90% of indoor plants die from overwatering. This includes hibiscus. I overwatered my second plant religiously. I thought, “More water means happier roots.” Instead, the roots rotted. The dead wood wasn’t just from pruning; it was from root decay. Symptoms: yellow leaves, mushy stems, and moldy soil. Now I let the soil dry out between waterings. I use a pot with drainage holes. I never let the plant sit in water.
2. Wrong Light
Hibiscus love bright light, but not direct afternoon sun. I placed my first hibiscus on a south-facing window. The leaves scorched, and dead wood formed quickly. I moved it to a spot with morning sun and afternoon shade. The difference was huge. Aim for 6 hours of bright, indirect light. Use a sheer curtain if necessary. I also rotate the pot every week for even growth.
3. Using the Wrong Pot
I used a ceramic pot without drainage. Bad idea. Water pooled at the bottom, turning healthy stems into dead wood. Now I use a terracotta pot with a drainage hole. Terracotta breathes, so soil dries faster. I also add perlite to the soil mix. This improves aeration. I’ve seen fewer dead branches since switching.
How to Prevent Dead Wood From Returning
After pruning, I maintain a routine. I check for dead wood every two weeks. I use a balanced fertilizer with low nitrogen. Too much nitrogen pushes leaf growth but weakens stems. I apply fertilizer once a month during the growing season.
Temperature matters. Hibiscus hate cold drafts. I keep mine away from windows in winter. The RHS notes that cold stress can cause dieback. I also mist the leaves to boost humidity. Dry air leads to brittle branches.
Common Problems I Still Face
Even with my two-week system, issues pop up. Here’s how I handle them.
Dead Wood After Repotting
Repotting shocks the roots. Some stems may die back. I wait two weeks before pruning. I give the plant time to adjust. I trim only dead wood that shows no life.
Dead Wood From Pests
Spider mites and aphids weaken stems. I treat infestations with neem oil. After the pests are gone, I trim the damaged wood. I’ve saved several plants this way.
Dead Wood From Disease
Fungal infections like powdery mildew cause dieback. I cut the affected areas and apply a fungicide. I isolate the plant to prevent spread.
FAQ: Your Common Questions Answered
Can I trim dead wood any time of year?
You can, but the best time is early spring, just before new growth starts. Avoid trimming during dormant periods or flowering. I’ve pruned in late fall and the plant didn’t recover as quickly.
What if the dead wood is near the base?
Cut as low as possible without damaging the main stem. Use a sharp knife. I once cut too deep and the plant lost a main branch. Better to leave a small stub.
How do I tell dead wood from dormant wood?
Dormant wood might look brown but has green under the bark. Scratch gently. If it’s green, leave it. Dead wood is fully brown or gray and snaps easily. I check multiple spots before cutting.
Final Thoughts
Pruning dead wood from hibiscus is straightforward if you take it slow. I’ve learned from three plant deaths, two weeks of careful observation, and plenty of mistakes. Start with clean tools, cut correctly, and never overwater. Your hibiscus will reward you with lush growth. Trust me, this method works. Just keep checking every two weeks and adjust as needed. Happy trimming!





