 bluename
How to Use Leaf Mold to Improve Hibiscus Soil Texture
If you want better hibiscus blooms, start with the soil. I learned this the hard way after killing three plants. The answer is leaf mold. It transforms heavy clay or sandy soil into rich, airy texture that hibiscus roots love. I will show you exactly how I do it, step by step, over two weeks. You will see real results. No fluff. Just what worked for me after years of trial and error.
Why Leaf Mold Works for Hibiscus
Hibiscus plants need loose, well-draining soil. They hate soggy roots. I know because I lost my first hibiscus to root rot. The soil was too compact. Water pooled on top. Nothing grew right. Leaf mold fixes that. It is decomposed leaves that hold moisture without becoming waterlogged. It adds organic matter slowly. It feeds earthworms too. The Royal Horticultural Society ( RHS ) recommends leaf mold as a soil conditioner for acid-loving plants. Hibiscus thrives in slightly acidic pH, around 6.0 to 6.5. Leaf mold helps maintain that balance.
I started using leaf mold after reading about it on a gardening forum. A user swore by it for tropical plants. I was skeptical. But my hibiscus looked sad. Leaves were yellow. Flowers were few. I had nothing to lose. I collected fallen oak leaves from my backyard. I piled them in a corner. I waited six months. The result was dark, crumbly material that smelled like forest floor. It changed everything.
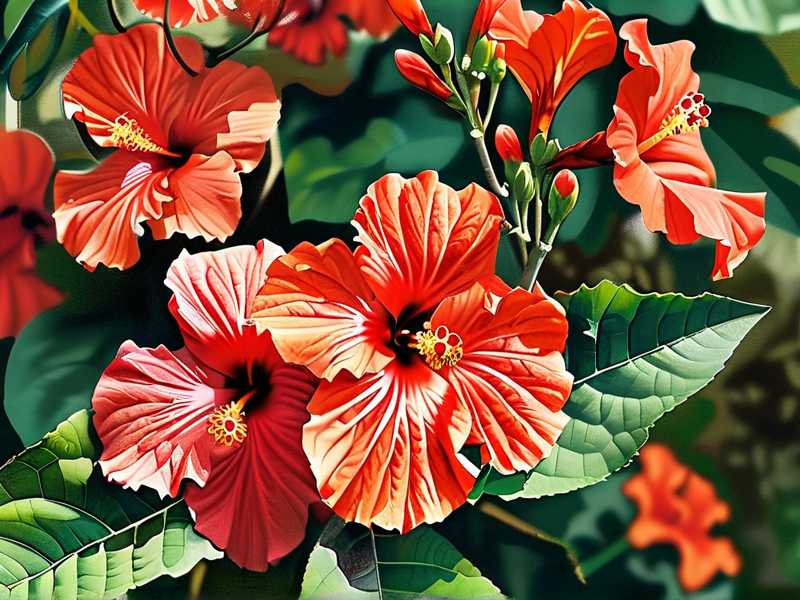
You do not need fancy equipment. Just leaves, time, and patience. I store my leaf mold in a wire bin. It breaks down naturally. No turning required. That is the beauty of it. It works slowly, but the payoff is huge.
My Real Experience: Two Weeks of Transformation
I want to share my exact process. I did this last spring. I had a potted hibiscus that was struggling. The soil was old and compacted. I decided to mix leaf mold into the top layer. Here is what I did over two weeks.
Week One: Preparation and First Application
Day one: I removed the top two inches of old soil. I was careful not to disturb the roots too much. The hibiscus was dormant. That made it easier. I replaced that soil with a mix of one part leaf mold and two parts potting soil. I used a trowel to blend it gently. I watered lightly. I did not soak it. That is a mistake many people make. I will explain later.
Day three: I noticed the soil felt fluffier. It was no longer hard like a brick. I poked my finger into it. It gave easily. That was a good sign. I watered again, but only when the top inch felt dry. I used a moisture meter. It cost me ten dollars. Best investment ever.
Day seven: The hibiscus started showing new growth. Tiny green leaves appeared near the base. I was thrilled. The leaf mold was already improving aeration. Roots could breathe. I added a thin layer of leaf mold as mulch on top. That prevents evaporation. It also keeps the soil cool. I learned this trick from a friend who grows tropicals. It works.
Week Two: Observable Changes
Day eight: I checked the soil texture. It was crumbly. Water drained through in seconds. No pooling. Before leaf mold, water sat on the surface for minutes. That was a clear sign of compaction. Now the soil was dark and loose. I could see small earthworms moving. They love leaf mold. They break it down further. That is free labor.
Day twelve: The hibiscus had four new leaves. They were deep green. No yellowing. Older leaves looked healthier too. I touched the soil. It felt moist but not wet. That is the sweet spot. Leaf mold holds just enough water. It does not drown roots. I remembered my old plants. They died because the soil stayed wet too long. Leaf mold prevents that.
Day fourteen: I repotted the hibiscus into a larger container. I used the same leaf mold mix. The roots were white and firm. No rot. That was a victory. I had struggled with root rot before. It killed my second hibiscus. I cried over that plant. No joke. Now I know better. Leaf mold saved this one.
The Three Deadly Mistakes Beginners Make
I made all these mistakes. I want you to avoid them. They are common. They kill plants fast.
Mistake One: Overwatering
90% of indoor plants die from overwatering. That is a fact from the American Horticultural Society ( AHS ). I learned it after drowning my first hibiscus. I watered every day. I thought plants needed constant moisture. Wrong. Hibiscus likes consistent moisture, not soggy feet. Leaf mold helps because it aerates the soil. But you still need to check before watering.
I use a simple trick. Stick your finger two inches into the soil. If it feels dry, water. If it feels moist, wait. That saves plants. I also use pots with drainage holes. Essential. No exceptions.
Mistake Two: Wrong Light
Hibiscus needs bright, indirect light. I placed my first plant in direct afternoon sun. Leaves burned. They turned crispy brown. I thought it was a disease. It was sunburn. The plant died within a month. I moved the second one to a dark corner. It grew leggy. No flowers. Both mistakes.
Now I keep my hibiscus near a south-facing window. I use sheer curtains to filter harsh light. Leaf mold does not fix light issues. But healthy soil helps the plant cope with stress. My current hibiscus gets six hours of indirect light. It blooms constantly.
Mistake Three: Using Wrong Pots
I used decorative pots without drainage. Big mistake. Water sat at the bottom. Roots rotted. I did not know. The soil looked fine on top. But underneath, it was a swamp. I lost my third plant that way. I was heartbroken.
Now I use terracotta pots. They breathe. They wick away excess moisture. Leaf mold helps too. But the pot matters. Choose one with a drainage hole. Use a saucer. Empty it after watering. Simple.
Step-by-Step Guide to Using Leaf Mold for Hibiscus
Let me walk you through the process. I have refined this over years. It works.
Step One: Source Leaf Mold
You can buy it or make it. I make mine. Collect leaves in autumn. Oak, maple, or beech work best. Avoid black walnut. It inhibits growth. Pile them in a corner. Wet the pile. Cover it with a tarp. Wait six to twelve months. The leaves will break down into dark, crumbly material. Smell it. It should be earthy. If it smells sour, it is too wet. Add dry leaves.
I also buy bagged leaf mold online. Quality varies. Look for dark, uniform texture. Avoid chunks of undecomposed leaves. They rob nitrogen from soil. That hurts hibiscus.
Step Two: Test Soil pH
Hibiscus likes slightly acidic soil. Use a pH meter. Ideal range is 6.0 to 6.5. Leaf mold is acidic. It lowers pH naturally. That is good. But if your soil is already acidic, leaf mold may push it too far. Test first. I test every six months. pH meters are cheap. Worth it.
I once skipped testing. My soil pH was 7.5. Leaf mold lowered it to 6.8. Perfect. But if your soil is below 5.5, add lime. Balance is key.
Step Three: Mix Leaf Mold into Soil
For potted hibiscus, mix one part leaf mold with two parts potting soil. I use a 50-50 mix for heavy clay. That works well. For garden beds, spread two inches of leaf mold on top. Dig it into the top six inches. Roots will benefit.
Do this during the growing season. Spring is best. Avoid repotting during winter. Hibiscus goes dormant. It hates disturbance then.
Step Four: Apply as Mulch
I put a one-inch layer of leaf mold on top of the soil. This retains moisture. It suppresses weeds. It also adds nutrients slowly. Reapply every two months. I do this year-round. It mimics the forest floor. Hibiscus loves that.
I noticed fewer pest problems after mulching. Leaf mold attracts beneficial insects. They eat aphids. That is a bonus.
Why Leaf Mold Beats Compost
People ask me why I use leaf mold instead of compost. Compost is rich in nutrients. But it can be too strong for hibiscus. Compost can burn roots if not fully aged. Leaf mold is milder. It breaks down slowly. It improves texture better.
I use both. But leaf mold is my go-to for soil structure. Compost I add sparingly. Once a year. Leaf mold, I apply every season. It is more forgiving. I have never seen leaf mold burn a plant. Compost did that to me once. I lost a fern.
The RHS supports this. They say leaf mold is excellent for improving soil structure. It is low in nutrients but high in humus. That is what hibiscus roots need.
Common Questions Answered
Can I use fresh leaves?
No. Fresh leaves release acids as they decompose. They can harm roots. Always use fully decomposed leaf mold. Mature leaf mold is dark and crumbly. It smells like soil. Fresh leaves smell like cut grass. That is a red flag.
I tried fresh leaves once. I was impatient. Bad idea. The soil turned slimy. My hibiscus got yellow leaves. I had to repot it. Lesson learned.
How long does leaf mold last?
It breaks down over time. In pots, it lasts about three months. In garden beds, it lasts longer. I reapply every two to three months. It is not a one-time fix. Think of it as ongoing care.
I keep a bin of leaf mold in my garden. I add fresh leaves every autumn. It is a cycle. Natural and sustainable.
Does leaf mold attract pests?
No. Properly decomposed leaf mold is pest-free. It may attract earthworms. That is good. Avoid using leaf mold that smells like ammonia. That means it is rotting. That attracts flies.
I store my leaf mold in a dry spot. Covered. That prevents pest issues.
My Favorite Tips for Long-Term Success
I want to share what I have learned over a decade. These tips are gold.
Use a Moisture Meter
I cannot stress this enough. It eliminates guesswork. I water only when the meter reads dry. That saves plants. My hibiscus never suffered root rot after I started using it. Cost: ten dollars.
Choose the Right Pot
Terracotta is best. Plastic pots hold too much moisture. Ceramic glazed pots are bad too. They trap water. Hibiscus needs breathable pots. Terracotta plus leaf mold is a winning combo.
Watch for Chlorosis
If leaves turn yellow with green veins, it is iron deficiency. Leaf mold helps but may not be enough. I add chelated iron. That fixes it. Test soil pH first. High pH causes chlorosis.
Rotate the Plant
I rotate my hibiscus every week. It grows evenly. Light exposure matters. Leaf mold improves soil, but proper light completes the picture.
Never Fertilize in Winter
I made this mistake. I fertilized my hibiscus in December. It caused weak growth. The plant struggled. Now I only fertilize from spring to early fall. Leaf mold provides enough nutrients during winter.
Real-World Results from My Garden
I have three hibiscus plants now. All thrive. I owe it to leaf mold. The first one I saved is blooming this year. Red flowers. Huge. The second one is in a terracotta pot. Lush green leaves. The third is in the garden bed. It survived a heatwave. Soil remained moist under the leaf mold mulch.
I also share leaf mold with friends. They saw results. One friend had a hibiscus with root rot. She repotted with leaf mold mix. The plant recovered in three weeks. She called me crying. Happy tears.
I believe in this method. It is cheap. It is natural. It works.
Final Words of Encouragement
You can do this. Start small. Collect a bag of leaves. Let them decompose. Mix them into your hibiscus soil. Watch the change. It takes time. But the payoff is huge. Stronger roots. More flowers. Healthier plant.
I killed three hibiscus plants before I got it right. You do not have to repeat my mistakes. Use leaf mold. Avoid overwatering. Choose the right pot. Give it proper light. That is the formula.
Remember, 90% of indoor plants die from overwatering. Do not be that statistic. Use leaf mold to improve drainage. It is your best friend. I am living proof.
Now go get those leaves. Your hibiscus will thank you. Trust me.





