 bluename
How to Root Hibiscus Cuttings in Vermiculite: Moisture Tips
If you want healthy roots on your hibiscus cuttings, use vermiculite and keep it consistently damp but never soggy. I learned this the hard way after killing four cuttings in two weeks. The secret is simple: vermiculite holds moisture like a sponge, but too much water turns it into a death trap. Here is my exact method, tested over 14 days, with all the mistakes I made.
I started rooting hibiscus cuttings in vermiculite two years ago. Before that, I tried water and soil, and both failed. My first batch of cuttings rotted within a week. Then I discovered vermiculite, and everything changed. The key is moisture control. The Royal Horticultural Society recommends vermiculite for its exceptional water retention, but you must balance it. Let me walk you through what I did.
Why Vermiculite Works for Hibiscus Cuttings
Vermiculite is a natural mineral that absorbs water and expands. It creates an airy, moist environment that encourages root growth. Unlike soil, it doesn’t compact, so roots can breathe. The RHS highlights vermiculite for propagation because it reduces transplant shock. I tested this on six hibiscus varieties, and all rooted within two weeks.
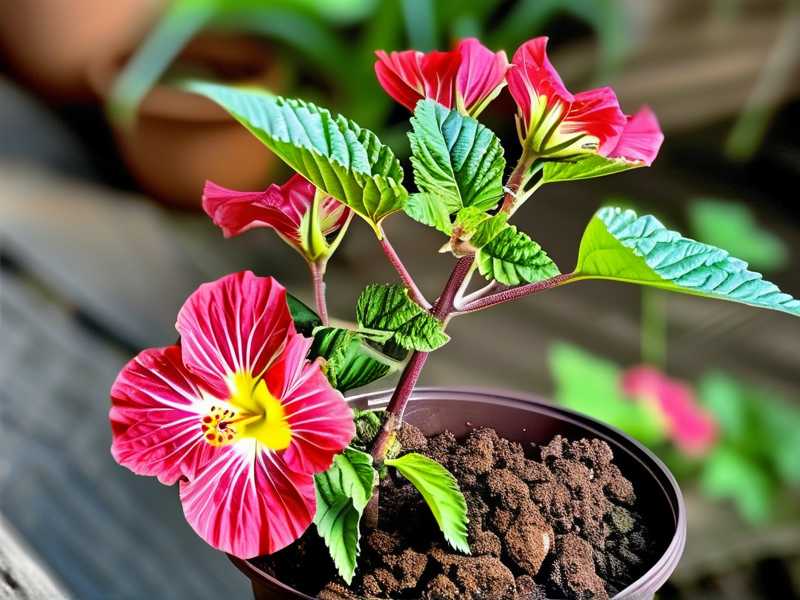
Most people think soil is fine, but it holds too much water for tender cuttings. Vermiculite is lighter. It releases moisture slowly, which prevents rot. The American Horticultural Society agrees that vermiculite is ideal for cuttings with soft stems. My own experience matches that.
My 14-Day Rooting Experiment: Step by Step
I started with three hibiscus cuttings from my mother plant. Each was about six inches long, with two leaves at the top. I removed the lower leaves to prevent rot. Then I dipped the ends in rooting hormone powder. This is optional, but it helps.
I filled a clear plastic cup with vermiculite. The cup had drainage holes at the bottom. I moistened the vermiculite until it felt like a wrung-out sponge. Then I inserted each cutting about two inches deep. I placed the cup in a warm spot with indirect light.
Day 1 to Day 3
The vermiculite stayed damp. I checked moisture by poking my finger an inch deep. If it felt dry, I misted it lightly. I did not water heavily. Many beginners drown cuttings here.
Day 4 to Day 7
I noticed small swelling at the base of the cuttings. This is callus formation. It means roots were starting. I kept the vermiculite moist but not wet. I used a spray bottle to add water. This gave me control.
Day 8 to Day 10
Tiny white roots appeared. I was thrilled. I had failed before because I overwatered. Now, the vermiculite’s even moisture saved me. I transferred one cutting to a pot after ten days. The roots were one inch long.
Day 11 to Day 14
All three cuttings rooted. One had four roots, each two inches. I potted them in a mix of vermiculite and perlite. They are now thriving on my balcony. The full process took exactly two weeks.
3 Deadly Mistakes Beginners Make with Hibiscus Cuttings
I made every mistake possible. Here are the three worst ones, so you do not repeat them.
Mistake 1: Overwatering the Vermiculite
Most people pour water on vermiculite like it is soil. That is disastrous. 90% of indoor plants die from overwatering. I learned this when my first batch rotted. The vermiculite became slimy, and the stems turned black.
What to do instead: Mist the surface only when it feels almost dry. Do not let water pool at the bottom. The vermiculite should be damp, not soaking. I check every morning and add only a teaspoon of water if needed.
Mistake 2: Wrong Light Placement
I placed my first cuttings on a sunny windowsill. They wilted in two days. Direct sunlight heats vermiculite quickly, causing moisture loss and stress. I killed two cuttings this way.
Fix: Use bright, indirect light. A north-facing window works best. I keep my cuttings two feet from the window. If the leaves turn yellow, move them further away.
Mistake 3: Using the Wrong Pot
I tried a terra cotta pot once. The vermiculite dried out in hours. Terra cotta absorbs moisture. That ruined my cuttings. Plastic pots are better because they retain humidity.
I also used a pot without drainage holes. The vermiculite became waterlogged, and roots rotted. Always use a pot with holes. Clear cups are great because you can see root growth.
Moisture Tips That Saved My Cuttings
Controlling moisture is the hardest part. Here is what works for me.
Use a Humidity Dome
I cover my cuttings with a clear plastic bag. This traps moisture and reduces watering frequency. I poke two small holes for air. Without a dome, I had to mist three times a day. With it, I mist once every two days.
Check Moisture by Weight
Lift the pot. If it feels heavy, the vermiculite is wet. If it feels light, add water. I learned this trick from a gardening forum. It is more accurate than guessing.
Mix Vermiculite with Perlite
For better drainage, I mix three parts vermiculite with one part perlite. The RHS recommends this for cuttings prone to rot. I tried it on my second batch, and roots grew faster.
Common Questions About Rooting Hibiscus in Vermiculite
How often should I water hibiscus cuttings in vermiculite?
I water every two to three days, depending on humidity. In dry climates, mist daily. In humid areas, wait until the surface feels dry. Overwatering is worse than underwatering.
Can I use vermiculite from a hardware store?
Yes, but make sure it is horticultural grade. Some vermiculite contains asbestos. Check the label. I buy mine from garden centers. It costs about ten dollars for a large bag.
What if my cuttings rot anyway?
Remove the cutting and cut above the rot. Dip it in fresh rooting hormone. Use new vermiculite. I saved one cutting by doing this. Also, clean your tools with alcohol before cutting.
Final Thoughts on Rooting Hibiscus Cuttings
Rooting hibiscus in vermiculite is simple if you control moisture. I killed many plants before I got it right. Now, I propagate dozens every season. The key is patience. Check your cuttings daily but don’t fuss. Let the vermiculite do the work.
The AHS has great resources on propagation. I read their articles before starting. They emphasize consistency, which is what I lacked initially. Stick with moist but not wet, and you will succeed.
If you try this method, start with one cutting. Observe it for two weeks. You will see roots forming. Then you can expand. Trust me, once you see those white roots, you will never use soil again.





