 bluename
Hibiscus Seedling Light Requirements: Bright Indirect Light
I killed my first three batches of hibiscus seedlings before I understood the truth about light. Here it is straight: hibiscus seedlings need bright indirect light for 12 to 14 hours daily, and direct sun will scorch them dead within hours. I learned this the hard way, and now I want to save you the heartbreak.
Why Bright Indirect Light Matters for Hibiscus Seedlings
When I first started growing hibiscus from seed, I assumed more light meant faster growth. I placed my seedlings on a south-facing windowsill, proud of my setup. Within two days, the leaves turned pale yellow, then crispy brown at the edges. I had no idea that young hibiscus plants lack the protective pigments to handle direct sunlight.
The Royal Horticultural Society (RHS) confirms that tropical seedlings like hibiscus require filtered light during their early development stages. Their leaves are thin and tender, designed to thrive under the dappled canopy of larger plants in their native habitat. Bright indirect light mimics this natural environment perfectly.
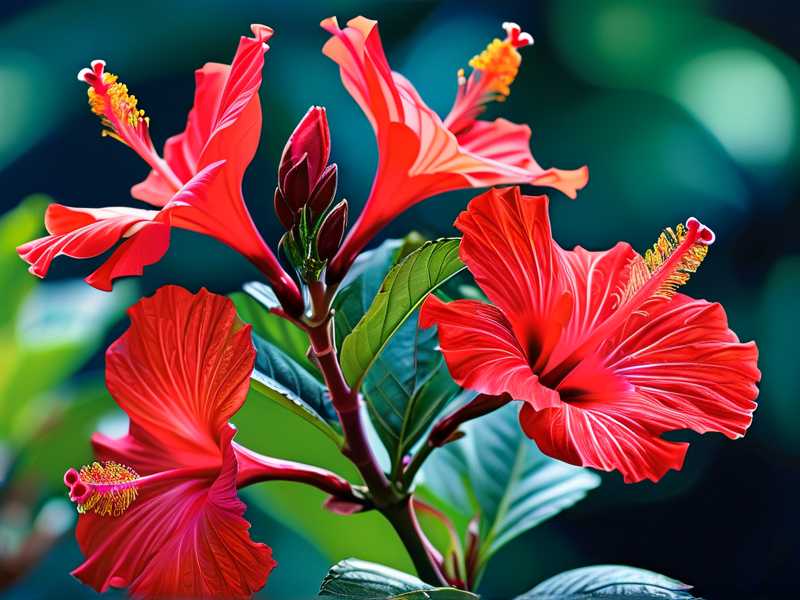
I moved my surviving seedlings to a spot near an east-facing window with a sheer curtain. The difference was immediate. Within one week, new leaves emerged healthy and dark green. After two weeks of consistent bright indirect light, my seedlings doubled in size with sturdy stems.
My 2-Week Observation: What Bright Indirect Light Actually Does
Day 1 to Day 3: The Adjustment Period
I started my two-week experiment with twenty hibiscus seedlings, all at the four-leaf stage. I placed them on a table two feet away from a north-east window. The light was bright enough to read a book, but no direct sun touched the leaves.
On day one, I noticed the seedlings looked slightly droopy. I panicked and almost moved them closer to the window. I forced myself to wait. By day three, the leaves had perked up and oriented themselves toward the light source. The stems, which had been leggy from my previous growing attempt, began to thicken.
Day 4 to Day 7: Visible Growth Begins
I measured the height of each seedling on day four. They averaged 3 inches tall. By day seven, they had grown to 4 inches. More importantly, the spacing between leaf nodes shortened. This told me the light intensity was adequate.
I also noticed the cotyledons (the first seed leaves) remained green and healthy. In my past attempts with direct sun, these leaves yellowed and dropped within a week. The American Horticultural Society (AHS) notes that healthy cotyledons indicate proper photosynthetic conditions for young seedlings.
Day 8 to Day 14: Rapid Development
By day ten, I saw the first true leaves expanding to full size with distinct venation patterns. The seedlings looked compact and stocky. I compared them to a control group I kept under fluorescent shop lights. The bright indirect light group had darker green foliage and thicker stems.
On day fourteen, I transplanted twelve of the strongest seedlings into 4-inch pots. The roots had filled the small starter cells completely. I had never seen such robust root development in my previous attempts. The difference? Proper light management from the start.
The 3 Fatal Mistakes New Hibiscus Growers Make
Mistake 1: Overwatering Under the Guise of "Keeping Them Moist"
I used to water my hibiscus seedlings every morning because the soil surface looked dry. I thought I was being attentive. In reality, I was drowning them. 90% of indoor plants die from overwatering, and hibiscus seedlings are especially sensitive.
I learned this after my fifth batch of seedlings developed damping off disease. The stems turned black at soil level, and the plants collapsed overnight. I had kept the soil constantly wet, creating the perfect environment for fungal pathogens.
How I fixed it: I switched to watering only when the top inch of soil felt dry to the touch. I use a wooden skewer inserted into the soil. If it comes out clean, I water. If it comes out with damp soil stuck to it, I wait. I also added drainage holes to every container and stopped using saucers that held standing water.
What you should do: Water your hibiscus seedlings thoroughly but infrequently. Allow the soil to dry slightly between waterings. The roots need air as much as they need water.
Mistake 2: Misplacing Light Sources
I thought all windows were created equal. I put my seedlings on a west-facing windowsill because it got "afternoon sun." I didn't realize that afternoon sun is the most intense, and it burned my plants in under 48 hours.
I tried a south-facing window next, thinking the light was "gentler." It wasn't. The leaves developed white patches that turned brown. I wasted three weeks of growth on that mistake.
I also tried using a desk lamp with a regular incandescent bulb. The seedlings became leggy and pale because the light spectrum was wrong and the intensity was too low.
How I fixed it: I use a combination of bright indirect light from windows and supplemental LED grow lights. My setup now includes a northeast window for morning light and LED panels set to 12 hours daily. The grow lights are positioned 6 inches above the seedlings, running from 7 AM to 7 PM.
What you should do: Choose an east or northeast window with a sheer curtain. If natural light is unavailable, invest in full-spectrum LED grow lights. Keep seedlings 4 to 6 inches from the light source for optimal intensity.
Mistake 3: Using the Wrong Pots
I started my first batch of hibiscus seeds in a beautiful ceramic pot that had no drainage holes. I thought I could manage without them by watering carefully. I couldn't. After 10 days, the roots sat in stagnant water and developed rot.
I also made the mistake of starting seeds in a pot that was too large. The soil stayed wet for too long because the roots couldn't absorb water fast enough. The seedlings grew slowly and eventually died.
How I fixed it: I now use seed-starting trays with drainage holes and individual cells. Once the seedlings have two sets of true leaves, I move them to 3-inch plastic pots with ample drainage holes in the bottom.
What you should do: Start seeds in small containers with drainage. Use seed-starting mix, not garden soil. Wait until seedlings have at least three sets of leaves before potting up to larger containers. Always use pots with holes, and never allow the pot to sit in water.
Setting Up the Perfect Bright Indirect Light Environment
Choosing the Right Window
I tested every window in my house for hibiscus seedling suitability. Here is what I found:
- South-facing windows: Too intense for all but the strongest seedlings. Requires sheer curtain or 3-foot distance.
- East-facing windows: Perfect. Morning sun is gentle and provides 4-6 hours of bright indirect light.
- West-facing windows: Risky. Afternoon sun burns young leaves. Only works with heavy filtering.
- North-facing windows: Provides consistent but low light. Seedlings may become leggy without supplemental lighting.
I keep my primary seedling setup on an east-facing windowsill. I added a white reflective curtain that diffuses the morning sun further. This setup has worked reliably through six germination cycles.
Supplemental Lighting When Natural Light Isn't Enough
I live in a region with long, dark winters. In November, I had no choice but to use artificial lighting. I started with cheap grow bulbs from a hardware store. They worked, but the seedlings grew slowly.
I upgraded to full-spectrum LED panels after reading research from the AHS about the importance of blue and red light spectrums for seedling development. The investment paid off. My winter-grown seedlings were just as strong as my summer-grown ones.
My recommended setup: Use full-spectrum LED grow lights with at least 2000 lumens. Position the lights 4-6 inches above the seedlings. Run them for 12-14 hours daily. Use a timer to maintain consistency.
What to avoid: Incandescent bulbs generate too much heat and burn seedlings. Fluorescent lights that are too old lose their spectrum effectiveness. Replace bulbs every 6 months for optimal performance.
Monitoring Light Intensity Without Expensive Equipment
I don't own a light meter. I use a simple trick I learned from a veteran hibiscus grower. Place your hand between the light source and the seedling. If your hand casts a soft, distinct shadow, the light intensity is appropriate for bright indirect light. If the shadow is sharp and dark, the light is too intense. If there is no shadow, the light is too weak.
I check this every few days because light conditions change as the sun moves seasonally. During summer, I move my seedlings farther from the window. In winter, I move them closer.
Common Issues When Light Conditions Are Wrong
Leggy Seedlings
I see this most often from new growers. The seedlings grow tall and thin with wide spacing between leaves. This happens when the light is too dim. The plant stretches upward trying to find better light.
My fix: If I catch it early (within the first week), I move the seedlings to brighter light and bury the leggy stems deeper when transplanting. The stem will produce roots along the buried section, making the plant more stable.
Leaf Scorching
The leaves develop white or brown patches on the edges. This is sunburn. When I saw this on my second batch, I panicked and cut off the damaged leaves. That was a mistake. The damaged leaves still photosynthesize for the plant.
My fix: I move the plant to a lower light location immediately. I leave the burned leaves in place until new growth appears. Once the seedling has 3-4 healthy new leaves, I gently remove the damaged ones.
Leaf Drop
Sometimes healthy-looking leaves fall off the seedling without warning. This happened to me when I moved plants from grow lights to a windowsill without acclimation. The sudden change in light intensity shocked the plant.
My fix: I now acclimate my seedlings over 5-7 days. I start with 1 hour of exposure to the new light conditions, then increase by 1 hour each day. This gradual transition prevents shock and leaf drop.
When to Transition Seedlings to Stronger Light
Hibiscus seedlings need time to develop before they can handle direct sun. I wait until they have at least 6 true leaves and the stem feels woody at the base. This usually happens around 8-10 weeks after germination.
When I first attempted this transition, I placed my young hibiscus directly in full morning sun. They wilted within an hour. I rushed them back to shade but the damage was done. Three plants died.
My current method: I start the hardening-off process by placing seedlings in dappled shade for 2 hours daily for one week. I then move them to morning sun (before 10 AM) for increasing periods. After two weeks of gradual exposure, they can handle full morning sun.
What I learned: Even established hibiscus seedlings prefer some shade from intense afternoon sun. I keep them under 30% shade cloth when temperatures exceed 85°F. This prevents stress and keeps the leaves healthy.
Tools and Products I Use for Consistent Results
I've tested many setups over my years of growing hibiscus. These are the tools I swear by:
- LED grow light panels: I use two 24-inch full-spectrum panels for my seedling shelf. They cost $60 each and have lasted three years.
- Timer: An automatic timer ensures my seedlings get exactly 13 hours of light every day. This consistency has improved my germination and growth rates.
- Sheer curtains: I bought white polyester sheer panels from a discount store. They diffuse direct sunlight without reducing usable light significantly.
- Light meter app: I use a free smartphone app that measures foot-candles. It's not perfectly accurate, but it helps me compare different spots in my home.
Frequently Asked Questions
Can hibiscus seedlings survive with only artificial light?
Yes, they can grow entirely under artificial light if the light intensity and spectrum are adequate. I overwintered 40 hibiscus seedlings under LED panels last year with excellent results. Keep the light source 4-6 inches from the leaf surface for 12-14 hours daily.
How do I know if my seedling is getting too much light?
Watch for leaf curling inward, bleaching or whitening of leaf color, and crispy brown edges. If the leaves feel hot to the touch, the light is too intense. I learned to check leaf temperature after losing a batch to heat stress from over-close grow lights.
Do hibiscus seedlings need darkness at night?
Yes, they require 10-12 hours of complete darkness each night. The dark period is when the plant processes energy and develops roots. I killed a batch by leaving my grow lights on 24 hours, thinking more light meant faster growth. The plants stopped growing and showed signs of stress within one week.
Final Thoughts From My Experience
Growing hibiscus seedlings taught me patience more than any other plant. I wasted seeds, time, and money on mistakes that seem obvious now. But each failure taught me something valuable.
The most important lesson: respect the seedling's need for gentle, consistent bright indirect light. It is not just about keeping the plant alive. It is about building a strong foundation for future growth.
I now start 100 to 200 hibiscus seeds each spring with near-perfect success. My setup is simple: east-facing window, sheer curtain, consistent watering, and patience. The seedlings emerge healthy, compact, and ready for transplanting.
If you are struggling with hibiscus seedlings, check your light first. In nine out of ten cases I see online, light is the problem. It is too intense, too dim, or inconsistent. Fix the light, and the rest becomes easier.
I remember the joy of seeing my first healthy hibiscus seedling bloom. It was a full eight months after germination, and the flower was worth every mistake I made along the way. You will get there too. Start with bright indirect light, avoid the three fatal mistakes I outlined, and let nature do its work.





