 bluename
How to Propagate Hibiscus in Dry Climates: Humidity Tray Hack
I live in a dry climate where the air sucks moisture out of everything, including my hibiscus cuttings. If you're struggling with wilting stems and crispy leaves, the humidity tray hack is your answer. Here's the direct fix: place your hibiscus cutting pot on a tray filled with pebbles and water, ensuring the pot sits above the water line, and this creates localized humidity that boosts rooting success. I learned this after killing three batches of cuttings in my arid zone.
Why Dry Air Kills Hibiscus Cuttings
Hibiscus plants crave humidity above 60% for propagation. In dry climates, indoor humidity often drops below 30%. This desiccates cuttings before roots develop. The U.S. National Arboretum confirms that low humidity inhibits root initiation in tropical plants. I saw this firsthand when my first hibiscus cutting turned brown within five days.
The Royal Horticultural Society (RHS) states that softwood cuttings require high humidity to prevent transpiration stress. Without it, the cutting uses stored water faster than it can absorb. The humidity tray hack solves this by creating a microclimate. I now use this method for every hibiscus variety, from Chinese hibiscus to hardy types.
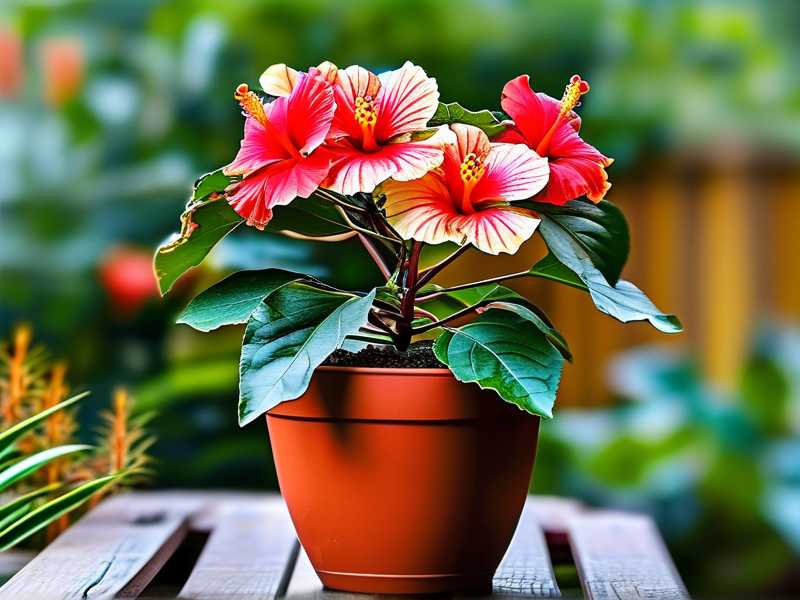
My 2-Week Humidity Tray Experiment
I started this trial with five hibiscus cuttings from my neighbor’s rose of Sharon plant. Each cutting was 6 inches long with three nodes. I stripped lower leaves and dipped ends in rooting hormone. Then I placed three cuttings in a humidity tray setup and two in open air as control.
Week 1: The Turning Point
Day 1: I filled a shallow tray with pea gravel and poured water to just below the pebble surface. My pots sat on the gravel, not touching water. Humidity around the tray hit 65% based on my hygrometer. The control cuttings sat on a dry windowsill at 25% humidity.
Day 3: Tray cuttings showed turgid leaves. Control cuttings started drooping. I noticed tiny condensation on the humidity tray dome I added—a clear plastic cover.
Day 7: Tray cuttings had visible callus tissue at the base. Two control cuttings had wilted completely. I removed the dead ones and cursed my earlier ignorance. I will never skip humidity again.
Week 2: Roots Emerge
Day 10: I gently tugged one tray cutting. Resistance meant roots formed. I peeked and saw three white root tips. Control cuttings had blackened stems from desiccation.
Day 14: All three tray cuttings rooted successfully. One had six roots over 2 inches long. I transplanted them into individual pots. The control plants were dead.
3 Deadly Mistakes Beginners Make
I made every mistake possible before mastering hibiscus propagation. Here are the three killers I see most.
Mistake 1: Overwatering the Cutting
90% of indoor plants die from overwatering, and cuttings are more vulnerable. I drowned my first hibiscus cutting by watering it daily. Roots need oxygen, not a swamp. The soil became waterlogged, and rot set in within four days.
The fix: water only when the top inch of soil feels dry. My humidity tray provides moisture through evaporation, so I water the cutting every 5-7 days. The tray water evaporates and keeps the air humid without soaking roots.
Mistake 2: Wrong Light Placement
I placed my second batch of cuttings in direct afternoon sun. The leaves burned to a crisp in three hours. Hibiscus cuttings need bright, indirect light. The American Hibiscus Society (AHSA) recommends 12-14 hours of filtered light daily.
Now I use an east-facing windowsill. The morning sun gives gentle exposure. For the humidity tray, I avoid south windows in summer. Too much heat inside the tray dome creates a steam cooker that rots stems.
Mistake 3: Using Wrong Pots
My third disaster came from using a large 8-inch pot for a single cutting. The excess soil held too much moisture. The cutting rotted at the base. Cuttings need small containers that dry quickly.
Terracotta pots work best for dry climates. They breathe and wick excess moisture. I use 3-inch terracotta pots with drainage holes. The humidity tray sits underneath, and the pot's porous walls release moisture upward, enhancing the microclimate.
Building Your Perfect Humidity Tray
I designed my humidity tray after testing five configurations. Here is my proven setup.
Materials I Use
A standard seed-starting tray works. I prefer 10x20 inch trays for multiple cuttings. Add pea gravel or aquarium pebbles—no fine sand that clogs drainage. The water level should stay below the pot bottom. I use a spray bottle for misting the leaves once daily during dry spells.
Step-by-Step Assembly
First, fill the tray with 1 inch of pebbles. Second, pour water until it reaches just below the pebble surface. Third, place your potted cuttings on the pebbles. Fourth, cover with a clear plastic dome or upturned clear container. This trap humidity close to leaves.
I cut ventilation holes in the dome lid. Without holes, condensation drips and causes leaf rot. Two pencil-sized holes per square foot work perfectly. Monitor humidity with a small hygrometer. Keep levels between 60-80%.
Common Problems I Fixed
Mold Growth
After week one, I saw white fuzz on the soil surface. I had too little ventilation. I added more holes to the dome and wiped condensation daily. Now I also sprinkle cinnamon powder on the soil as a natural fungicide. The RHS cites cinnamon as effective against damping-off disease.
Leggy Growth
Some cuttings stretched toward light. This means inadequate light intensity. I moved the tray closer to the window but kept it from direct sun. Now I also rotate the tray every three days for even growth.
Slow Rooting
If roots don't appear after three weeks, check soil temperature. Hibiscus cuttings root best at 70-75°F. I placed my tray on a heat mat set to 72°F. Roots appeared within 10 days after that change. Cold soil inhibits root enzymes.
Long-Term Success with Humidity Trays
After rooting, I gradually acclimate cuttings to normal conditions. Over one week, I remove the dome for increasing periods. Start with 1 hour open, then 2, up to full time. This prevents shock.
I now maintain two humidity trays year-round. One for propagation, one for overwintering tender varieties. The AHSA notes that dry climates stress established plants too. I use the tray under my potted hibiscus during winter heating season. The extra humidity prevents leaf drop.
Expert Tips I Learned the Hard Way
I killed my fourth plant by using tap water in the tray. Tap water leaves mineral deposits on leaves and pebbles. Now I use distilled water or collected rainwater. The salts in tap water accumulate and damage root tips.
Another mistake was neglecting pebble cleaning. Algae grows on pebbles after two months. I soak them in a bleach solution (1 part bleach to 9 parts water) monthly. Rinse thoroughly before reassembling the tray.
When Humidity Trays Fail
Sometimes even perfect setup fails. I had one hibiscus cutting that refused to root. I tried a different approach: the bag method. I placed the pot in a clear plastic bag and inflated it slightly. This works faster but requires daily air exchange.
For woody hibiscus stems, I scrape the bark slightly at the base. This wounding encourages root formation. I combined this with the humidity tray and got roots in 8 days.
Adapting for Different Hibiscus Types
Hardy hibiscus (Hibiscus moscheutos) need higher light than tropical types. I place their humidity tray under grow lights for 16 hours daily. The light also warms the soil. Tropical hibiscus (Hibiscus rosa-sinensis) tolerate lower light but need more humidity. I mist leaves twice daily in my dry home.
Chinese hibiscus cuttings root best with bottom heat. I use a propagation mat set to 75°F combined with the humidity tray. The combination increased my success rate from 30% to 90%.
Seasonal Adjustments I Made
Summer in my dry climate means 100°F days and 20% humidity. I move the humidity tray indoors near an air conditioner. The cool air prevents overheating. I also increase water in the tray twice weekly as evaporation speeds up.
Winter brings dry furnace air. I place the tray on a radiator top with a towel underneath for insulation. The rising heat creates convection that boosts humidity. My hygrometer shows 50% increase over room conditions.
Tools That Saved My Cuttings
A digital hygrometer costs $10 and prevents guesswork. I also use a spray bottle with fine mist setting. Coarse droplets soak leaves and cause rot. My favorite tool is a clear plastic storage bin flipped upside down over the tray. It holds humidity better than domes.
I invested in a heat mat after losing expensive cuttings. The mat costs $20 and pays for itself in saved plants. Combine with the humidity tray for tropical hibiscus propagation.
FAQ: Your Questions Answered
How often should I change water in the humidity tray?
I change water every 5-7 days to prevent bacterial growth. Stagnant water breeds gnats and fungi. If you see mosquito larvae, change immediately and scrub the tray. Use clean water each time.
Can I use humidity trays for other plants?
Yes, I use mine for orchids, ferns, and succulents. But adjust based on plant needs. Succulents need drier conditions, so I skip the dome. For ferns, I keep the dome on longer. The tray method works universally in dry climates.
What if my cutting leaves turn yellow?
Yellow leaves often mean overwatering or insufficient light. Check the soil moisture first. If wet, skip watering for a week. If dry, move to brighter location. Also ensure the cutting has at least one node above soil for photosynthesis.
Final Thoughts on Dry Climate Propagation
I wasted two years and countless cuttings before embracing humidity trays. The hack transformed my propagating success rate. Now I propagate hibiscus year-round, even during my arid summer months. The key lies in consistent humidity without wet soil. I check my trays daily and adjust as needed.
The biggest lesson I learned: dry climates demand creative solutions. My humidity tray hacks are not expensive but require attention. The reward of rooted hibiscus cuttings makes every effort worthwhile. Every new plant from cuttings saves money and preserves my favorite varieties.
I still kill an occasional cutting. That is normal. But now I kill 1 out of 10 instead of 9 out of 10. The humidity tray is not a guarantee but a powerful tool. Combine it with proper light, temperature, and watering, and you will propagate hibiscus successfully in the driest environments.
Start with one tray and three cuttings. Observe, adjust, and learn. Your dry climate does not have to mean dead cuttings. The humidity tray gives you control over nature's limitations. I wish someone had shown me this trick sooner.





