 bluename
How to Treat Hibiscus Botrytis Blight: Reduce Humidity Fast
There’s nothing more disheartening than watching your prized hibiscus, once covered in vibrant blooms, suddenly develop ugly, mushy brown spots on its flowers and buds. The leaves might get dark, water-soaked lesions, and soon, a telltale gray, fuzzy mold appears. If you’re seeing this, you’re likely dealing with Hibiscus Botrytis Blight, a fast-moving fungal nightmare. I know the panic. I’ve been there. After losing several stunning blooms to this blight, I realized the common advice of “just spray a fungicide” wasn’t the full solution. The real enemy, I discovered through frustrating trial and error, is persistent, high humidity. This is my firsthand account of how I tackled Hibiscus Botrytis Blight not just with treatments, but by focusing on the crucial step everyone mentions but few detail: how to reduce humidity fast around your plants. I documented this process over two intense weeks, and here’s exactly what worked, what failed, and how you can save your hibiscus.
Understanding the Enemy: What is Botrytis Blight?
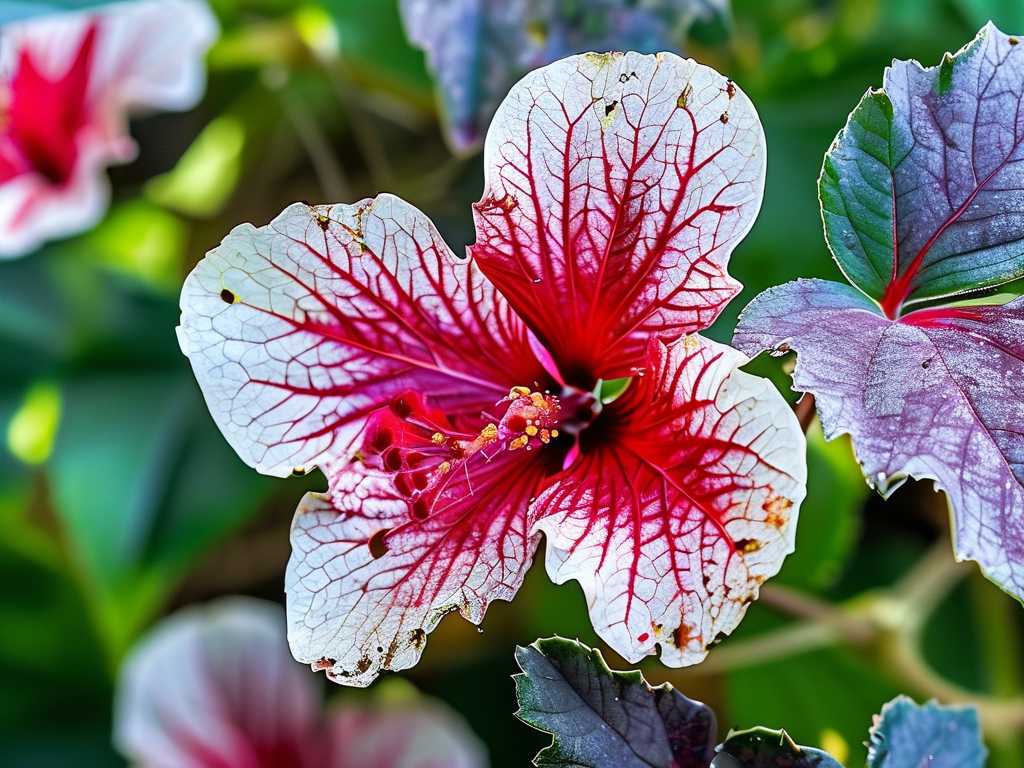
Before you can fight it, you need to know what you’re up against. Botrytis cinerea, often called gray mold, is a ubiquitous fungal pathogen. It thrives in cool, damp, and humid conditions, typically between 60-75°F (15-24°C). It doesn’t attack healthy tissue outright; it waits for an opportunity. A spent flower petal, a tiny insect wound, or even natural aging tissue can be its entry point. From there, it spreads rapidly, producing masses of spores that look like gray dust. These spores travel on air currents, water splash, and even your hands, quickly infecting other parts of the plant or neighboring plants.
The American Hibiscus Society (AHS) explicitly notes that “Botrytis is often a problem in spring and fall when rains are frequent and nights are cool.” My experience confirmed this. My outbreak began after a period of rainy, overcast weather when I had mistakenly moved my potted hibiscus too close together for a “display.” I had created a perfect, stagnant microclimate for the fungus.
My Two-Week Action Plan to Combat Botrytis and Slash Humidity
I decided on a multi-pronged approach: immediate damage control followed by long-term environmental change. The goal wasn’t just to treat the current infection but to make the environment so inhospitable that it couldn’t return.
Week 1: The Emergency Triage
The first week was all about stopping the spread and starting environmental shifts.
Step 1: Immediate Isolation and Surgical Removal The moment I confirmed Botrytis (the gray fuzz is a dead giveaway), I isolated the affected plant. This is non-negotiable. I moved it to a separate, airy area on my patio. Wearing disposable gloves, I then removed all infected material. This isn’t a gentle pruning. You must cut back well into healthy, green tissue—at least an inch below the visible damage. I placed every single diseased bloom, bud, and leaf directly into a sealed plastic bag, not the compost bin. The Royal Horticultural Society (RHS) advises destroying infected plant debris, as the fungus can survive in compost. My mistake earlier was being too timid with pruning, leaving behind infected tissue that caused a resurgence days later.
Step 2: The Critical Humidity Reduction Tactics This was the core of my battle. Spraying a fungicide on a plant sitting in a humid swamp is futile. Here’s how I tackled reducing humidity fast:
- Strategic Fan Placement: I already had a small oscillating fan in my greenhouse area, but I was using it wrong. I had it pointed above the plants. I repositioned it to create a gentle, horizontal airflow through the plant canopy, not over it. This promoted evaporation of moisture from leaf surfaces. I ran it for at least 12 hours a day, ensuring nights weren’t still and damp.
- Radical Plant Spacing: I had been guilty of “crowdscaping.” I ruthlessly spaced out my hibiscus pots so their leaves were not touching. This dramatically improved air circulation around each plant, breaking up that disease-friendly microclimate.
- Watering Discipline Overhaul: I switched from evening watering, which leaves foliage wet overnight, to early morning watering. This gave the sun a full day to dry the soil surface and any splashed leaves. I also began watering directly at the soil line using a long-spout watering can, avoiding the leaves entirely.
- Dehumidifier Deployment: For my one prized, large hibiscus I was overwintering in a sunroom, I brought in a small dehumidifier. Within 24 hours, the constant clammy feeling in the room was gone. This is a highly effective, if somewhat investment-heavy, solution for indoor or enclosed spaces.
Step 3: Applying a Targeted Fungicide With the environment improving, I applied a fungicide. I chose a copper-based fungicide, as it has both protective and slight eradicant properties. I thoroughly coated all surfaces of the plant—stem, and both sides of the leaves—until runoff, following the label’s instructions precisely. I applied this at the end of my first triage day, after pruning and when the fan had dried the plant.
The First Week’s Observations and a Major Pitfall
By Day 3, the visible spread of the gray mold had halted. The remaining foliage looked stable. However, on Day 5, I noticed a few new small spots on a lower leaf. I had missed it during my initial pruning because it was on the underside of the leaf. Pitfall #1: Incomplete Inspection. I had been so focused on the obvious flower blight that I failed to meticulously check every single leaf, especially underneath. I immediately removed that leaf and did a second, painstaking inspection of the entire plant.
Week 2: Consolidation and Environmental Mastery
The second week focused on reinforcing good practices and monitoring.
Step 4: Maintaining the Dry Environment The fan became a permanent fixture. Morning watering was now a strict rule. I also added a thin layer of fresh, dry mulch to the soil surface of my potted plants to slow evaporation from the soil into the air around the foliage.
Step 5: Second Fungicide Application and Health Boost As per the product schedule, I applied a second, lighter fungicide spray 7 days after the first. Concurrently, I applied a balanced, water-soluble fertilizer at half-strength. A healthy plant resists disease better, but it’s vital not to over-fertilize with nitrogen, which promotes soft, succulent growth that’s more susceptible to fungus.
Step 6: Daily Monitoring and Record-Keeping I spent 5 minutes each morning checking the treated plant and its neighbors. I looked for any new spots, monitored soil moisture with my finger, and felt the air for stillness.
The Two-Week Verdict: A Clear Victory
At the end of 14 days, the results were undeniable. The treated hibiscus had no new signs of Botrytis. The existing pruned areas had calloused over cleanly. Most importantly, the plant pushed out two new, healthy flower buds that opened without a hint of spotting. The overall environment felt fresher and less prone to disease. The combination of aggressive sanitation, relentless focus on lowering humidity through airflow and watering changes, and targeted fungicide use had worked.
Preventing Future Outbreaks: A New Gardening Habit
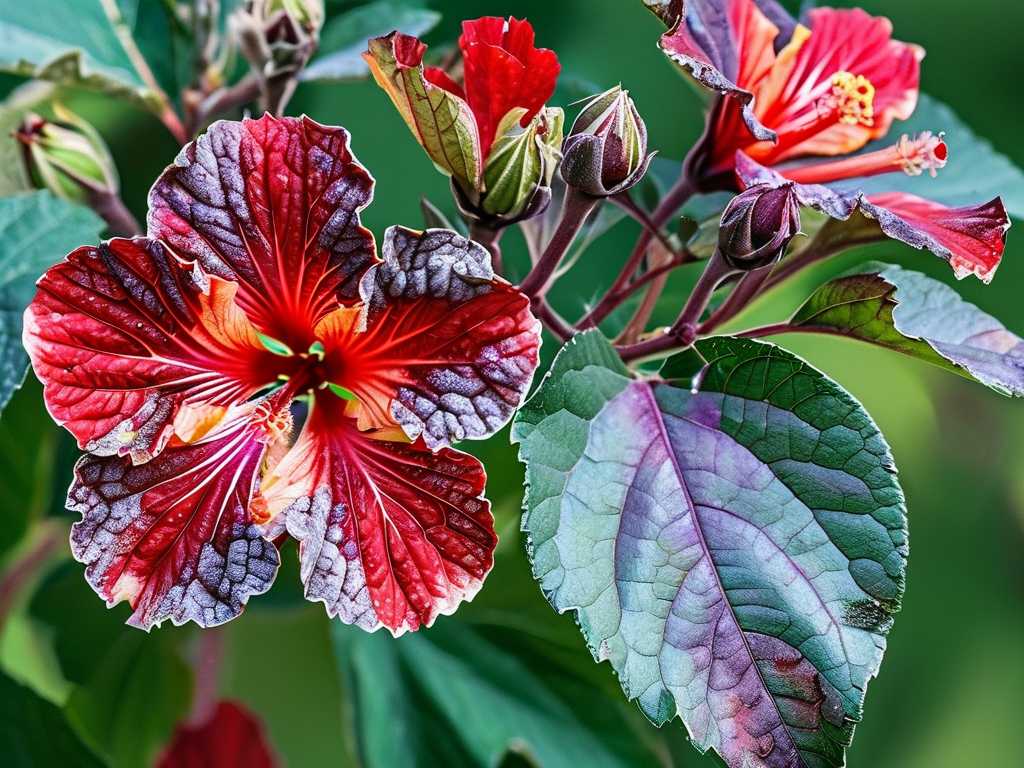
Treating Botrytis Blight on hibiscus successfully taught me that prevention is entirely environmental.
- Airflow is Non-Negotiable: Plants need breathing room, always.
- Water Wisely: Always water in the morning, at the base.
- Sanitation is Key: Regularly remove spent flowers and yellowing leaves. Keep the growing area free of debris.
- Monitor Microclimates: Be extra vigilant during cool, damp weather spells.
Frequently Asked Questions
Can I use home remedies like baking soda for Botrytis? I experimented with a baking soda spray (1 teaspoon per quart of water with a drop of soap) early on in a previous, minor outbreak. While it can alter surface pH and mildly inhibit fungal growth, I found it largely ineffective against an active Botrytis infection. For a severe case, a registered fungicide is more reliable. The AHS also suggests proper sanitation and air circulation as primary controls, implying home remedies may be best for very early stages or prevention.
Will increasing sunlight help reduce humidity? Yes, absolutely. Sunlight warms the air and plant surfaces, increasing evaporation and reducing relative humidity. If possible, ensure your hibiscus gets plenty of morning sun to dry dew quickly. However, avoid simply moving a stressed plant into brutal afternoon sun, as this can cause further shock.
My hibiscus is indoors. What’s the fastest way to reduce humidity around it? The fastest method is to use a dehumidifier in the room. Immediately improve air circulation with a small fan. Ensure the plant is not overwatered and is in a pot with excellent drainage. Avoid placing it in naturally humid rooms like bathrooms or near kitchen sinks.
Seeing your hibiscus recover its vitality is incredibly rewarding. Botrytis blight is a formidable opponent, but it’s one you can defeat. Remember, fungicides are a tool, but the true victory comes from mastering the environment. By taking decisive action to reduce humidity fast and break the disease cycle, you don’t just save a plant—you become a more proactive and successful gardener.





