 bluename
Control Nematodes on Hibiscus: My Journey with Organic Nematicide Options
There’s a special kind of heartbreak for a plant lover that comes from watching a beloved hibiscus decline for no apparent reason. The leaves yellow between the veins, growth stunts, and blooms become scarce, no matter how perfectly you water or fertilize. I’ve been there, staring at my once-vibrant ‘Lord Baltimore’ with a sinking feeling. After ruling out the usual suspects, a soil test and some root inspection confirmed my quiet dread: root-knot nematodes. These microscopic worms were silently strangling the life out of my garden’s stars. Determined to save my plants without resorting to harsh chemicals, I embarked on a mission to find and test effective organic nematicide options. This is my hands-on account of what worked, what didn’t, and how I reclaimed my hibiscus bed over a dedicated two-week observation period.
Understanding the Enemy: Why Nematodes Target Hibiscus
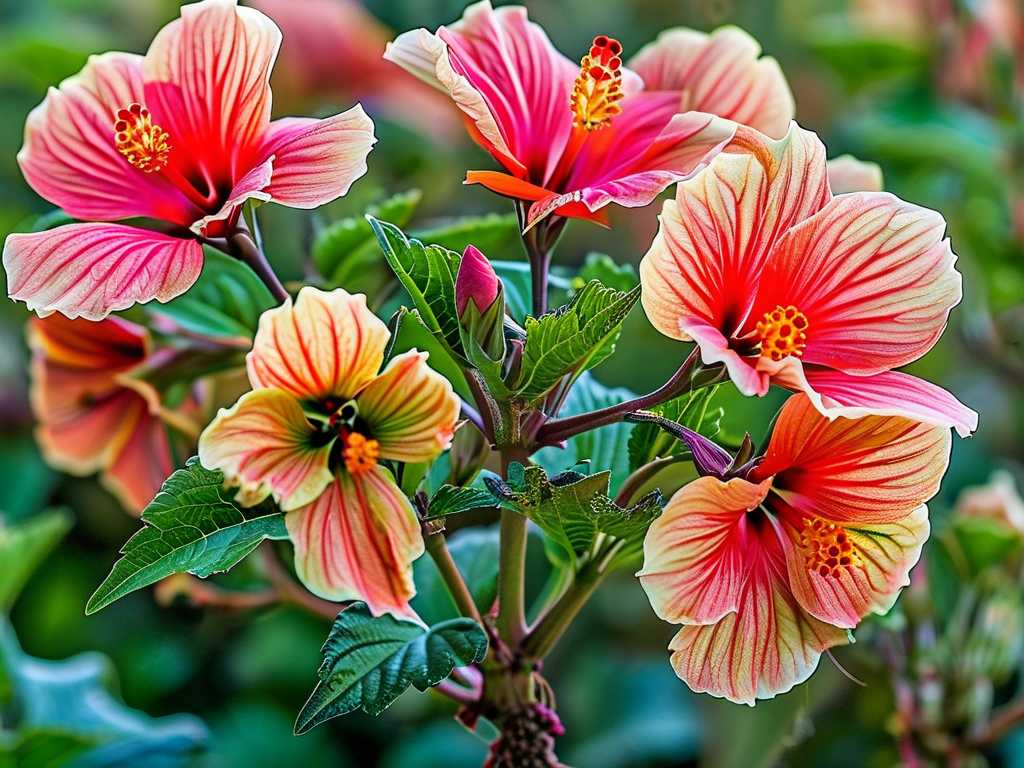
Before diving into solutions, it’s crucial to know what we’re fighting. Root-knot nematodes are parasitic roundworms that invade plant roots, forming characteristic galls or knots. These galls disrupt the plant’s ability to uptake water and nutrients. Hibiscus, with their robust and fleshy root systems, are particularly appetizing targets. The damage is often mistaken for nutrient deficiency or water stress, leading gardeners like myself to inadvertently worsen the problem with more fertilizer or water.
The goal of organic control of nematodes in hibiscus isn’t necessarily complete eradication—that’s nearly impossible in soil. Instead, it’s about suppression, managing the population below a damaging threshold, and strengthening the plant’s own defenses. As highlighted by resources from the American Horticultural Society (AHS), a holistic approach is key in organic management, focusing on soil health as much as direct antagonism.
My Two-Week Organic Nematicide Trial: Strategy and Application
I decided to test a multi-pronged, organic strategy on a group of three affected perennial hibiscus plants, keeping one severely infected plant as an untreated control for comparison. The core of my approach combined two primary safe nematicides for flowering plants: a botanical extract and a biological agent.
Week 1: Initial Assault and Soil Preparation
My first step was a careful root wash and prune. I gently excavated the soil around the base of each test plant, exposed the roots, and pruned away the most heavily galled sections. This is a stressful process for the plant, but it immediately reduces the nematode load. I then prepared the planting area for the new treatments.
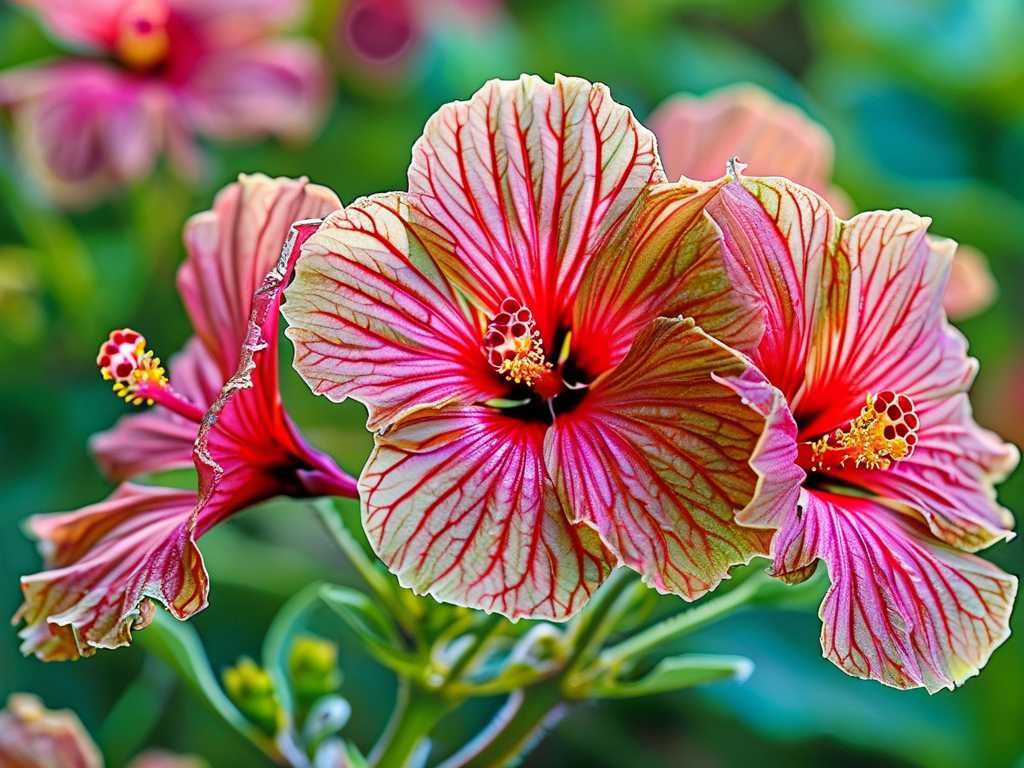
For the first organic treatment, I used a commercially available neem-based nematicide. Neem contains azadirachtin, a compound that disrupts the life cycle of nematodes. According to principles often cited by experts in sustainable agriculture, including those aligned with RHS (Royal Horticultural Society) guidelines, neem works as an antifeedant and growth regulator.
- My Mix: I prepared a soil drench as per the label, using 4 tablespoons of clarified hydrophobic neem oil per gallon of water, with a few drops of natural soap as an emulsifier.
- Application: I slowly poured 2 gallons of this drench around the root zone of each treated hibiscus, ensuring thorough saturation. The area was then covered with a light layer of compost.
The second pillar of my plan was introducing beneficial biology. A week after the neem application (to avoid any potential interaction), I applied a biological nematode control product containing the bacterium Bacillus amyloliquefaciens strain PTA-4838. This strain is known to parasitize nematode eggs and juveniles.
- My Mix: I dissolved the powdered product in dechlorinated water as instructed.
- Application: I applied it as a soil soak, creating an environment hostile to the pests but safe for earthworms and other soil life.
The Critical Observation Period: What I Saw
Days 1-4: After the initial neem drench, I noticed a slight wilting on one plant—a sign of transplant-like stress from the root pruning and soil disturbance. I ensured consistent, deep but not soggy, watering to help it recover. No further negative effects were observed.
Days 5-8: The mild wilt subsided. While no dramatic above-ground change was expected yet, the growth stagnation seemed to halt. The untreated control plant continued to show progressive yellowing.
Days 9-14: This was where subtle signs of improvement emerged. On the treated plants, the newest set of leaves showed a richer green color compared to the older, chlorotic leaves. There was no evidence of new gall formation on the fine feeder roots I cautiously inspected at the edge of the root ball. Most encouragingly, one plant pushed out a small, albeit imperfect, flower bud—a sign it was redirecting energy from defense back to growth. The control plant, in stark contrast, looked visibly weaker.
Pitfalls I Encountered and How I Solved Them
My journey wasn’t without hiccups. The first was over-pruning the roots in my initial zeal. I removed too much of the root mass from one plant, exacerbating its stress. The fix was to trim back an equivalent amount of top growth (about 30%) to reduce water demand and help the plant balance.
The second pitfall was inconsistent soil moisture after treatment. Organic nematicides, especially biological ones, require a moist (not wet) soil environment to be active. I let the soil dry out too much between waterings mid-week. I corrected this by applying a thicker mulch layer of straw to conserve moisture and setting a more regular watering reminder.
Finally, I learned that patience is non-negotiable. Organic methods don’t work like a chemical fumigant. I didn’t see “overnight results.” Improvement is measured in small signs of recovery over weeks and months, not days.
Building a Nematode-Resistant Hibiscus Garden Long-Term
The two-week trial was just the beginning. Managing nematodes organically is a long-term commitment to soil stewardship. Based on RHS recommendations for soil health, I’ve integrated these practices:
- Regular Compost Teas: Brewing and applying compost tea every 4-6 weeks to introduce diverse, beneficial microbes.
- Marigold Companion Planting: I’m interplanting French marigolds (Tagetes patula), whose roots exude compounds toxic to nematodes, as a living barrier.
- Boosting Soil Organic Matter: Annually amending with well-composted leaf mold and manure to feed soil life that outcompetes pests.
Frequently Asked Questions
Can I use food-grade diatomaceous earth as a soil drench for nematodes? While diatomaceous earth is excellent for crawling insects, its mechanism requires physical abrasion. When mixed into soil, it becomes damp and loses its sharp-edge effectiveness against microscopic nematodes. It is not considered a reliable standalone organic nematicide option for soil-borne nematodes.
How often should I reapply biological nematicides? The bacteria and fungi in these products are living organisms. Their population will fluctuate. For sustained suppression, most product labels and horticultural advisors suggest reapplying every 4-6 weeks during the active growing season, especially after heavy rain that can leach them from the root zone.
Will organic methods completely eliminate nematodes from my garden? Realistically, no. And that’s okay. The objective is not sterile soil but a balanced ecosystem. By consistently using organic control of nematodes in hibiscus, you suppress the pest population to a level where your plants, strengthened by healthy soil, can thrive despite their presence. Vigilance through crop rotation and soil amendments becomes your ongoing strategy.
Seeing my hibiscus slowly regain its vigor has been immensely rewarding. It confirmed that while the organic path requires more observation, more patience, and a commitment to the whole soil ecosystem, it is profoundly effective. It’s not a single product but a process—a shift from targeting a pest to nurturing an environment where your plants are resilient enough to withstand the challenge. Start with a soil test, choose your safe nematicides for flowering plants wisely, be meticulous in application, and give nature the time it needs to work. Your hibiscus will thank you with seasons of stunning, healthy blooms.





