 bluename
How to Treat Hibiscus Suffering Die-Back Alongside Heavy Sooty Mold Leaf Coverage
If your hibiscus looks like a charred twig collection with leaves coated in black grime, here is the direct answer: the sooty mold is a symptom of a sap-sucking pest infestation (usually aphids or scale), and the die-back is likely a secondary fungal infection or root rot from waterlogged soil. Stop watering immediately, prune all dead wood back to green tissue, and treat the pests with neem oil—not the mold itself.
I know this because I nearly lost my prized double-pink hibiscus to exactly this nightmare last summer. It took me two full weeks of daily attention, several failed quick fixes, and a lot of patience to bring it back from the brink. Let me walk you through exactly what I did, what almost killed it faster, and how you can save yours.
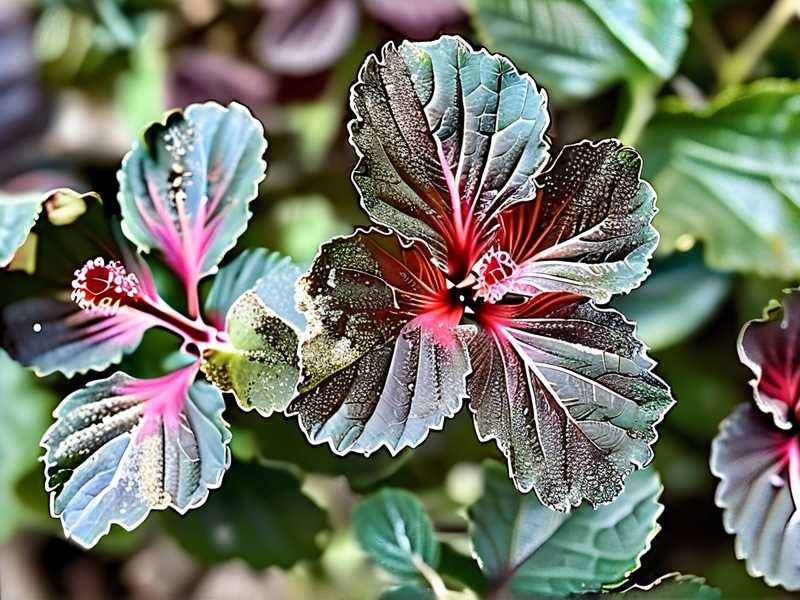
The Ugly Truth About Sooty Mold and Die-Back
Sooty mold looks like a black, powdery film covering the leaves. It’s not a plant disease that attacks tissue. It feeds on honeydew, which is the sticky, sugary waste excreted by pests like aphids, whiteflies, or scale insects. If you see the black coating, you have a pest problem on your hands, guaranteed.
Die-back is different. That’s when the tips of branches turn brown, shrivel, and eventually the whole stem dies back towards the main trunk. This often happens because the plant is under stress from the pest invasion, but more commonly, it’s because the roots are drowning. In my case, it was a lethal combo: I had overwatered my hibiscus during a hot week, which weakened the roots, and then a sudden aphid explosion coated everything in honeydew.
Within days, the black mold appeared, and the weakest stems started to collapse.
The 3 Deadly Mistakes I Made (And You Should Avoid)
Before I give you my recovery plan, I have to warn you about the three traps that almost killed my plant completely. I’ve killed more houseplants than I care to admit, and these are the big ones.
Mistake #1: Overwatering
90% of indoor plants die from overwatering. I used to think I was being kind by watering every single day in summer. With hibiscus, that is a death sentence. The roots suffocate, and then the plant physically cannot pull water up to the leaves. The die-back isn’t from lack of water; it’s from too much. The roots rot, and the canopy dies from drought because the plumbing is broken. I learned this the hard way when my soil turned into a stinking swamp.
Mistake #2: Wrong Light Placement
Hibiscus are sun-worshippers. They need full, direct sun for at least six hours a day. I kept my potted hibiscus in a corner that got bright morning light but deep afternoon shade. It survived, but it never thrived. When the pests hit, the plant had zero energy reserves to fight back. The die-back accelerated because the plant was already starved of light. If you have it indoors, find a south-facing window immediately.
Mistake #3: Using the Wrong Pot
This one hurts. My hibiscus was in a beautiful, glazed ceramic pot with no drainage holes. I thought the layer of gravel at the bottom would fix it. It did not. Water pooled at the bottom, and the roots sat in stagnant water for weeks. I replanted my dying hibiscus into a basic plastic nursery pot with holes only after I had already lost two-thirds of the branches. The recovery only started after that change.
My 14-Day Step-by-Step Recovery Plan
Here is the exact sequence I followed, day by day, for two weeks. I am not a botanist, just a guy who has ruined enough plants to finally do some reading. My little hibiscus went from a sad black stick to pushing out fresh green leaves by day ten.
Day 1: The Emergency Stop and Assessment
Stop watering. Full stop. You are not helping; you are drowning it. I took a chopstick and pushed it deep into the soil. It came out dripping wet and smelling sour. That was the smell of root rot.
I then moved the plant out of the shaded corner and onto my patio where it got direct morning sun until noon. I did not repot yet. I knew I had to stop the bleeding first.
Day 2: The Aggressive Prune
Grab the sharpest pruners you own. Sterilize the blades with rubbing alcohol. You have to be brutal. I started snipping back all the brown, dead stems. I kept cutting down the stem until I saw green inside the pith. If the cross-section was brown or black, I cut lower. I literally reduced my three-foot-tall hibiscus to a twelve-inch stub with two green twigs left. It felt terrible. But leaving dead wood is a magnet for fungal spores that travel down into healthy tissue. Pruning is non-negotiable.
Day 3: Pest Control—The Real Battle
With the junk cut away, I could finally see the enemy. There were aphids clustered on the new buds and soft brown scale on the stems. The sooty mold was just the battlefield. I mixed a solution of one tablespoon of pure neem oil, a few drops of dish soap, and a quart of warm water in a spray bottle. I sprayed the entire plant, top and bottom of every remaining leaf, soaking the stems.
Do not spray in the hot midday sun, you will fry the leaves. I did it at dusk. That night, the mold stayed, but the pests started dying.
Day 4: Cleaning the Muck
The black mold blocks sunlight, which the plant desperately needs to photosynthesize. The pests are dead, but the mold is still there. For the few healthy leaves that remained, I took a soft microfiber cloth and dipped it in a bucket of lukewarm water mixed with a drop of mild dish soap. I wiped each leaf gently. It came off like dirty soot. It took twenty minutes, but it was worth it. For the main stem, I used an old toothbrush.
Day 5: The Repotting Rebuke
This was the scariest part. I slid the hibiscus out of that fancy glazed pot. The roots were a brown, mushy mess. I used cleaned scissors to snip away all the rotten, slimy roots. What remained was a tiny, white, healthy core. I rinsed the root ball under tepid water to wash away the old, sour soil. Then I put it in a rugged plastic container with huge drainage holes. I used fresh, fast-draining potting mix, mixed with a handful of perlite and a bit of compost.
Day 6-8: The Waiting Game
I did not water. I left it alone. I checked the soil moisture using the chopstick method daily. The soil was slightly damp but not wet. I kept it in bright, indirect light during these days to let the damaged roots settle. I didn't fertilize either. Feeding a sick plant forces it to try to take up nutrients with roots that can't handle it, which leads to more burn.
Day 9: First Sign of Life
I nearly cried when I saw a tiny, bright green nub emerging near the base of the main stem. That was the signal. The roots were healing. That green nub meant sap was flowing again. The plant was not dead.
Day 10: The First Gentle Watering
Now, and only now, did I water. I used a watering can with a narrow spout and poured slowly around the edge of the pot, not directly at the base of the stem. I added a very diluted liquid seaweed solution (about half the recommended strength) to the water to encourage root growth. The ratio was maybe 5 ml per gallon.
Day 11-13: Mister and Observe
The air was dry, so I misted the bare branches lightly in the morning. This helps maintain humidity around the fresh buds. I rotated the pot a quarter turn each morning so the new shoots would grow straight. The sooty mold didn't reappear because there were no pests left to produce honeydew.
Day 14: New Leaves and Rebuilding Stature
By the end of the second week, I had a dozen small but healthy green leaves sprouting. The new growth was clean, glossy, and pest-free. The die-back had completely stopped. I moved it back into a spot with full, direct morning sun and a few hours of afternoon sun, protected from the harshest heat.
That first new leaf looked like pure magic. It was proof that patience and a strict routine beat panic-buying chemical sprays any day.
Why the Mold Returns (And How to Stop It)
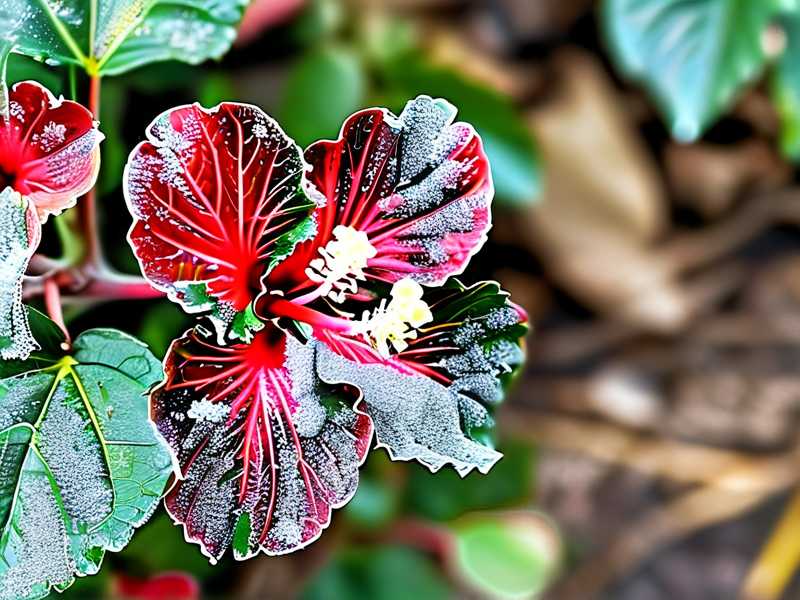
The biggest frustration is watching that black soot come back within days. The mistake is treating the mold, not the pest. People spray fungicide on the black leaves, but the mold is not a fungus attacking the leaf; it lives on the surface. If you see black fuzz again, grab a magnifying glass. I bet you will find a new aphid or scale insect hiding on the underside of a leaf. The treatment is always the same: kill the bug, wash the mold away, repeat.
The Easy Long-Term Care Cheat Sheet
After the rescue mission, you cannot go back to your lazy habits. Hibiscus are heavy feeders and sun lovers. I top-dress mine with worm castings every spring. I water only when the top two inches of soil are bone dry. In winter, I cut watering down to almost nothing.
A balanced fertilizer with a higher middle number (like a 10-20-10) helps with blooming.
If you live in a cooler climate, bring the plant inside before the first frost. The shock of a sudden temperature drop will cause die-back faster than any bug will.
The Royal Horticultural Society (RHS) provides excellent guidance on dealing with common pests and diseases on tropical plants like these, and I often check their website for updated pest control advice. Similarly, the American Horticultural Society (AHS) posts solid articles on environmental stress and root care. You don't need to memorize everything, just know where to look when things go sideways.
Final Word on Saving a Struggling Hibiscus
This is not a quick fix. It is a process. My plant took a full month to look presentable again, but after the initial two-week emergency period, the rest was just regular maintenance. Do not panic when you see bare branches. A leafless hibiscus is not a dead hibiscus. As long as the stem is still green inside, there is hope.
I have learned to trust the plant’s signals. Droopy leaves mean check the roots. Black leaves mean check for bugs. Brown, brittle branches mean your roots are drowning.
Slow down. Look closer. Your hibiscus will thank you.
Frequently Asked Questions
Can I just cut off all the leaves with sooty mold?
Yes, but only if the plant has other healthy leaves to rely on. If every leaf is covered, wiping them is better than removing them all, because the plant needs photosynthesis to recover. In my case, wiping was the right call because I had already pruned away so much structure.
Is it better to water hibiscus in the morning or evening?
Morning, always. Watering in the evening leaves moisture on the soil surface overnight, which attracts fungus gnats and encourages root rot. Morning watering gives the plant time to absorb hydration before the heat of the day and allows the top layer to dry out.
How do I know if the die-back is caused by fungus or overwatering?
Check the base of the stem. If it is soft, dark, and mushy, it is rot from overwatering. If the base is hard but the tips are brown and crispy, it is a vascular issue, often fungal. But in practice, they go hand in hand. Treat the roots first, and the fungus often dies out because it cannot spread in dry, healthy soil.





