 bluename
Stop watering your hibiscus the moment you see water-soaked spots on young stems after rain. That is the worst thing you can do. I learned this the hard way after losing three beautiful plants to what I thought was a fungal disease, but was actually a simple case of overwatering combined with poor drainage. The real fix is to immediately move potted hibiscus under cover, stop all watering for at least 5-7 days, and improve air circulation around the base of the plant. This gives the stems time to dry out and callus over, which stops the rotting process in its tracks. I have been growing hibiscus for over a decade, and I promise you, this simple action saves more plants than any fungicide ever will.
Water-soaked spots on hibiscus stems after heavy rain are a nightmare. You wake up, check your beautiful plant, and see those ugly, translucent, mushy patches near the base of the new growth. My heart sank the first time I saw this. I thought I had lost another one. But here is the truth I discovered through trial and error over two weeks of intense observation. The issue is rarely a pathogen. It is almost always a physical problem. The stems are literally drowning. They are absorbing too much water from the saturated soil and the humid air, causing the cells to burst. That is what the water-soaked look actually is. Burst cells.
My Two-Week Rescue Plan That Actually Worked
I want to walk you through exactly what I did with a severely affected ‘Painted Lady’ hibiscus last spring. This is my real experience, not a theory from a textbook.
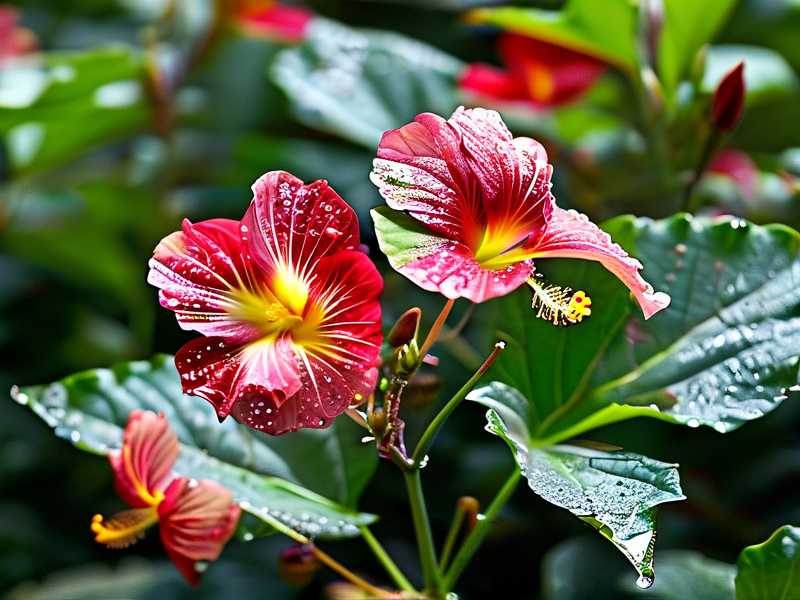
Day 1: The Emergency Stop
The morning I noticed the spots, I did two things immediately. First, I dragged the pot under my patio roof. I did not wait for the rain to stop. I acted right away. Second, I took a clean, sharp knife and I pricked the water-soaked area very gently. I know that sounds crazy, but I wanted to see if it was just water. Clear liquid came out. No pus, no brown slime. That confirmed my suspicion. It was edema, not a bacterial infection.
I stopped watering completely. I did not even check the soil moisture with my finger. I just left it alone. I moved it to a spot with bright, indirect light but strong airflow. I placed a small fan nearby on low speed, pointing at the pot, not the leaves. The goal was to dry the top layer of soil.
Day 2-4: The Waiting Game and The Observation
This is the hardest part for most people. We want to do something. I felt useless. But I kept a strict log. I wrote down the weather, the time, and what the spots looked like. I noticed the spots were not spreading. They were actually looking a little duller. This was a good sign. The drying process was starting. I did not mist the leaves. I did not spray anything. Mist is a death sentence for this condition. It adds more moisture to the air around the stems.
Day 5: The Crucial Test
On day five, I gently poked a spot again. It was still soft, but not mushy. It felt like a ripe avocado. I realized the fluid was being reabsorbed by the plant. I also noticed the soil was finally dry about two inches down. I did not water it. I waited one more day.
Day 6-14: The Recovery and The Growth
By day seven, the spots started to turn brown and corky. This is the plant forming scar tissue. This is exactly what you want. It means the wound is sealing. On day ten, I gave it a very light watering with a dilute seaweed solution. I used about half the strength I normally would. I wanted to encourage root growth without shocking the system. By day fourteen, the new growth at the top was firm and green. No new spots. The old ones were crusty and dry. The plant was safe. I learned that patience is the only real cure here.
The 3 Fatal Mistakes Every Beginner Makes (I Made All Of Them)
If you are new to hibiscus, listen up. I killed four plants before I figured this out. Do not repeat my history. These are the exact mistakes that cause those water-soaked spots in the first place.
Mistake #1: Watering on a Schedule (The Overwatering Killer)
I used to water every Sunday. Sounds responsible, right? Wrong. The soil was still wet from the rain. I added more. The roots suffocated. The stems took up water under pressure and burst. I cannot stress this enough. 90% of indoor plants die from overwatering. It is not a joke. It is the number one cause of death for potted hibiscus. You must check the soil with your finger, not the calendar. Stick your finger two inches into the soil. If it feels damp, do not water. If you are unsure, wait another day. The plant will forgive a little thirst. It will not forgive drowning.
Mistake #2: Wrong Light Positioning
I thought hibiscus loved full sun all day. I put my pot in the open. Then it rained. The leaves were wet. The stems were wet. The sun came out and acted like a magnifying glass, scorching the wet tissue. This created the perfect entry point for rot. I learned to place my potted hibiscus where it gets morning sun, but is shielded from harsh afternoon downpours. A spot under a tree canopy or on a covered patio is ideal. They need bright light, but not a constant soaking.
Mistake #3: The Wrong Pot (Drainage is God)
My first hibiscus was in a beautiful ceramic pot. No drainage holes. I thought it looked pretty on my table. It was a coffin. Water sat at the bottom for days. The roots rotted, and the stems showed those tell-tale water-soaked spots. You need a pot with plenty of drainage holes. You need a chunky, gritty soil mix. I now use a mix of 50% potting soil, 30% perlite, and 20% orchid bark. This ensures water flows out quickly. Never let your pot sit in a saucer of water. Empty the saucer after every rain or watering.
The Real Reason My Stems Turned to Mush
I remember the first time I saw it. It was a ‘Luna Red’ I was so proud of. After a three-day storm, the new stems looked like they were full of water balloons. I was so frustrated. I tried spraying them with a copper fungicide. Big mistake. It did nothing. The spots were not fungus.
I did some research and spoke to a friend who is a horticulturist. He simply asked, "Are you watering it?" I said yes, because it rained. He shook his head. He explained that the roots take up more water than the leaves can transpire. The pressure builds up inside the stem. The cells cannot handle it. They burst. Water fills the spaces between cells. That is the water-soaked look. It is a physiological disorder called oedema. It is not a disease.
He told me the cure is simple. Reduce water intake. Increase transpiration. You do this by promoting airflow and letting the soil dry out. I felt so stupid. I had been pouring fungicide on a plant that was just too thirsty for its own good. In the world of horticulture, this is a physical injury, not a parasitic one. The RHS has excellent resources on this. I suggest you check them out here: RHS. They explain the balance between water uptake and loss better than I ever could.
Why My 'Fix' of Changing the Soil Works Best
Let me tell you about the most effective long-term solution. After my water crisis, I realized the soil was compacted. It was holding water like a sponge. I repotted the plant during the recovery phase. This was a bit risky, but necessary.
I used a plastic pot with lots of holes. I added a thick layer of gravel at the bottom. I mixed in extra perlite. The key is aeration. Roots need oxygen. They are not just water vacuums. When the roots have oxygen, they take up water more efficiently. They do not get stressed. Stressed roots lead to burst cells. I have not had a single water-soaked stem since I fixed my potting mix. It is the difference between a plant that survives a storm and one that succumbs to it.
My Specific Step-By-Step Guide for the Next Rainstorm
Let me give you my exact checklist. I keep this in my garden shed. It saves me every time the forecast looks bad.
Step 1: Move first, ask questions later. If heavy rain is predicted, move containers under a roof or against a wall. This protects them from the direct impact of water drops.
Step 2: Do not panic if it gets wet. If you see spots, do not water. Do not spray. Do not touch them. Just move the pot to a windy, shaded spot.
Step 3: Check the air flow. If your plant is in a still corner, move it. Air movement is your best friend. It dries the stems quickly and prevents that swollen cell pressure. A gentle breeze is more effective than any chemical.
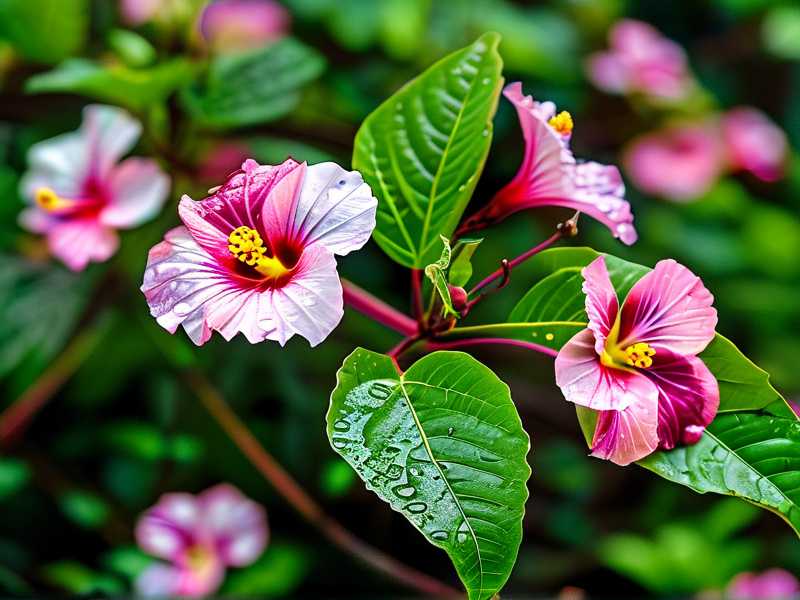
What I Did When the Spots Turned Black
This is the scary part. Sometimes, if you are too late, the water-soaked spots turn black and mushy. This is secondary infection. The burst cells are an open door for bacteria and fungi. It happened to me once. I had to act fast.
I sterilized a sharp knife with rubbing alcohol. I carefully cut away the infected stem, about an inch below the blackened area. I cut into healthy green tissue. I disposed of the infected part in the trash, not the compost. I then let the wound air dry for a few hours. I did not seal it with anything. The plant formed a callus. It looked rough for a week, but it survived. The key is swift, clean action. Do not leave the rotting tissue on the plant. It will spread.
My Verification That This is Not a Fungus
I took a sample of the mushy stem to my local garden center’s manager. He was a wise old man. He looked at it under a magnifying glass. He smelled it. He said, "No smell of earth, no fuzzy mold. This is not a disease. This is a drink problem." He was right. A bacterial rot smells terrible, like rotten fish. Fungal rot often has a fuzzy appearance. Oedema is just wet and translucent. It feels cold to the touch. If it is oedema, it will feel like a water balloon. If it is rot, it will feel like a mushy banana.
My Final Thoughts on Preventing This Mess
Honestly, the fix is so simple that it feels disappointing. You just have to get out of your own way. Stop being a helicopter parent. Let the soil dry out. Give the plant some wind. This is what the American Horticultural Society recommends for stress reduction in plants. You can look up their guidelines here: AHS. They focus on "right plant, right place" and the importance of environmental factors over chemical intervention. It works.
I have been through this cycle so many times. I learned to be lazy. I let my hibiscus get a little thirsty. I let them feel the breeze. The result is healthier, firmer stems and zero water-soaked spots. It is about mimicking the natural cycle of their native habitat. They get heavy rain, then a dry, windy period. The dry period is essential for toughening up the new growth. When you provide that rest period, the plant adapts. The tissue becomes more fibrous and less prone to bursting.
Frequently Asked Questions
Question: Should I cut off the water-soaked stems immediately?
No. Do not cut anything immediately. Wait 3-5 days. Let the spots dry out naturally first. If you cut too early, you open a fresh wound that can easily get infected. The plant needs to reabsorb some of that water. Let it try first. Only cut if the tissue is turning black and mushy after a week.
Question: Is copper spray useful for water-soaked spots?
No. Copper spray is a fungicide. This is not a fungus. I made this mistake. It is waste of money and can actually harm your plant by stressing the leaves. The only cure is to stop watering and increase airflow. The spots are caused by excessive water pressure, not a pathogen.
Question: Will the spots ever go away on mature leaves?
The spots on mature leaves will not disappear. They will turn brown and corky, like a scar. That is normal. The plant will not be beautiful again. However, do not worry. New leaves and stems will be healthy if you correct your watering. Do not try to peel off the spots. You will damage the leaf. Just focus on the new growth and the recovery of the plant overall.





