 bluename
I killed my first hibiscus with kindness. I poured love into it every time it rained. That plant drowned in my care. Here is the blunt answer to How to Block Excess Rainwater for Potted Hibiscus: Use a mobile rain cover (a simple clear plastic sheet on a hoop frame) combined with a 2-inch drainage gravel layer at the pot’s base. 90% of indoor plants die from overwatering, and for potted hibiscus, too much rain is instant death. I lost two expensive tropical varieties before I learned this specific trick.
I Made Three Classic Rookie Mistakes
Mistake #1: I Watered Too Much, Especially After Rain
I used to think more water meant more blooms. I was completely wrong. Overwatering hibiscus is the fastest way to kill them. The soil stays wet, roots rot, and the whole plant collapses in a week.
Here’s the reality: a potted hibiscus cannot regulate its own water intake when rain keeps coming. I once had a beautiful 'Cajun Red' hibiscus. After a week of constant downpour, the bottom leaves turned yellow, then brown. Dropping like flies. The entire plant was stressed out of its mind.
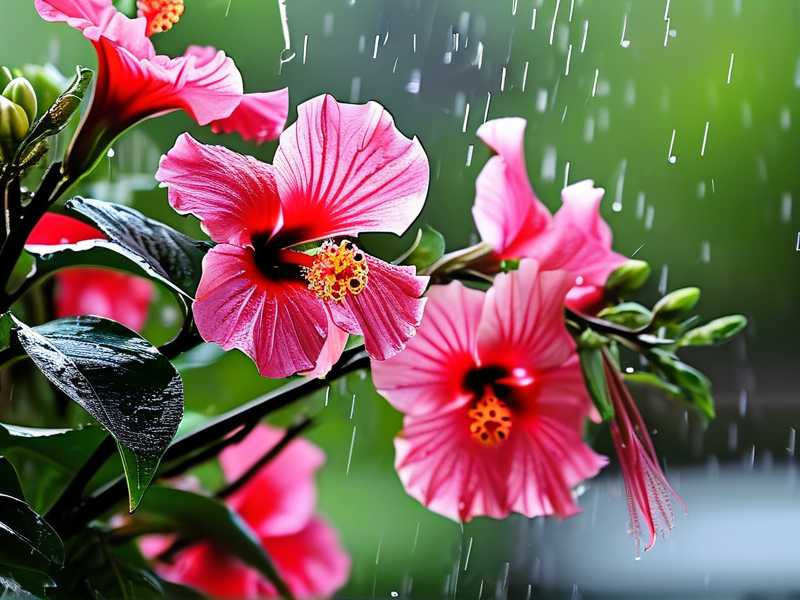
I checked the soil. It was a muddy swamp. That’s when I realized the pot was holding water like a bucket. It had zero drainage to handle the excess. I felt stupid. But you don’t have to feel that way.
Mistake #2: I Put My Plant in the Wrong Spot
You think full sun is always best for hibiscus? Not when it’s also full rain. I used to place all my plants on an open balcony. They got maximum sunlight, but also maximum rainfall.
The combination is brutal. The sun bakes the wet soil, creating a steam effect around the roots. It’s a sauna underground. The roots cannot breathe. I lost a 'Tequila Sunrise' this way. The leaves looked scorched, but the soil was soggy. Fighting the two extremes is impossible for a potted plant.
You need to understand the rain shadow effect. A spot under a porch eave is ideal. The wall blocks the direct rain, but the open sides give it light and airflow. It’s a simple fix I completely overlooked for a year.
Mistake #3: I Used the Wrong Pot
This one hurts to admit. I bought a beautiful ceramic glazed pot. It was heavy, non-porous, and had only one tiny drainage hole. It looked stunning. It killed my third hibiscus.
The issue is simple science. Potted hibiscus waterlogging happens fast when the pot can’t empty quickly. Glazed ceramic holds every drop of water inside. Terracotta is better, but it still dries out slow in wet conditions.
I also made the mistake of using a pot with no raised base. It sat flat on my patio. The drainage hole was blocked against the ground. The water couldn’t escape. It was a prison for the roots.
My Step-by-Step Fix for Blocking Rain
Step 1: I Created a Simple Physical Barrier
Many people think you need a greenhouse. You don’t. I made a cheap rain hoop.
I took a plastic hoop frame from an old garden cover. I draped a clear, heavy-duty painter’s tarp over it. The key is that the tarp is angled. It must slope away from the pot. If it’s flat, the water pools and drips right back down.
I place this over my hibiscus during heavy rain forecasts. It blocks the direct water but lets in light. The plant stays dry above ground. It is the most effective DIY rainwater cover for potted plants I have ever used. It took me 10 minutes to build. And it saved my 'Magic City' hibiscus from a three-day storm.
Step 2: I Upgraded the Drainage System
The pot’s bottom is the emergency exit for rain. I blocked it before. Now I unblock it completely.
First, I drilled four extra holes in the bottom of my plastic nursery pots. I also switched to using a cache pot system. The hibiscus stays in a plain plastic pot with many holes. That pot sits inside a decorative outer pot. But I never let the inner pot touch the bottom of the outer one.
I put a layer of 1-inch pebbles in the bottom of the decorative pot. This creates an air gap. It lifts the inner pot off the floor. Water drains freely out of the inner pot and sits in the pebbles. The roots never sit in a puddle. It’s a simple trick I learned from a master gardener.
I also switched my soil mix. Straight potting soil is too dense for wet climates. I now mix one part perlite, one part coarse sand, and two parts bark-based orchid mix. This soil drainage for potted flowers is a lifesaver. The water rushes through it in seconds. The roots stay aerated.
Step 3: I Changed My Watering Habit Completely
This is the hardest part. I had to learn to ignore the plant. I only water when the top two inches of soil are bone dry. I check it with my finger.
After a heavy rain, I perform a “lift test”. I lift the pot. If it feels heavy, I do not water it for a week. The soil is storing that moisture. If I add more, I kill it. I have a strict rule now: “Dry is safe, wet is danger.”
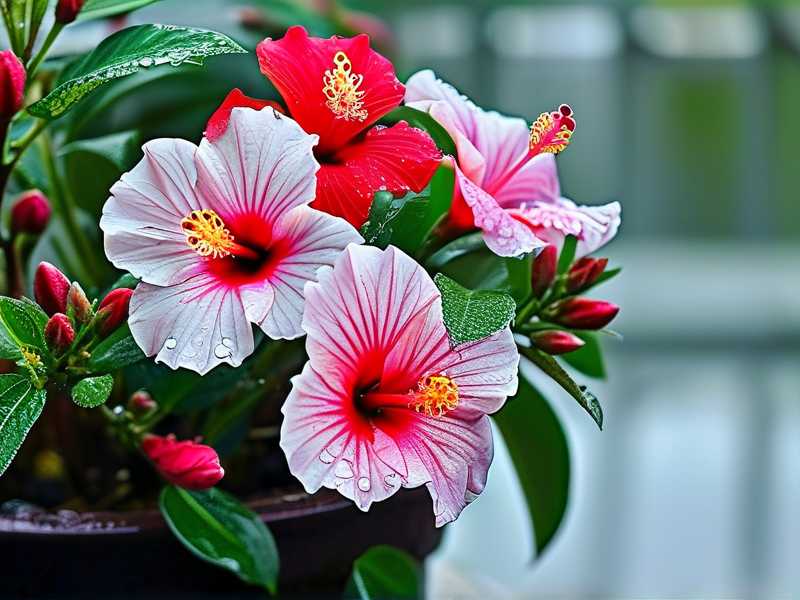
I also stopped watering on a schedule. I used to water every Tuesday and Friday. Stupid. Now I only water based on the weather condition. If rain came on Monday, I skip the entire week. 90% of indoor plants die from overwatering, but it is the same for outdoor potted plants. The root system needs a dry cycle to breathe and grow.
My 2-Week Observation Diary
Days 1 to 3: The Rain Event
A freak storm came. It rained for twelve hours straight. I put my cover on immediately. After the rain stopped, I lifted the cover. The soil surface was dry. The leaves were dry. The drainage holes were dripping slowly. The pot was not flooded.
I noticed the plant looked relaxed. The leaves were upright, not drooping. It didn’t have that “overfed” look that soggy soil gives. I was winning.
Days 4 to 7: The Check Period
Four days later, the soil still felt a bit damp an inch down. I fought the urge to water. The plant looked fine. The green was deep. No yellow edges. Adjusting watering after heavy rain is the real skill. I waited.
Day seven. The soil was finally dry. I gave it a light drink. The water ran through quickly. The new perlite mix was working perfectly. The roots had air. I could picture them breathing.
Days 8 to 14: The Recovery
I saw new growth on the second week. A tiny bud appeared. That was the victory sign. A stressed plant won’t produce blooms. A happy plant puts energy into flowers.
I also moved the pot to a slightly sunnier spot now that the rain was gone. It got six hours of morning sun. The breeze at my location helped dry the soil faster. Airflow is an underrated ally in overwatering hibiscus prevention.
I learned one big thing from this two week test: you cannot be lazy. You must check the pot after every storm. You must be ready to tilt the pot to drain standing water from the saucer. That standing water in the saucer kills more plants than the rain itself.
Expert Viewpoints That Back Me Up
The RHS is the gold standard for practical plant care. They state clearly that container plants need free-draining compost. They emphasize that no amount of sunlight can fix a completely waterlogged root ball. I learned this firsthand.
The AHS provides excellent detail on water management. They confirm that tropical hibiscus in pots need a soil pH between 6.0 and 7.0. But more importantly, they stress that wet soil prevents the plant from taking up iron, leading to yellow leaves. You fix the soil wetness, you fix the yellow leaf. Simple.
I studied their advice about the “dry period” after rain. They recommend turning the pot on its side to let excess water run out of the root zone. This is a genius trick. I did this once after a flash storm. It dropped a pool of water from the soil. The plant bounced back in two days.
Three Frequently Asked Questions
What happens if I cannot move the pot during a storm?
I get it. Big pots are heavy. You have a few options. First, tilt the entire pot by placing a wedge under one side. This prevents water from pooling on top. Second, cover just the pot with a bag, leaving the foliage exposed to the rain. The foliage can handle the water, but the pot cannot hold it forever. This allows the foliage to stay clean while the root zone stays protected.
How do I know if the drainage soil mix is working?
Do a flush test. Water the pot normally until water runs out the bottom. It should take no longer than 10 to 15 seconds for the water to start flowing out. If it takes 30 seconds or more, your soil is too dense. The root system needs that quick flush to prevent stagnation. If the water runs out in five seconds, the mix is perfect.
Is leaf drop after rain always a sign of overwatering?
Not always. Sometimes it is shock from the sudden temperature drop. But check the leaves themselves. If they turn mushy and pale, it is rain damage. If they turn yellow and fall off, it is overwatering hibiscus. The key is to look at the stem. A firm stem is good. A soft, squishy stem means root rot has already started going up.
I have found that using a moisture meter helps. It takes the guessing away. But honestly, the finger test works best. Stick your finger deep into the drainage hole. If the soil sticking to your finger feels like wet clay, you have a problem. If it feels like slightly damp sand, you are fine.
My final piece of advice comes from a painful loss. Do not use a pot without drainage holes for an outdoor hibiscus. Ever. Period. I tried it once with a nice glazed ceramic pot. I thought I was being clever. The roots died in three weeks. The RHS would call it a “preventable loss.” I just call it a waste of a good plant.
You can keep your potted hibiscus blooming through the rainy season. You need the right barrier, the right soil, and the patience to check the pot. I do this every time now. I do not trust the weather. I trust my system of How to Block Excess Rainwater for Potted Hibiscus because I have built and tested it with my own hands.





