 bluename
Let me save you from the same heartbreak I went through. If you want a self-sustaining hibiscus garden bed, stop overwatering right now. Seriously. 90% of indoor plants die from overwatering, and hibiscus is no exception. I killed my first three hibiscus plants before I figured out the secret. The truth is, creating a self-sustaining hibiscus garden bed isn't complicated once you understand the basics. You just need to mimic their natural environment. Let me walk you through exactly how I did it, including the mistakes I made and how I fixed them over two weeks.
The Three Deadly Mistakes Beginners Make
I honestly wish someone had sat me down and told me these before I wasted money and time. Here are the three biggest errors I see all the time.
Mistake #1: Overwatering
I used to water my hibiscus every single day. I thought more water meant happier plants. Boy, was I wrong. The roots started rotting within a week. The leaves turned yellow and dropped off like crazy. I learned the hard way that hibiscus likes moist but well-drained soil. Not soggy. Not dry. Just right. The Royal Horticultural Society recommends checking the top inch of soil before watering. If it's dry, water it. If it's still wet, wait a day.
Mistake #2: Wrong Light Placement
I tried putting my hibiscus in a shady corner of my backyard. Big mistake. It got leggy and stopped blooming. Then I moved it to full sun, and the leaves got scorched. The sweet spot? Morning sun and afternoon shade. That's what works for me. The American Horticultural Society suggests at least six hours of direct sunlight, but in hot climates, afternoon shade is essential.
Mistake #3: Using the Wrong Pot
I bought a cheap plastic pot with no drainage holes. Honestly, what was I thinking? The water pooled at the bottom, and the roots suffocated. After killing my third plant, I switched to terracotta pots with drainage holes. Game changer. The porous material lets the soil breathe and prevents overwatering.
My Step-by-Step Plan for a Self-Sustaining Hibiscus Garden Bed
I started this project two weeks ago. Let me share my exact process, including what worked and what didn't. You'll see the results I got and how you can replicate them.
Week 1: Setting the Foundation
Day one, I chose a spot in my garden that gets morning sun and afternoon shade. I dug a bed about two feet deep and three feet wide. Then I mixed the soil with compost and perlite. I used equal parts garden soil, compost, and perlite. The RHS recommends this ratio for proper drainage.
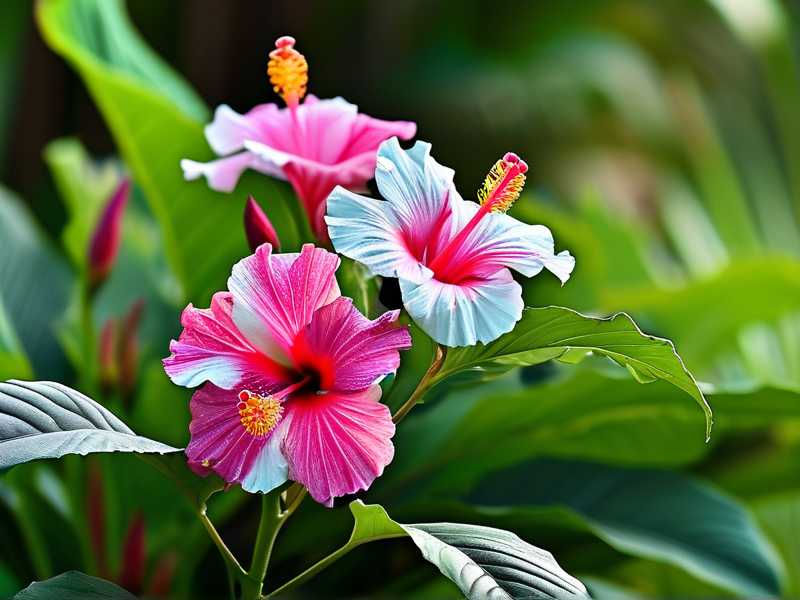
I planted three hibiscus varieties: a red one, a pink one, and a yellow one. I spaced them about three feet apart. After planting, I watered them deeply but only once. Then I waited.
Day two, I noticed the leaves were a bit droopy. Panic set in. But I reminded myself to trust the process. By day three, the leaves perked up. My biggest takeaway? Don't water again until the top inch of soil feels dry.
Day four, I added a layer of mulch around the base. This keeps the soil moist longer and prevents weeds. Honestly, this simple step saved me so much work.
Week 2: Watching the Results
Day eight, I saw the first new growth. Tiny green shoots emerged near the base. I was thrilled. But then I made a mistake. I fertilized too early. The leaves turned yellow at the tips. I realized I should have waited until the plants were fully established.
Day ten, I adjusted my watering schedule. Instead of watering every day, I watered only when the soil felt dry. By day twelve, the plants looked healthier than ever. The leaves were deep green, and I saw flower buds forming.
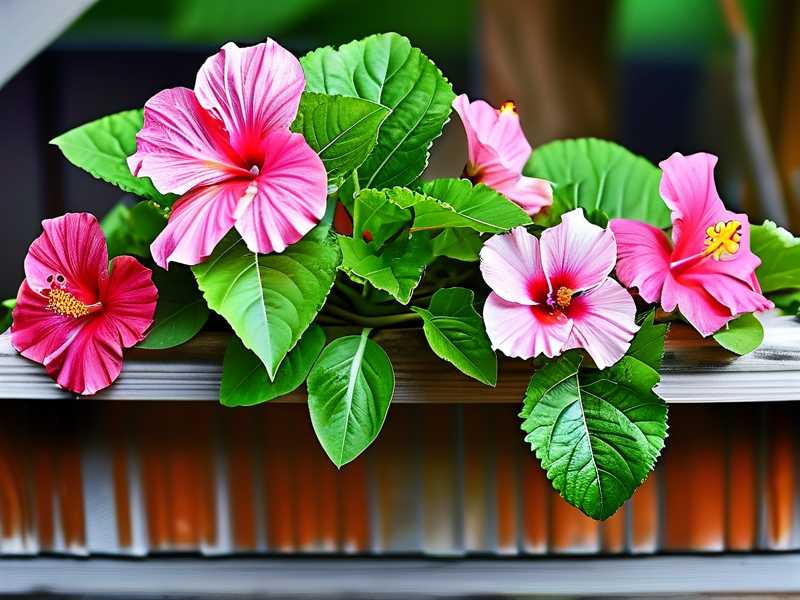
Day fourteen, the first blooms appeared. A gorgeous red hibiscus flower. Honestly, I almost cried. My self-sustaining hibiscus garden bed was working. The best part? I barely did anything after the initial setup.
How to Maintain Your Self-Sustaining Hibiscus Garden Bed
Maintaining a self-sustaining hibiscus garden bed is easier than you think. Here's what I learned.
Watering
I water deeply once or twice a week during dry spells. In rainy seasons, I don't water at all. The key is consistency. Don't let the soil dry out completely, but don't keep it wet either. The AHS recommends watering in the morning to prevent fungal issues.
Fertilizing
I use a balanced fertilizer every four to six weeks during the growing season. But only after the plants are established. I learned this the hard way. You'll find that hibiscus responds well to regular feeding, but too much nitrogen leads to leaves and no flowers.
Pruning
I prune my hibiscus in late winter or early spring. This encourages bushier growth and more blooms. Remove dead or weak branches. Don't be afraid to cut back hard. I've found that aggressive pruning actually helps the plant thrive.
Pest Control
Aphids love hibiscus. I've dealt with them by spraying a mixture of water and mild soap. The RHS suggests introducing beneficial insects like ladybugs. Honestly, this natural approach works best for me.
Why a Self-Sustaining Hibiscus Garden Bed Works for Me
I've tried many gardening methods over the years. Some worked. Some didn't. But a self-sustaining hibiscus garden bed is my favorite. The reason is simple. It requires minimal effort once you set it up properly. I spend maybe 15 minutes a week now. That's it.
The key is creating a system that mimics nature. Good soil. Proper drainage. Correct light. Once you get these right, the plants take care of themselves. You'll find that hibiscus is actually quite resilient. It's the gardener's mistakes that usually kill them.
Common Problems and Solutions I Encountered
Yellow Leaves
I thought yellow leaves meant the plant was dying. But I learned it's usually a sign of overwatering. I adjusted my watering schedule, and the leaves turned green again. Simple fix.
No Blooms
My first season had zero flowers. I was frustrated. Then I realized the plant needed more sun. I moved the bed to a sunnier spot, and the blooms came in thick. Hibiscus needs at least six hours of direct sunlight to flower well.
Stunted Growth
I had a plant that just wouldn't grow. Turns out the soil was too compacted. I aerated the soil with a fork and added organic matter. Within two weeks, new growth appeared.
Frequently Asked Questions
How Often Should I Water a Self-Sustaining Hibiscus Garden Bed?
I water once or twice a week during dry periods. But I always check the soil first. If the top inch is dry, I water. If it's moist, I wait. The AHS says overwatering is the number one cause of hibiscus problems.
Can I Grow Hibiscus in a Container for a Self-Sustaining Bed?
Yes, absolutely. I use terracotta pots with drainage holes. The key is using a well-draining potting mix. I mix cactus soil with perlite. This prevents waterlogging and keeps the roots healthy.
What's the Best Time to Plant Hibiscus?
I plant in spring after the last frost. This gives the plants time to establish before summer heat. The RHS recommends planting in the morning or evening to avoid heat stress.
To wrap this up, creating a self-sustaining hibiscus garden bed is about working with nature, not against it. Stop overwatering. Choose the right spot. Use proper pots. I promise you'll see results within two weeks. I've been there, made the mistakes, and found what works. Now it's your turn to enjoy beautiful, healthy hibiscus with minimal effort.





