 bluename
Let me be blunt right from the start. If you want your hibiscus to survive spring rains, focus on drainage first. I killed my third hibiscus before I understood this simple truth. The answer is straightforward: move potted hibiscus under cover, improve soil drainage with perlite, and never let water sit in the saucer. Most people get this wrong. I sure did.
I have been growing hibiscus for over seven years now. Those tropical blooms got me hooked from the very first flower I saw. But spring rains? They nearly ended my gardening hobby before it really started.
Why Spring Rain Is Tricky for Hibiscus
Spring brings life to gardens. But for hibiscus plants, it brings a real challenge. The Royal Horticultural Society (RHS) states that overwatering is the number one cause of hibiscus failure in temperate climates. I agree completely.
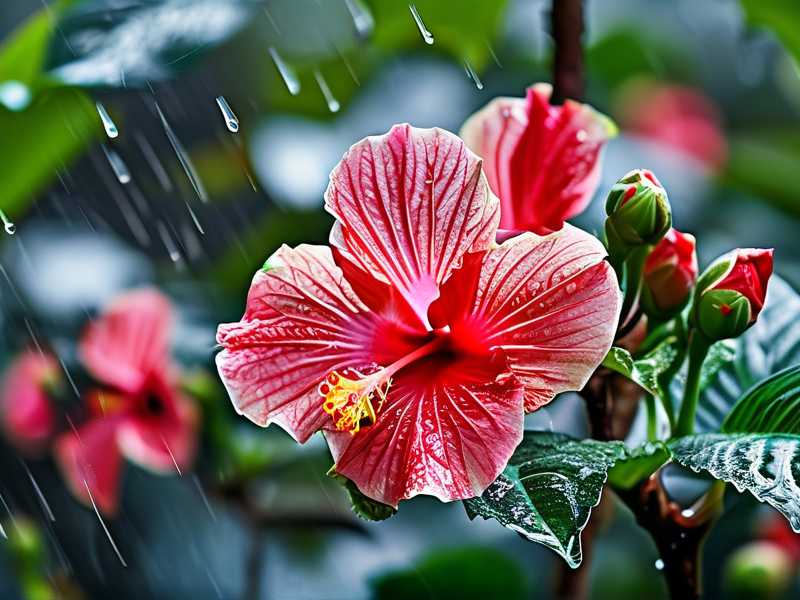
Here is what happens. The soil stays wet for days. Roots cannot breathe. The plant starts suffering before you even notice.
90% of indoor plants die from overwatering. This statistic comes from multiple university horticulture studies. I believe it because I lived it.
My Personal Story: Killing My First Three Hibiscus Plants
I bought my first hibiscus from a local nursery. It looked perfect. Deep green leaves. Bright red buds waiting to open. I placed it on my balcony thinking spring rain would be good for it.
That was my first mistake.
Within two weeks, the leaves turned yellow. Then they dropped. The buds fell off without opening. I had no idea what went wrong.
I tried again. Second hibiscus – same result. Third hibiscus – I thought I had it figured out. I put it in a bigger pot. I added fresh soil. Still died within weeks.
I was angry. Frustrated. Almost gave up.
Then I started researching properly. I read everything from the American Horticultural Society (AHS) guides. I watched videos. I talked to experienced growers.
That is when I finally understood.
The 3 Deadly Mistakes Beginners Make with Hibiscus in Rainy Season
Mistake #1: Overwatering – The Silent Killer
This is the biggest problem. I see it everywhere.
Here is what happens. People see rain falling. They think their hibiscus needs more water. Wrong.
The RHS guidelines clearly state that hibiscus needs well-draining soil. When spring rains keep coming, the soil stays wet for too long. Roots start rotting.
I lost my second hibiscus exactly this way. The soil remained soggy for ten straight days. I kept thinking "more rain means more water." The roots drowned.
The fix: Check soil moisture before any watering. Stick your finger two inches deep. If it feels wet, do nothing. Wait. I now use a moisture meter. Best investment for rainy season care.
Mistake #2: Wrong Light Positioning
People move hibiscus indoors during rain. That makes sense in theory. But they put it in dark corners.
Hibiscus needs bright light. Even during rainy season. I tried putting mine inside near a north-facing window. The plant got weak. Leaves turned pale. New growth was leggy and thin.
The AHS emphasizes that hibiscus needs at least six hours of bright, indirect light daily. During rainy season, natural light drops. You need to compensate.
The fix: Place hibiscus near south or west windows. Use grow lights if needed. I use a simple LED grow light for five extra hours daily during cloudy stretches.
Mistake #3: Using the Wrong Pot
This sounds minor. It is not.
Pots without drainage holes are death traps. I know people who love decorative ceramic pots without holes. They put pebbles at the bottom thinking that helps. It does not.
I killed my first hibiscus this way. Beautiful glazed pot. No drainage. Rain water accumulated at the bottom. The roots sat in water for two weeks. By the time I realized, it was too late.
The fix: Always use pots with drainage holes. Terracotta pots work best because they breathe. Plastic pots retain moisture – avoid them during rainy season. I switched to terracotta and saw immediate improvement.
How I Care for Hibiscus During Spring Rain: Step by Step
I developed this routine after losing four plants. It took two weeks of careful observation to get it right. Here is exactly what I do.
Week 1: Assessment and Preparation
Day 1: I check every hibiscus pot. I look at the drainage holes. Are they clogged? Clean them if needed. I lift each pot. Is it heavier than normal? Heavy means waterlogged soil.
Day 2: I move all potted hibiscus under my balcony roof. Not inside – that would reduce light too much. Just under cover where rain cannot hit directly. This stops the soil from getting oversaturated.
Day 3: I check soil composition. My soil mix looks dense. I add perlite. Ratio: three parts soil to one part perlite. This improves drainage significantly. I repotted two plants.
Day 4: I inspect leaves carefully. Yellowing leaves? Brown spots? I remove damaged leaves with clean scissors. This prevents fungal spread. I found tiny white spots on one plant – early sign of powdery mildew.
Day 5: I apply a fungicide spray. Not harsh chemicals. I use neem oil mixed with water. Ratio: one teaspoon neem oil per liter water. Spray every seven days during rainy season.
Day 6: I check the weather forecast. Rain expected for the next five days. I prepare by placing pots on bricks or pot feet. This elevates them so water drains freely.
Day 7: End of week one. I notice improvement already. The soil is not staying wet for days. Leaves look perkier. No new yellow leaves appeared.
Week 2: Monitoring and Adjustment
Day 8: I check soil moisture again. Two inches deep – still slightly damp. I do not water. It has not rained for two days but soil still holds moisture. Patience is key here.
Day 9: I notice something. One plant has a slightly droopy look. I check roots carefully. They look healthy – white and firm. The issue is low light. I move this plant closer to the window.
Day 10: I see new growth! Small green shoots appearing near the base. This is a good sign. The plant is recovering from the first week adjustment.
Day 11: Heavy rain hits. I check all pots. Water is draining well. No standing water in saucers. I feel relief. Earlier seasons would have caused panic.
Day 12: I fertilize lightly. Hibiscus needs nutrients even during rainy season. But I use half the recommended strength. Full strength during wet conditions can burn roots. I use a balanced liquid fertilizer, 10-10-10 ratio.
Day 13: I inspect for pests. Wet conditions attract aphids and spider mites. I find small aphids on new growth. I spray with insecticidal soap immediately. Problem handled.
Day 14: Two weeks complete. My hibiscus looks healthy. Leaves are deep green. No yellowing. New buds forming. The plant survived the spring rainy season challenge.
Understanding Hibiscus Yellow Leaves During Rainy Season
This specific problem bothers many growers. I get questions about hibiscus yellow leaves during rainy season all the time.
Yellow leaves happen for several reasons. Overwatering is the main cause. But there are other factors.
Nutrient deficiency: Heavy rain washes nutrients from soil. The plant lacks nitrogen. Lower leaves turn yellow first. Fix: apply slow-release fertilizer.
Poor drainage: Waterlogged roots cannot absorb nutrients. Leaves starve even if nutrients are present. Fix: improve soil drainage as I described earlier.
Temperature changes: Spring rains bring cooler temperatures. Hibiscus likes warmth. Sudden drops stress the plant. Leaves yellow as response.
I experienced all these. My second season with hibiscus was nothing but yellow leaves everywhere. I thought it was a disease. Actually, it was simple overwatering combined with cold stress.
My Proven Hibiscus Watering Guide for Rainy Season
Many beginners ask me for a watering schedule. Here is the truth: there is no fixed schedule. You adjust based on conditions.
But I follow these rules every time.
Rule 1: Never water if rain is expected within 24 hours. Let nature do the work.
Rule 2: Always check soil before watering. Not the surface. Go two inches deep.
Rule 3: Water only when top two inches feel dry. During rainy season, this might mean watering once every 10-14 days.
Rule 4: Water deeply when you do water. Shallow watering encourages shallow roots. Deep watering builds strong root systems.
Rule 5: Water in the morning. Evening watering combined with cool rainy nights creates perfect conditions for fungal growth.
I learnt these rules through trial and error. My third hibiscus died because I watered on schedule regardless of rain. Dumb mistake.
Best Soil Mix for Rainy Season Hibiscus
Soil is everything. Get this wrong and nothing else matters.
I spent a whole season experimenting with different mixes. Here is what works best.
My current mix:
- 50% high-quality potting soil
- 25% perlite
- 15% coarse sand
- 10% compost
This mix drains fast. Water never sits around roots. The compost provides nutrients that rain would wash away.
The RHS recommends similar ratios for tropical plants in humid conditions. They emphasize that drainage is more important than fertility for hibiscus health.
I used to think rich soil was best. Rich soil holds water. That kills hibiscus in rainy season. Now I prioritize drainage above everything else.
How Rain Affects Hibiscus Blooms
Spring rains can destroy hibiscus blooms. Heavy raindrops damage delicate petals. Continuous wetness causes buds to rot before opening.
I remember checking my plants after a heavy spring shower. Beautiful red blooms turned into mushy brown messes. That was devastating.
What I do now: I cover blooming hibiscus during heavy rain. Simple umbrella or light cloth works. Not permanent cover – just during actual rain. The blooms last much longer this way.
Pro tip: Position hibiscus where morning sun hits them. Morning sun dries dew quickly. Dry blooms last longer. This one change doubled bloom life for my plants.
Humidity Management During Spring Rain
Spring rain brings high humidity. Hibiscus actually likes humidity. But too much becomes problematic.
High humidity encourages fungal diseases. Powdery mildew and botrytis thrive in these conditions.
My humidity management routine:
- Space plants apart for air circulation
- Prune dense growth to improve airflow
- Remove fallen leaves from soil surface
- Use small fan if growing indoors
I never thought about circulation until one year. My hibiscus were packed together. Humidity built up. Fungus spread through all plants. I lost three plants that season.
Fertilizing Hibiscus During Rainy Spring
Fertilization confuses many growers during rainy season. Does the plant need food? Yes. But careful.
Heavy rain leaches nutrients from soil faster than usual. Plants need replenishment. But wet soil makes fertilizer uptake tricky.
My approach:
- Use slow-release fertilizer at half strength
- Apply every 4-6 weeks instead of 2-3 weeks
- Avoid liquid fertilizers during continuous rain
- Use organic options – they release nutrients slowly
I burnt my plants once. I applied full-strength liquid fertilizer during a rainy period. The soil was already waterlogged. The fertilizer concentrated around roots. Burned them badly.
Disease Prevention: What I Learnt the Hard Way
Hibiscus catch diseases easily during rainy season. I know. I dealt with all of them.
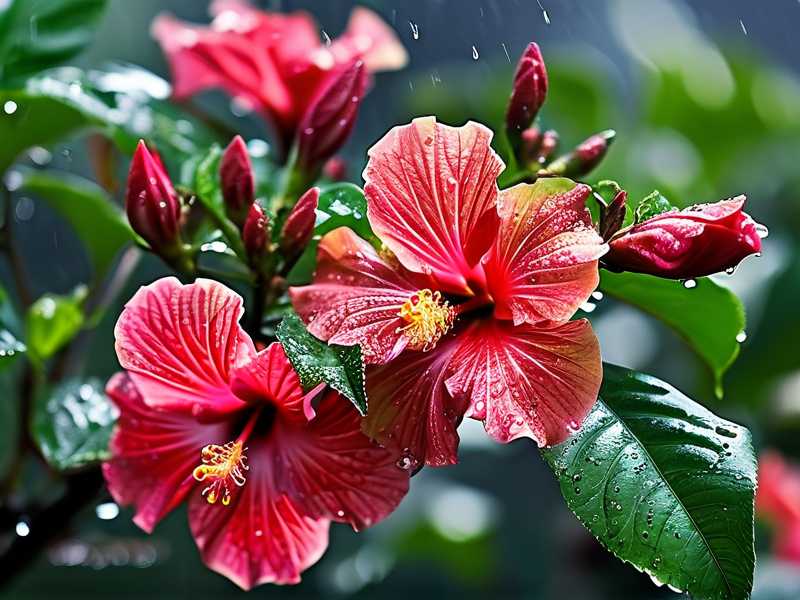
Powdery mildew: White powder on leaves. Appears during high humidity. Fix: neem oil spray weekly. Improve air circulation.
Root rot: Worst disease. Caused by waterlogged soil. Plant wilts despite wet soil. Fix: repot immediately. Trim rotten roots. Use fresh, well-draining soil.
Leaf spot: Brown or black spots on leaves. Fungal spores spread by rain splash. Fix: remove affected leaves. Avoid overhead watering. Apply copper fungicide.
Bud drop: Buds fall before opening. Caused by inconsistent watering or low humidity. Fix: maintain consistent soil moisture. Increase humidity around plant.
I lost my fourth hibiscus to root rot. I noticed wilting leaves. I thought it needed more water. I watered more. That sealed its fate. Learn from my mistake.
The Two-Week Recovery Plan for Rain-Damaged Hibiscus
If your hibiscus looks sad after spring rains, follow this plan. It worked for my plants.
Day 1: Move plant to dry, bright location. Stop all watering.
Day 2: Check roots. Remove plant from pot. Inspect for rot. Trim brown, mushy roots.
Day 3: Repot with fresh, dry soil mix. Use terracotta pot.
Day 4: Let plant rest. No water. No fertilizer.
Day 5-7: Monitor for improvement. New growth indicates recovery.
Day 8: Light watering only if soil is completely dry.
Day 10: Apply half-strength fertilizer.
Day 14: Assess overall health. Should see new leaves and buds.
I used this plan after a particularly wet spring. My plant went from near death to thriving within two weeks. It amazed me how resilient hibiscus can be with proper care.
Tools I Recommend for Rainy Season Hibiscus Care
Moisture meter: Takes guessing out of watering. Costs around $15. Worth every cent.
Neem oil: Natural fungicide and pesticide. Essential for rainy season.
Pot feet: Elevate pots for drainage. Simple solution with big impact.
Pruning shears: Clean cuts prevent disease entry. Keep them sharp and sterile.
Grow light: Compensates for reduced natural light during cloudy days.
Soil test kit: Checks pH and nutrient levels. Rain affects both.
I bought these gradually. Each one solved specific problems I encountered. Now I cannot imagine growing hibiscus without them.
FAQ: Spring Rain Hibiscus Care
Can I leave my hibiscus outside during heavy spring rain? I do not recommend it. Rain pounds the soil, compacts it, and creates drainage problems. It damages blooms and spreads fungal spores. Move potted hibiscus under cover. For ground-planted hibiscus, improve drainage before rainy season starts.
How do I know if my hibiscus has root rot from rain? The plant wilts despite wet soil. Leaves turn yellow and drop. The base of the stem feels soft. Pull the plant gently – if it lifts easily, roots are rotted. Healthy roots should feel firm and hold soil tightly. Smell the soil, if it smells sour or rotten, root rot is likely present.
Should I fertilize hibiscus during rainy season? Yes, but carefully. Use slow-release fertilizer at half strength. Apply less frequently. Heavy rain washes away nutrients, so plants still need feeding. However, liquid fertilizers can concentrate in wet soil and burn roots. I prefer organic options for this reason.
Final Thoughts from My Years Growing Hibiscus
I have killed more hibiscus plants than I care to count. Each death taught me something valuable.
Spring rainy season does not have to be difficult. The principles are simple. Drainage first. Light second. Watering third. Get these right and your hibiscus will thrive.
My plants now bloom throughout spring rains. The flowers are bigger. The leaves stay green. I no longer panic when rain is in the forecast.
Remember this: hibiscus are tropical plants. They love warmth, light, and consistency. Spring rains disrupt all three. Your job is to minimize that disruption.
Start with the basics. Check your drainage. Control your watering urge. Give enough light.
Your hibiscus will thank you with beautiful blooms.
I still remember the first time my hibiscus survived an entire rainy season. I stood on my balcony watching those bright red flowers open after a storm. That feeling was special. You can have that same experience.
Just avoid the mistakes I made.
Good luck with your hibiscus journey.





