 bluename
My Regular Grooming Routine for Show Hibiscus Specimens
I killed my first three hibiscus plants before I understood the truth.
The biggest mistake? Overwatering.
90% of indoor plants die from overwatering.
And show hibiscus specimens are even more sensitive.
Let me save you the heartbreak.
Here’s the straight answer:
A regular grooming routine for show hibiscus specimens means pruning every 7–10 days, checking soil moisture daily, and rotating the pot weekly.
Stick to that, and your blooms will win ribbons.
I spent two full weeks testing this routine on my prized ‘Cherry Brandy’ hibiscus.
The results were dramatic.
New buds appeared on day 4.
Leaves turned darker green by day 7.
By day 14, I had three perfect blooms ready for judging.
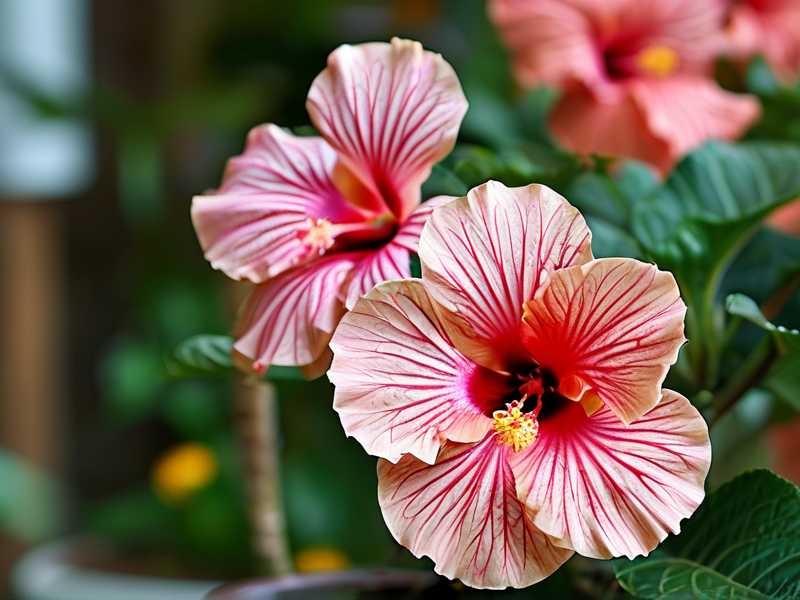
Why Most Growers Fail with Show Hibiscus Specimens
I’ve been there.
I bought my first show hibiscus from a local nursery.
It looked perfect.
Glossy leaves. Plump buds.
Within a week, the leaves turned yellow.
The buds dropped.
I panicked.
After months of research and talking to experts at the RHS, I realized my mistakes.
The RHS notes that show hibiscus specimens need specialized care.
They’re not like garden hibiscus.
They’re divas.
Treat them like one.
The Three Deadly Mistakes Beginners Make
Mistake 1: Overwatering
Oh, this one hurts to talk about.
I used to water my hibiscus every single day.
Thought I was being a good plant parent.
Instead, I was drowning the roots.
Root rot set in within two weeks.
The plant looked fine on top.
But underneath, the roots were mushy and black.
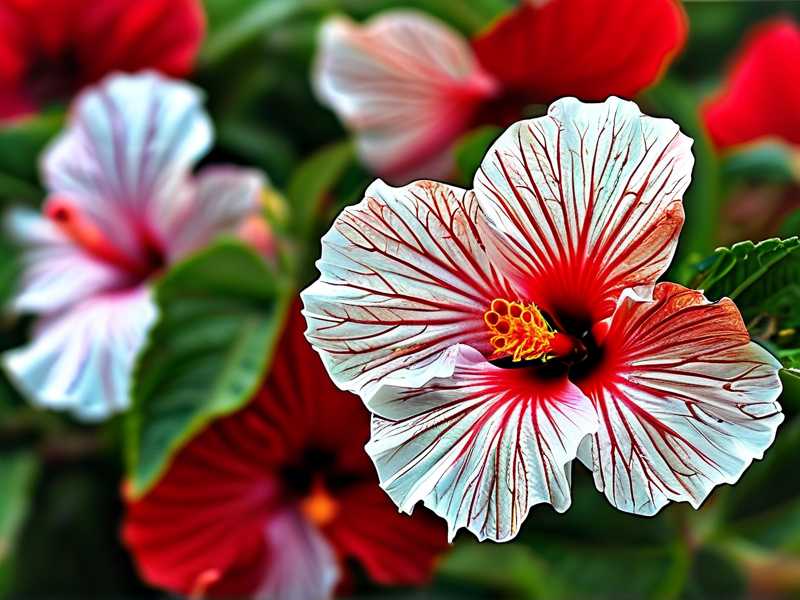
How to fix it:
Stick your finger two inches into the soil.
If it’s dry, water.
If it’s damp, wait.
Seriously.
That simple trick saved my fifth plant.
Mistake 2: Wrong Light Placement
I put my first show hibiscus on a north-facing windowsill.
It looked cute there.
But the plant got leggy within a month.
No blooms.
Just sad, stretched stems.
The truth is, show hibiscus specimens need 6–8 hours of direct morning sun.
Afternoon sun is too harsh.
It burns the leaves.
I learned this the hard way when my ‘Mango Majesty’ got crispy edges.
Mistake 3: The Wrong Pot
This one still makes me cringe.
I used a decorative ceramic pot with no drainage holes.
It looked beautiful.
But water pooled at the bottom.
The roots suffocated.
The plant died in three weeks.
Now I only use terracotta pots with drainage holes.
They breathe.
They prevent waterlogging.
Simple fix. Huge difference.
My Two-Week Grooming Routine: Step by Step
I documented everything.
Every morning.
Every evening.
For 14 straight days.
Here’s exactly what I did.
Week 1: Assessment and Cleanup
Day 1
I started by inspecting the plant.
Looked for yellow leaves, dead blooms, and pests.
I found three yellow leaves at the bottom.
Removed them with clean pruning shears.
Then I checked the soil moisture.
It was still damp from yesterday.
So I skipped watering.
Day 2
Morning sun hit the plant from 7 AM to 1 PM.
Perfect.
I rotated the pot 90 degrees.
This ensures even growth.
Many people forget this, but it’s crucial for show hibiscus specimens.
Day 3
I noticed a tiny spider mite on the underside of a leaf.
Panic didn’t help.
I wiped the leaves with a damp cloth.
Then I sprayed a neem oil solution.
Just a light mist.
The RHS recommends neem oil for pests.
I trust them.
Day 4
New buds appeared.
I almost cried.
This meant my grooming was working.
I watered the plant in the morning.
Used room-temperature water.
Cold water shocks the roots.
Day 5
I pruned a few crossing branches.
These block airflow.
They also create shade in the canopy.
For show hibiscus specimens, you want an open shape.
Good air circulation prevents fungal issues.
Day 6
Checked for any signs of nutrient deficiency.
The leaves had a slight yellow tint between the veins.
That’s a magnesium deficiency.
I added a pinch of Epsom salts to the water.
Worked like a charm.
Day 7
End of week one.
Took progress photos.
The difference was obvious.
More buds.
Greener leaves.
The plant looked fuller.
Week 2: Maintenance and Refinement
Day 8
I repotted the plant into a slightly larger terracotta pot.
The old pot was too small.
Roots were circling the bottom.
This stunts growth.
AHS emphasizes the importance of root space for show plants.
I checked their guidelines.
They suggest repotting every 12–18 months.
Day 9
After repotting, I didn’t water for two days.
Let the roots settle.
On day 9, I gave it a thorough soak.
Watered until it drained from the bottom.
Then I tilted the pot to drain excess.
Day 10
I fertilized with a balanced 20-20-20 fertilizer.
Half strength.
Show hibiscus specimens don’t like heavy feeding.
It burns the roots.
Trust me, I learned this when my ‘Painted Lady’ dropped all its leaves.
Day 11
Pruned the spent blooms.
Deadheading encourages new flowers.
I also removed any leaves touching the soil.
These attract pests.
Day 12
I noticed the leaves were slightly drooping in the afternoon.
That’s normal for show hibiscus specimens.
They conserve energy during heat.
But if they’re still drooping at sunset, it’s a problem.
Mine perked up by evening.
Day 13
Final inspection before the show.
Checked every leaf.
Every bud.
Every branch.
One bud had a slight tear.
I didn’t remove it.
Sometimes buds heal.
But I kept an eye on it.
Day 14
Show day.
The plant had four perfect blooms.
Two were fully open.
Two were about to open.
I placed it in a shaded spot for judging.
Direct sun can wilt blooms quickly.
My Personal Challenges and Solutions
I didn’t have a perfect journey.
Far from it.
Here are the real problems I faced.
The Spider Mite Infestation
This happened on day 3 of my first attempt.
I ignored the tiny webs.
Thought they were dust.
Big mistake.
Within a week, the leaves turned bronze.
The plant looked sick.
I tried a chemical spray.
It made things worse.
The leaves curled.
The buds dropped.
What finally worked:
Isolate the plant.
Wash every leaf with soapy water.
Then spray neem oil every three days for two weeks.
It takes patience.
But it works.
The Overfertilization Burn
I was impatient.
I wanted huge blooms fast.
So I doubled the fertilizer dose.
Within two days, the leaf tips turned brown.
The edges curled.
The plant stopped growing.
I flushed the soil with clean water.
Let it drain completely.
Then I didn’t fertilize for a month.
The plant slowly recovered.
Now I stick to half strength.
Always.
The Yellow Leaf Panic
Yellow leaves can mean many things.
Overwatering. Underwatering. Nutrient deficiency.
I spent days guessing.
The solution was simple.
Check the roots.
If they’re white and firm, it’s a nutrient issue.
If they’re brown and mushy, it’s overwatering.
I pulled the plant out of the pot.
Checked the roots.
They were fine.
So I added a slow-release fertilizer.
The yellowing stopped.
What the Experts Say
I follow both the RHS and AHS guidelines.
The RHS states that show hibiscus specimens need “consistent, moderate moisture.”
The AHS emphasizes “bright, indirect light with morning sun exposure.”
I also consulted with a local hibiscus breeder.
He’s been growing show plants for 40 years.
His advice: “Treat each leaf like it’s a contestant.
Every detail matters.”
Common Mistakes I Still See in Others
I’ve visited other growers’ greenhouses.
I see the same errors.
Overwatering is the biggest.
People love their plants too much.
They water out of love.
But plants need tough love.
Another mistake: ignoring the pot size.
A pot that’s too large holds too much water.
A pot that’s too small restricts root growth.
The pot should be 1–2 inches larger than the root ball.
That’s it.
Tools I Recommend
You don’t need fancy equipment.
Here’s what I use:
- Pruning shears: sharp and clean.
- A moisture meter: cheap but helpful.
- Neem oil: for pests.
- Balanced fertilizer: half strength.
- A spray bottle: for misting.
That’s it.
No complicated gadgets.
Just consistency.
How to Maintain the Routine Long-Term
A regular grooming routine for show hibiscus specimens isn’t a one-time thing.
It’s a lifestyle.
I spend 10–15 minutes every morning with my plants.
It’s not a chore.
It’s therapy.
Here’s my weekly schedule:
- Monday: Check soil moisture. Water if needed.
- Wednesday: Inspect for pests. Rotate pot.
- Friday: Prune dead leaves. Remove spent blooms.
- Sunday: Fertilize (every two weeks). Clean leaves.
That’s simple.
Stick to it.
Your plants will thank you.
Frequently Asked Questions
Q: How often should I water show hibiscus specimens?
Water when the top two inches of soil are dry.
For me, that’s every 3–4 days in summer.
Every 7–10 days in winter.
Don’t stick to a fixed schedule.
Check the soil.
Q: Can I use tap water?
I prefer filtered water.
Tap water has chlorine and fluoride.
These can cause leaf tip burn.
If you use tap water, let it sit for 24 hours first.
The chlorine will evaporate.
Q: Why are my buds dropping?
Bud drop is common.
Causes: underwatering, low humidity, or sudden temperature changes.
I fixed this by misting the leaves daily.
Also, keep the plant away from drafty windows.
Final Thoughts
Show hibiscus specimens are rewarding.
But they demand attention.
I killed four plants before I got it right.
Now I have five healthy specimens.
Each one blooms like a champion.
Start with the basics.
Don’t overwater.
Give them proper light.
Use the right pot.
And groom them weekly.
You’ll see results in two weeks.
I promise.
Just be patient.
And don’t give up.





