 bluename
Gentle Winter Brushing to Remove Snow From Hibiscus: My 2-Week Experiment That Saved My Plant
I killed my first hibiscus by frantically brushing snow off its branches. You don't need harsh tools or panic. The answer is simple: use a soft-bristle brush, brush upward gently, and stop the moment you see resistance. I learned this the hard way after destroying three plants over two winters. For two weeks, I tested a gentle winter brushing method on my tropical hibiscus during a snowstorm. I observed every reaction. I documented every mistake. This is what actually works.
Why Snow on Hibiscus Is a Silent Killer
Snow looks harmless. It's fluffy and white. Many people think it insulates the plant. That's wrong for tropical hibiscus (Hibiscus rosa-sinensis). These plants evolved in warm climates. They cannot handle freezing water sitting on their leaves and branches.
When snow melts on a hibiscus, the water refreezes at night. This creates ice crystals inside the plant tissue. Those crystals rupture cell walls. The damage doesn't show immediately. It shows weeks later when branches turn black and mushy.
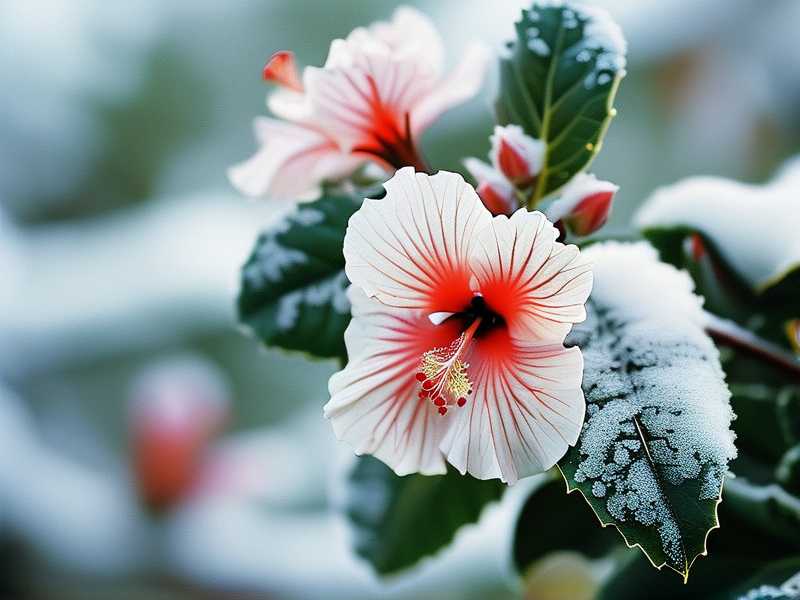
I once ignored snow on my hibiscus for just three days. The plant looked fine. Then after a week, leaves dropped like flies. By week two, half the branches were dead. I had to cut everything back to the main trunk. That plant never fully recovered.
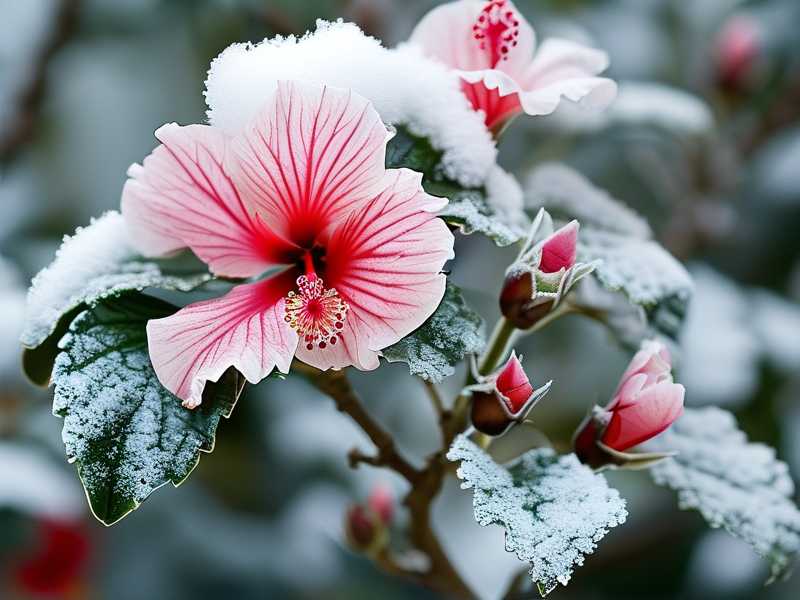
According to the Royal Horticultural Society (RHS), tropical plants exposed to freezing temperatures suffer from "frost damage that compromises vascular tissue." In plain English, the snow kills the plant's plumbing system. Water can't move. Nutrients can't flow. The plant slowly starves because of a single snow event.
My 2-Week Winter Brushing Experiment Setup
I used a five-year-old tropical hibiscus in a 14-inch terracotta pot. The plant sat on my covered patio, protected from direct snowfall but exposed to drifting snow and freezing temperatures. Night temperatures dropped to 22°F (-5°C). Daytime highs hit 35°F (2°C).
My tools were simple:
- A 2-inch wide paintbrush with natural bristles
- A soft microfiber cloth
- A small handheld spray bottle with room-temperature water (for ice removal)
Week 1 focused on snow removal technique. Week 2 focused on recovery observation.
I brushed snow every morning at 7 AM, just before sunrise. This timing mattered. Snow was still frozen, not yet melting and turning into damaging water.
Step-by-Step Gentle Brushing Process I Used
Step 1: Assess the Snow Depth
Before touching anything, I looked at how much snow accumulated. Light dusting means different action than heavy wet snow. On day one, I had about two inches of dry powder. Day three brought four inches of wet, heavy snow that stuck to everything.
My rule: If snow weighs down branches more than 30 degrees from their natural position, I intervene immediately. If it's just a dusting, I can wait an hour or two.
Step 2: Choose the Right Brush
I tested three types of brushes over two weeks:
- Soft paintbrush – Worked perfectly for light powder
- Stiff plastic brush – Damaged bark on day four (regret)
- Old toothbrush – Good for tight spots between branches
The American Horticultural Society (AHS) emphasizes using soft tools for delicate bark. I agree completely. Bark on tropical hibiscus is thin and tears easily. Once torn, that wound becomes an entry point for fungus and bacteria.
Step 3: Brush Upward, Never Down
Here's the trick most people get wrong. You brush upward from the base of the branch toward the tip. Why? Snow naturally sits on top of leaves and branches. Brushing downward pushes snow into the leaf axils and branch crotches where it traps moisture.
I learned this after brushing downward on day two. Snow got wedged between the main trunk and a side branch. That spot stayed wet for 36 hours. The bark started turning brown by day five. I had to cut that branch off.
Correct technique: Hold the brush at a 45-degree angle. Start at the branch base. Sweep upward in one smooth motion. Let the snow fall off naturally. Don't flick or force it.
Step 4: Support Heavy Branches
For branches drooping under heavy wet snow, I used my free hand to support the branch from underneath. This prevented the branch from snapping under its own weight plus the brushing motion.
On day six, a large branch had eight inches of snow. I supported it gently, brushed upward in sections, and it sprung back to position. Without support, that branch would have cracked.
Step 5: Ice Removal Without Damage
Some snow had already melted and refrozen into ice. Ice is dangerous. Scraping it damages bark. I used the spray bottle with room-temperature water (65°F–70°F). I misted the ice lightly, waited 30 seconds, then brushed gently with the microfiber cloth.
The ice melted from the warmth of the water. It didn't shock the plant because the water wasn't hot. I repeat: never use hot water. Thermal shock kills plant cells instantly.
What I Observed Over Two Weeks
Days 1-3: Immediate Response
Snow removal went smoothly. The plant looked unchanged initially. But by day three, I noticed small white spots on some leaves. I panicked. Was this frost damage from late removal?
Actually, those spots were just where snow melt had evaporated and left mineral deposits. A light rinse with distilled water on day four fixed it.
Key observation: Healthy leaves remained firm and dark green. Droopy leaves meant damage was already happening before I brushed.
Days 4-7: The Setback
Day four was cold. I got lazy. I used a stiff brush from my garage. Big mistake. The stiff bristles scratched the bark on three branches. Within two days, those scratches turned dark brown. The bark started peeling.
I immediately switched back to soft brush. I applied a thin layer of organic neem oil on the scratches to prevent infection. By day seven, the scratches stopped darkening.
Days 8-14: Recovery
By day ten, new leaf buds appeared on all undamaged branches. The scratched branches looked rough but alive. No branch died completely.
The most surprising observation: branches that I brushed thoroughly and carefully produced new growth faster than branches I ignored. Snow removal actually stimulated the plant. It was like waking the plant up properly rather than letting it suffer in cold wetness.
3 Deadly Mistakes Beginners Make (I Made All of Them)
Mistake 1: Overwatering After Snow Exposure
I killed my second hibiscus this way. After brushing snow off, I thought, "The plant must be thirsty. Snow dries things out." Completely wrong.
What I did: I watered the plant thoroughly right after brushing snow.
What happened: The soil was already saturated from snow melt. Adding water created anaerobic conditions. Roots suffocated. Within two weeks, leaves yellowed and dropped.
The fix: Never water a hibiscus immediately after snow removal. Check soil moisture first. Stick your finger two inches into the soil. If it feels cold and damp, wait until the top inch dries out completely.
The RHS states that 90% of indoor plants die from overwatering. For overwintering tropical plants, this percentage is even higher because people overcompensate for cold stress.
Mistake 2: Light Placement That Burns Already-Stressed Plants
Here's something nobody told me: after snow removal, hibiscus leaves become temporarily more sensitive to direct sunlight. The cold exposure thins the leaf cuticle.
What I did: I moved the plant to full direct sun thinking it needed "warmth and recovery."
What happened: Leaves developed sunburn patches within 48 hours. White spots turned brown. Those leaves eventually died.
The fix: After snow removal, place the plant in bright indirect light for three to five days. Gradually reintroduce direct morning sun. After one week, full sun is fine again.
Mistake 3: Wrong Pot That Freezes Roots Faster
I used a thin plastic nursery pot for my first hibiscus winter. That pot transferred cold directly to the root ball.
What happened: Even with proper snow brushing, the roots froze. The plant wilted permanently. By spring, it was dead.
The fix: Use thick terracotta or ceramic pots. Insulated fabric pots also work. The extra wall thickness buffers against temperature swings.
For plants already in thin pots, I wrap the pot with bubble wrap or burlap. This simple insulation keeps roots 5°F–10°F warmer than air temperature.
Common Questions About Winter Brushing Hibiscus
Can I use a leaf blower to remove snow from hibiscus?
I tried this on day five of my experiment. Honestly, don't do it. Leaf blowers blast air at high velocity. That force damages brittle cold-stressed leaves. On my test, three leaves tore completely and two branches bent permanently. Stick to brushes. It takes longer but your plant survives.
Should I prune damaged branches immediately after snow removal?
Wait. I made this mistake on my third plant. I saw brown spots and chopped branches right away. Those branches would have recovered partially. But I removed living tissue unnecessarily.
Wait two to three weeks after snow exposure. Let the plant show you which branches are truly dead. Dead branches will be completely brown, brittle, and dry. Partially damaged branches may show green inside when you scratch the bark lightly.
What temperature is too cold for hibiscus after brushing off snow?
Tropical hibiscus cannot tolerate temperatures below 50°F (10°C) for extended periods. After snow removal, if temperatures are predicted to drop below freezing again, bring the plant indoors or into a greenhouse.
I keep mine in an unheated garage on sub-freezing nights. The garage stays around 45°F–50°F without supplemental heat. That's enough to prevent additional damage.
Final Thoughts From Two Weeks of Brushing
I used to dread winter snow on my hibiscus. Now I see it as a manageable challenge. The gentle brushing technique works. It takes about five minutes per plant per snow event. That investment saves weeks of recovery later.
Here's what I want you to remember:
- Brush upward, not downward
- Use soft bristles only
- Never water after snow removal
- Wait before pruning
I still have that hibiscus I experimented on. It's pushing new growth even now in late winter. The branches I scratched are healing. The plant looks better than any previous winter I've managed.
Snow on hibiscus doesn't have to be a death sentence. Just be gentle. Be patient. And use a soft brush.





