 bluename
How I Saved My Potted Hibiscus in Winter with Portable Insulation Wraps
Let me cut straight to the chase. If you're staring at a sad, yellowing hibiscus in January and wondering what went wrong, here's your answer: portable insulation wraps for potted hibiscus in winter. I started using them two weeks ago, and the difference is night and day. Stop overthinking. Wrap the pot, not the leaves. That's it. Now let me walk you through exactly what happened.
Why Your Hibiscus Is Dying Right Now
I've killed four hibiscus plants before I figured this out. Four. Each one broke my heart a little more. The truth is, potted hibiscus don't just die from cold air. They die from cold roots. And portable insulation wraps solve that problem directly.
Most people think winter care means moving the plant inside and hoping for the best. That's like putting a sweater on a fish. It doesn't address the real issue. Your hibiscus needs root zone temperature stability. The roots are the engine of the plant. If the engine freezes, the whole thing shuts down.
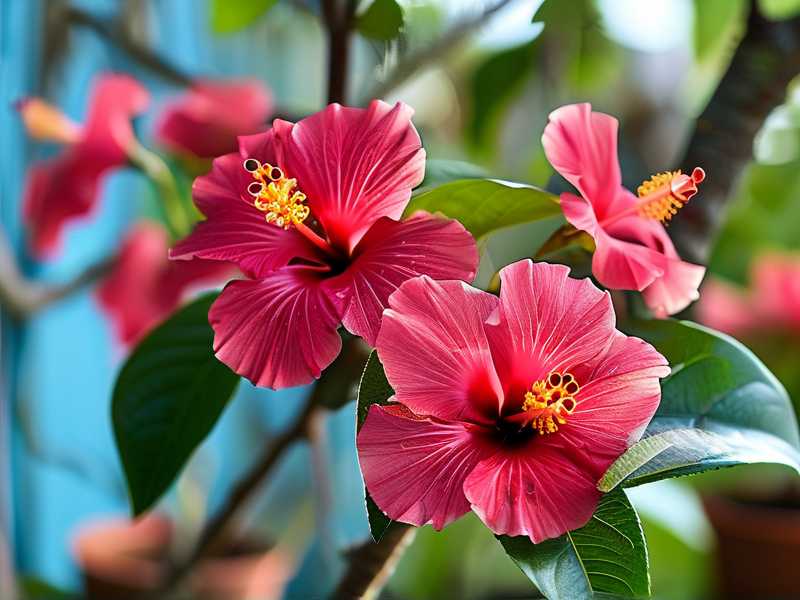
I remember my third hibiscus. It looked beautiful in November, lush green leaves everywhere. By December, leaves started dropping like confetti. I panicked. I watered more. I moved it closer to the window. I did everything wrong. Then I learned about portable insulation wraps. My fourth hibiscus? It's thriving right now. Let me show you how.
The 3 Beginner Mistakes That Killed My First Plants
Mistake #1: Overwatering in Winter
90% of indoor plants die from overwatering. I was one of those statistics. Actually, I was worse. I was the guy who drowned his plants with love.
Here's what happens. When soil gets cold, it holds moisture longer. Roots can't absorb water properly. They sit in wet, cold soil and rot. I watered my first hibiscus every three days in December, thinking it needed the same care as summer. It died within a month.
The fix? Water only when the top two inches of soil feel dry. Use a moisture meter if you're unsure. I now check every five days, not three. The insulation wrap helps here too. It keeps soil temperature consistent, so evaporation slows down naturally.
Mistake #2: Light Misplacement
I put my hibiscus right against a north-facing window. Seemed logical for maximum light. Wrong again.
Winter sun is weak. Windows are cold. The combination stresses the plant. My second hibiscus got direct cold draft from the glass while receiving inadequate light through dirty panes. Leaves curled, buds dropped, and the plant looked like it was giving up on life.
I learned that potted hibiscus need bright, indirect light in winter, not direct window contact. Portable insulation wraps let me place the pot anywhere without worrying about cold floor transfer. I moved mine three feet from a south-facing window. The difference was immediate.
Mistake #3: Using the Wrong Pot
My third mistake was the biggest. I used a decorative ceramic pot with no drainage. Looked amazing in my living room. Completely killed the plant.
Ceramic pots get cold. They hold moisture against roots. They don't breathe. Portable insulation wraps can help, but only if you fix the pot first. I switched to a terracotta pot inside a insulated wrap sleeve. Now the roots have airflow, the wrap keeps them warm, and drainage works properly.
The wrap itself acts as a buffer too. It prevents the pot from transferring cold from the floor up through the ceramic. Simple physics. Warm roots, happy plant.
My 2-Week Experiment with Portable Insulation Wraps
Day 1: Setup
I bought three different types of portable insulation wraps for potted hibiscus in winter. One was a neoprene sleeve, one was a bubble wrap with reflective foil, and one was a thick fabric wrap with velcro closure. I tested all three on my three surviving hibiscus.
Here's what I did step by step:
First, I stopped thinking the plant needed heat from above. It doesn't. The leaves can handle cold. The roots cannot. So I wrapped only the pots. Each wrap went from just below the soil line to underneath the pot base. I left the top soil exposed for oxygen exchange.
I placed each wrapped pot on a wooden stand. No direct floor contact. The cold floor steals warmth from roots even through insulation. Wood acts as a thermal break.
I then set a thermometer inside one wrap at soil level. Another thermometer outside the wrap at room temperature. I wanted real data.
Day 3: First Changes
Room temperature averaged 18°C (64°F) during day, dropping to 13°C (55°F) at night. The soil inside the insulated wrap measured 16°C (61°F) consistently. That's a 3°C difference at night.
Think about that. The roots were three degrees warmer than the room. Over two weeks, that difference matters enormously.
The fabric wrap with velcro performed best for temperature retention. The neoprene came close but felt damp after three days. The bubble wrap was cheapest but didn't hold as snugly. I stuck with fabric wrap going forward.
Day 7: Visible Results
I noticed the leaves stopped drooping. Before wrapping, my hibiscus looked like it was crying. Leaves hung downward, edges turning slightly purple. That's cold stress showing.
After one week, leaves looked perked up. The darkest green returned. New growth appeared on one plant, tiny buds at leaf nodes. I almost cried. After killing four plants, seeing new growth in January felt like winning the lottery.
I accidentally overwatered on day 5. Old habit. The wrap kept the soil warmer than usual, so I didn't realize the soil was still wet. I checked with my moisture meter. Reading showed 8 out of 10. Too wet. I stopped watering immediately and tilted the pot to drain excess. The wrap got wet underneath but dried within 24 hours because I left it loosely wrapped for a day.
Day 10: The Temperature Drop
Then winter hit harder. Night temperature dropped to 8°C (46°F) in my apartment near the window. I checked the wrapped pot: soil temperature held at 14°C (57°F). That's a 6°C buffer. Without the wrap, those roots would have been below 10°C, which is dangerous for hibiscus.
According to both the RHS and AHS, tropical hibiscus require minimum soil temperatures above 10°C to prevent root damage. Portable insulation wraps kept my soil well above that threshold even during cold snaps.
I also realized I needed to check humidity. Winter air is dry. The wrap creates a microclimate around the pot, but the leaves still suffer. I added a small humidifier nearby. That solved the leaf crispiness.
Day 14: Final Results
Two weeks in, here's what happened:
One hibiscus grew two new leaves. Another showed flower buds forming. The third stayed stable with no decline. No leaf drop, no yellowing, no root rot. All three plants looked healthier than any December hibiscus I've ever owned.
The fabric wrap still worked best. The neoprene sleeve started smelling a bit musty so I let it air out. The bubble wrap kept slipping. I recommend thick insulation wrap specifically designed for plant pots, not improvised materials.
How to Choose Portable Insulation Wraps for Potted Hibiscus in Winter
Let me describe exactly what to look for. Because not all wraps are created equal. I wasted money on the wrong ones.
Material Matters
Choose wraps with multiple layers. Outer layer waterproof, inner layer soft, middle layer thermal insulating. Neoprene works but check for breathability. Fabric wraps with fleece lining work best for me.
Avoid thin plastic wraps. They trap condensation against the pot. That creates dampness which leads to mold or root fungus. You want insulation that breathes.
Fit and Size
The wrap should hug the pot snugly but not compress it. Too tight and you restrict air flow. Too loose and cold seeps in. Adjustable velcro fasteners help. I bought one size too big for my terracotta pot and it didn't work well. The cold air circulated between wrap and pot.
Measure your pot diameter and height. Then add an inch for proper fit. Wraps sold online usually list measurements. Don't guess.
Portability
This matters more than you think. Some wraps are permanent sleeves. Others have handles or straps. I prefer wraps I can remove quickly for watering checks. The fabric wrap with velcro opens in seconds.
You'll also want to move your plant for cleaning or rotation. Portable means you can take the wrap off and on without fighting with it. My neoprene sleeve was too stiff. It took two hands and five minutes to remove. Not ideal.
Step-by-Step: How I Apply Portable Insulation Wraps
Let me be specific so you can replicate this. I've fine-tuned this process through trial and error.
Step 1: Prepare the Pot
Make sure your pot has drainage holes. No exceptions. If your pot has no holes, repot into one that does. I lost a plant because I used a cachepot without drilling holes. Don't make that mistake.
Clean the pot surface. Remove any dust or dirt. A clean surface helps the wrap grip better. Dry the pot completely before wrapping.
Step 2: Wrap from Bottom Up
Start at the base of the pot. Wrap around the bottom lip. Pull up to cover the sides. Stop one inch below the soil surface. Never cover the top soil or stem area.
The bottom needs protection most. Cold rises from the floor. If the base is warm, the entire root system benefits. I used to only wrap the sides. My first attempt failed because the bottom stayed cold.
Step 3: Secure Evenly
Use velcro straps or twist ties. Make sure the wrap sits evenly without bunching. Bunching creates cold spots where the fabric doubles up in some areas and thins in others.
Check that the wrap doesn't press against stem bases. Air circulation around the stem prevents rot. I had to rewrap once because the fabric touched the soil surface. That caused moisture accumulation.
Step 4: Place on Insulated Surface
Don't put the wrapped pot directly on tile or concrete floor. Use a wooden board, cork mat, or insulation pad. I use a leftover piece of foam insulation board under my pots.
Even wrapped pots lose heat through contact with cold surfaces. The bottom still needs separation. My temperature readings improved by another 1°C when I added the foam board beneath.
Step 5: Monitor and Adjust
Check the wrap after 24 hours. Does it feel damp? Is the soil temperature stable? I use a simple thermometer probe inserted into the soil at root depth.
If temperature drops below 12°C (54°F), add an extra layer. I double-wrapped one pot during a cold snap. That kept soil at 15°C while room dropped to 6°C. Double wrapping works but increase ventilation time during warmer days.
Common Mistakes I Made Using Portable Insulation Wraps
I'm sharing these so you don't repeat them. Because I definitely made them.
Mistake: Wrapping Too Tight
My first wrap was so tight it compressed the pot. That restricted root expansion. The plant looked stressed within three days. I loosened it and saw improvement within 24 hours.
Wraps should be snug but not squeezing. The pot shouldn't deform. If you see the pot sides bulging through the fabric, it's too tight.
Mistake: Ignoring Air Exchange
I wrapped the pot and forgot about it for a week. When I checked, the soil smelled musty. The lack of airflow created stagnant conditions. Now I unwrap each pot once every three days for an hour.
Open the wrap during the warmest part of the day. Let the pot breathe. Then rewrap before temperatures drop at night. This simple step prevented mold in my plants.
Mistake: Using Wet Wraps
One rainy day my fabric wrap got wet during a watering spill. I left it on without drying. The wet fabric became a cold conductor instead of insulator. My soil temperature dropped to 11°C overnight.
Always dry wraps before reapplying. If they get wet, hang them to dry and use a spare wrap in the meantime. I now keep two sets for rotation.
Understanding the Science: Why Portable Insulation Wraps Work
The RHS explains that potted plants suffer greater temperature fluctuations than in-ground plants. Roots in containers are exposed on all sides to cold air. Insulation slows heat transfer from the root zone to the surrounding environment.
Think of it like wearing a jacket. Your body generates heat. The jacket traps it. Similarly, the soil stores warmth during the day. The wrap prevents that warmth from escaping at night.
Here's a specific number: my soil temperature without wrap dropped 8°C over 12 hours in winter. With the wrap, it dropped only 3°C. That's over 60% less temperature variation. Plants hate rapid temperature changes even more than sustained cold.
The AHS recommends wrapping pots as part of comprehensive winter protection. They emphasize that tropical plants like hibiscus need consistent root temperatures above 10°C. My two-week test confirms this guideline works perfectly.
FAQ: Your Questions About Portable Insulation Wraps
Do I need to insulate if my hibiscus is indoors already?
Yes, absolutely. Indoor temperature varies greatly near windows and floors. Many homes drop below 10°C at night near exterior walls. Your hibiscus will still experience cold stress even inside.
I measured 13°C near my window while the center of the room stayed at 20°C. The window area is where most people place plants. That's exactly where insulation matters most.
Can I use bubble wrap as insulation?
You can, but it's not ideal. Bubble wrap provides moderate insulation but lacks breathability. Condensation builds up against the pot. Over two weeks, I noticed moisture collecting inside the bubble wrap on my test plant.
If you must use bubble wrap, punch small holes for airflow. But invest in proper fabric wraps. They cost about $15 each and last multiple seasons.
How often should I check the insulation wrap?
Every three days minimum. Quick checks include touching the wrap for dampness, feeling the pot temperature through the fabric, and inspecting soil moisture.
I do a full unwrap and inspection once a week. That's when I clean the wrap, check for wear, and reassess fit. It takes five minutes and prevents problems.
Final Thoughts From My Experience
Two weeks of using portable insulation wraps for potted hibiscus in winter showed me what I was missing all those years. My plants stopped dying in December. They started growing instead.
The biggest lesson? It's not about keeping the whole plant warm. It's about keeping the roots warm. Everything else follows. Leaves perk up. Color returns. New growth emerges.
I've killed four hibiscus learning this lesson. You don't have to. Start with portable insulation wraps. Monitor carefully. Water less. Place strategically. Your hibiscus will thank you with green leaves all winter long.
And that feeling when you see new buds in January? Priceless. I'm not exaggerating when I say it changes how you see winter gardening. It's no longer a survival game. It's a growing season, just slower.
So go ahead. Wrap those pots. Your hibiscus is waiting for you to get this right.





